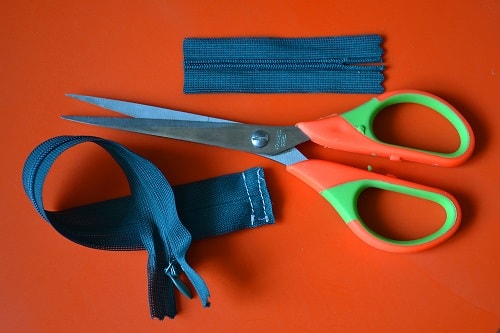
How to Sew a Centered Zipper
An invisible zipper is used most in womens clothing (skirts, dresses, pants etc.). Other types of zippers are instal very rarely. Nevertheless, there are cases when it is necessary to use a conventional zipper.
In this tutorial you learn how to install a centered zipper with a sewing machine using a special zipper foot.
For sewing a zipper on your garment you need have a little practice. Therefore, I recommend making your first installation on two training samples of pieces fabric.
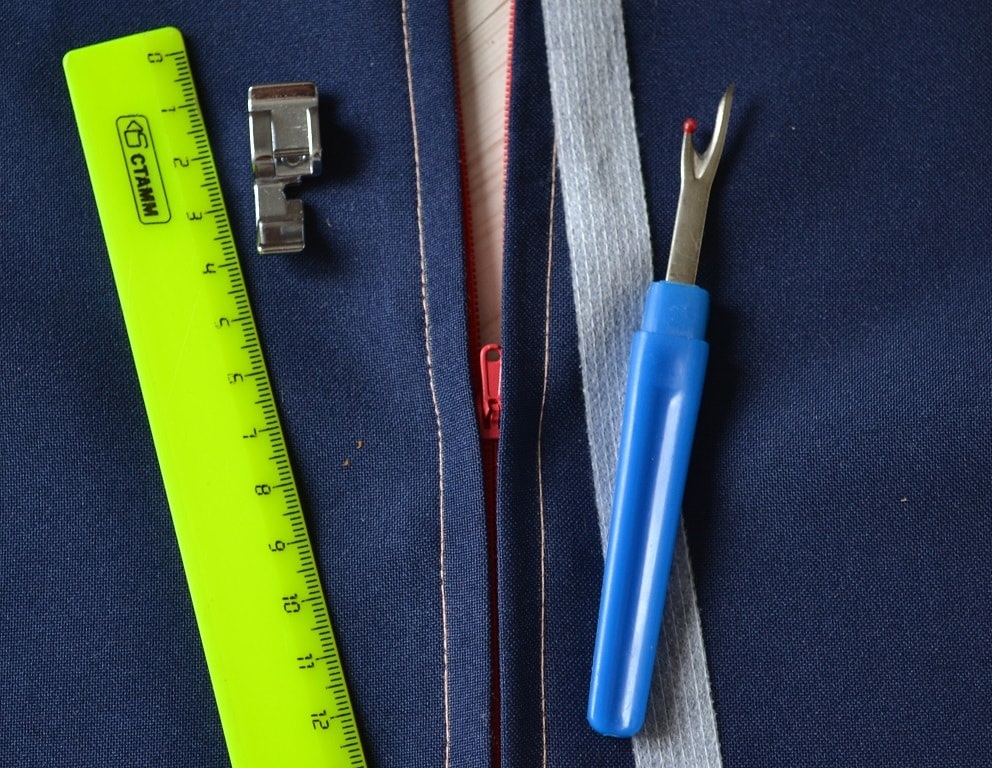
In addition you need to install special presser foot on your sewing machine and buy narrow adhesive tape.
Fusible interfacing tape on edges of fabric
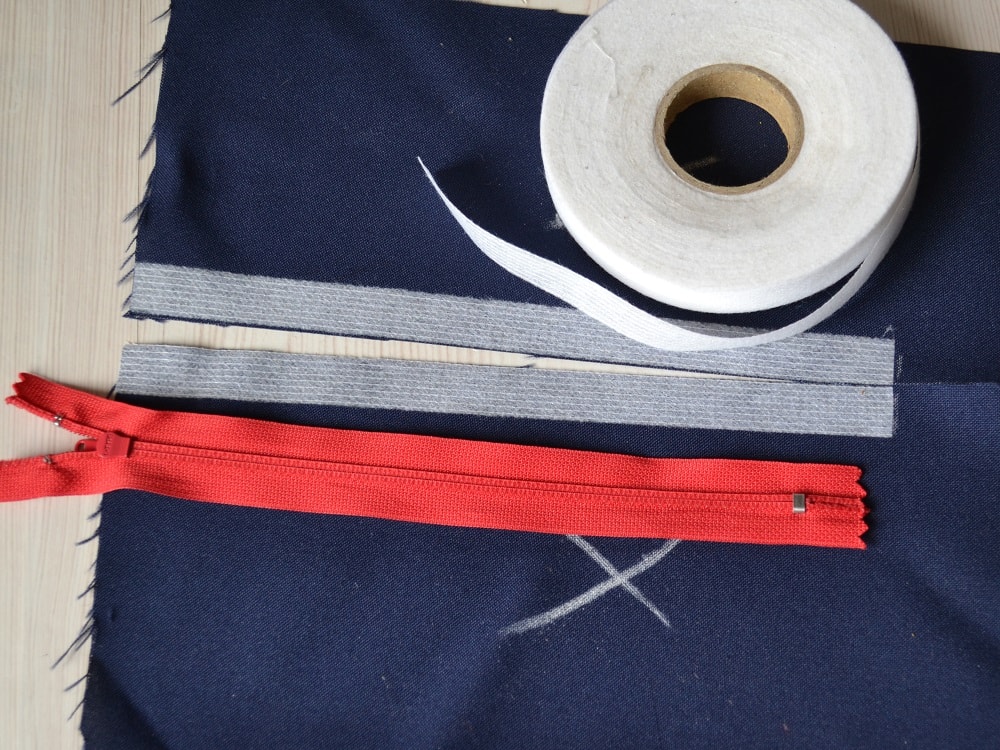
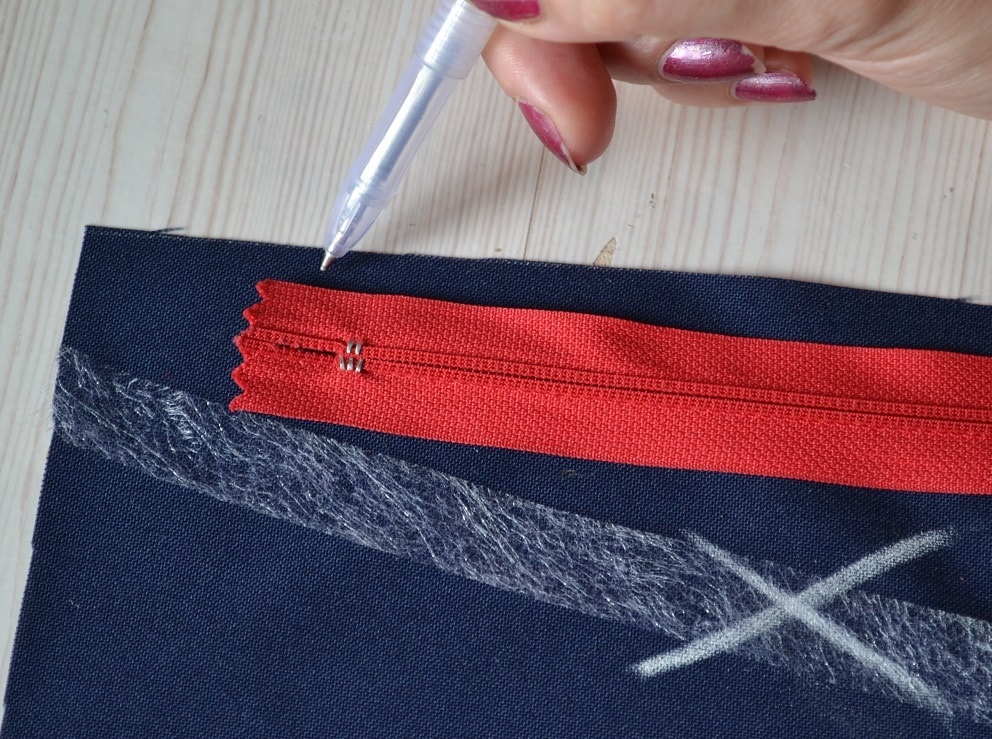
I recommend to mark the wrong side of the fabric with chalk.
Place the interfacing tape on the wrong side of the zipper area.
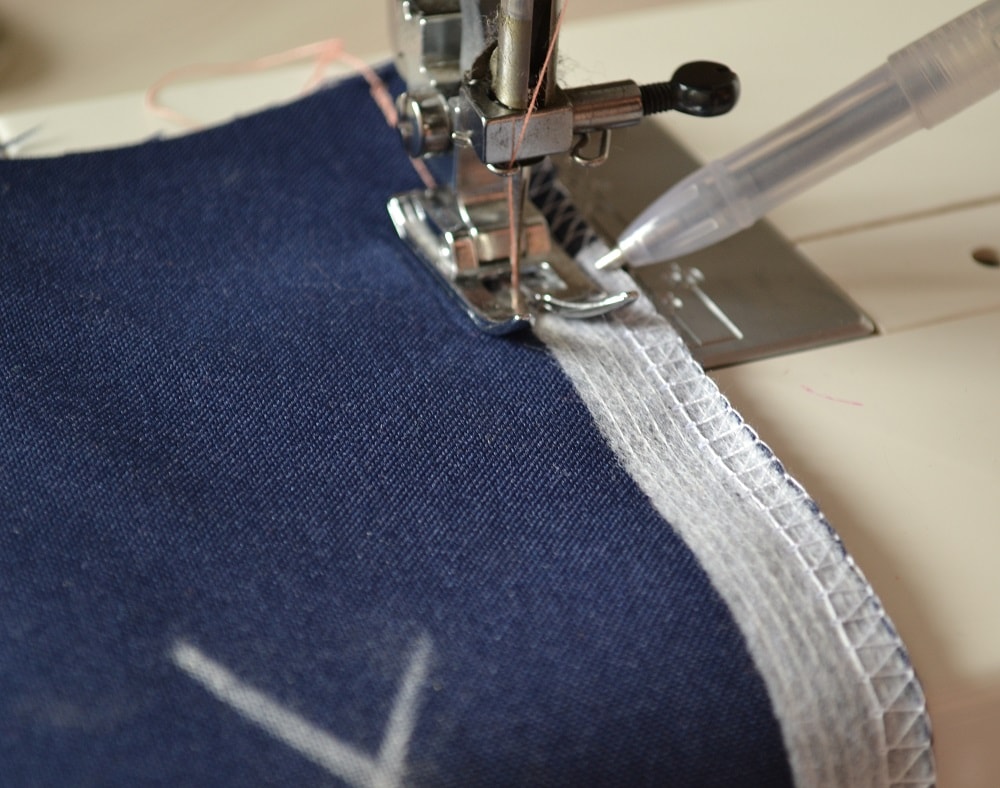
Press this adhesive tape with steam iron through another thin fabric.

Using the serger you need to neaten these edges together with interfacing strips.
If you don't have a serger you can use zigzag stitches.
Note: Before start installation a zipper you need sew these both edges of fabric together.
Sewing the edges with temporary seam
Before stitching you need mark a place where will be end of zipper.
During sewing a zipper you need stop near this mark. Fasten this seam with back stitches using the reverse lever of sewing machine.
But now you need to sew both parts of fabric together.Note that it is a temporary seam.

Before make a temporary seam you need select largest value a stitch length. This seam you need sew without fastening at the end. After installation a zipper it should be removed.

Next you need press the seam on wrong side a fabric, as shown.
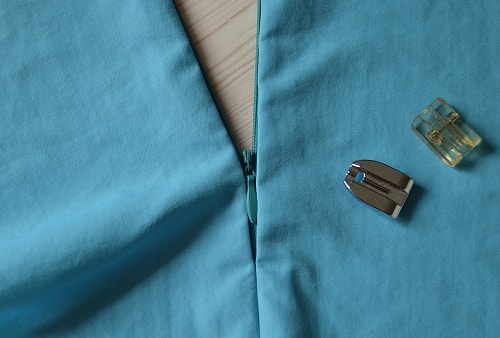
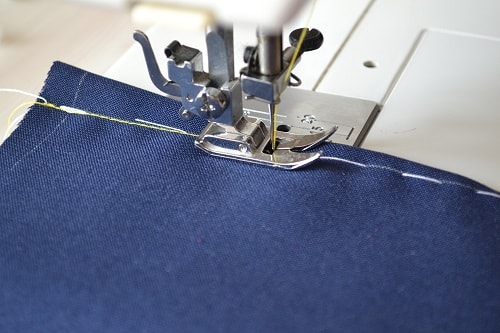
Presser foot for sewing the centered zipper
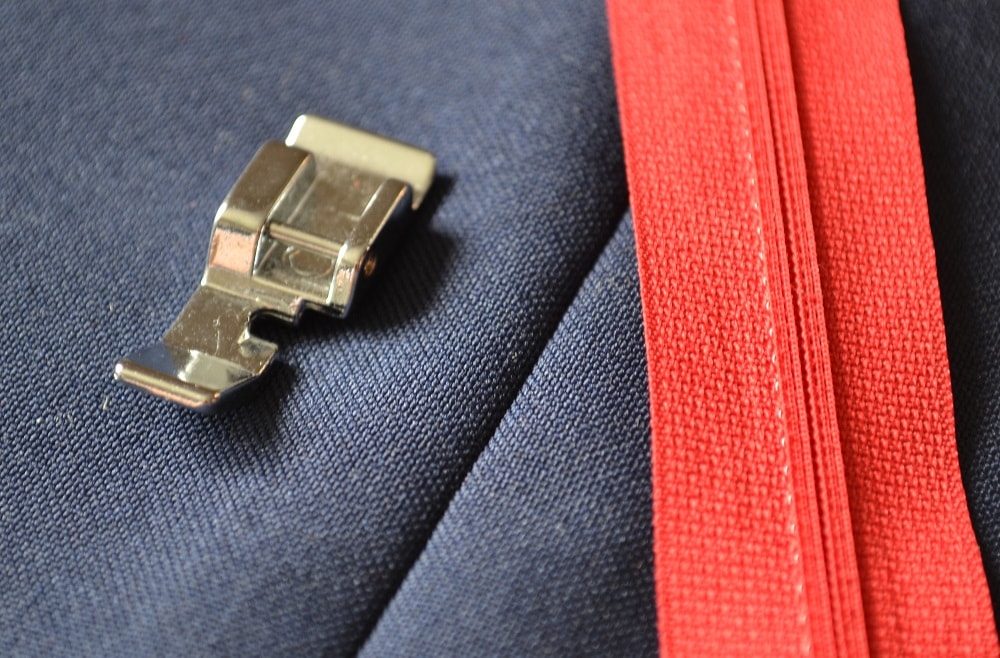
Now you need set a presser foot for sewing a zipper on sewing machine.
Start installation of zipper
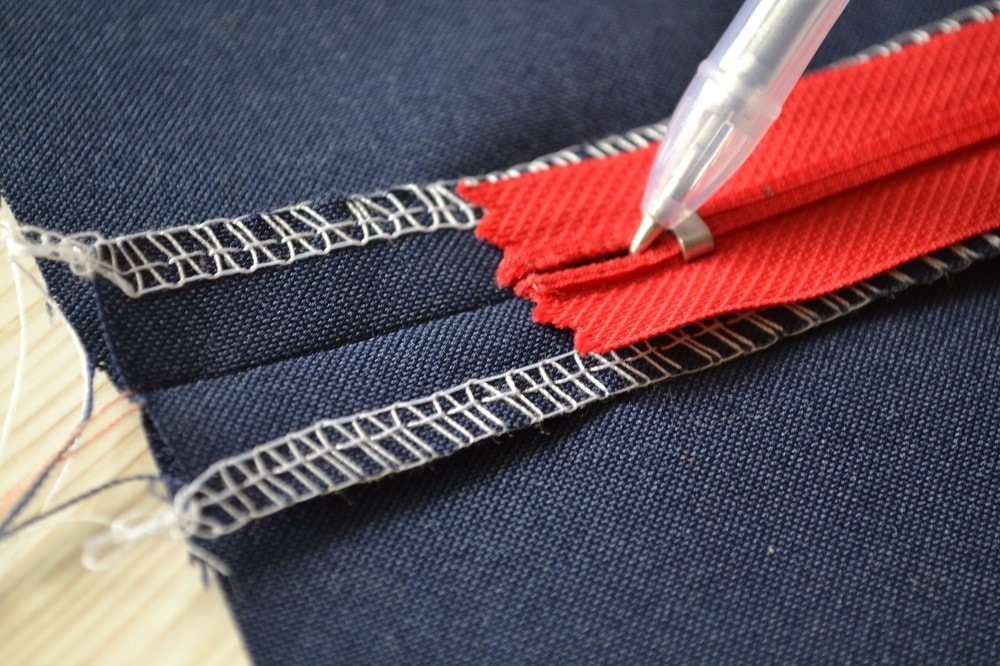
It is the important point. You need mark the place where will be the end of stitching. At this place (at end of zipper) you need make a turn, then make a few fasten stitches, make a new turn and start sew a zipper along other side of zipper.
Note: Sew a zipper on the fabric side, on face side of garments.
During sewing be sure that a needle not catches a metal stopper of zipper.
Be sure that central line of zipper is going along the seam line.
Place a zipper on marked area on wrong side of fabric and using contrast thread, sew the zipper with baste stitches by hand.
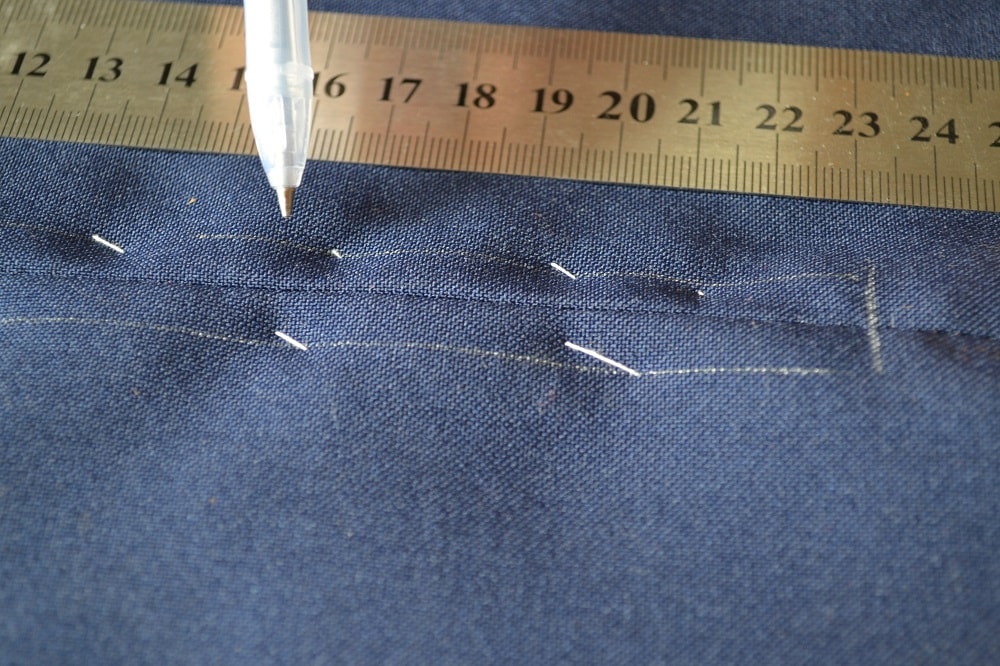
Now turn our the test fabric on right side and start sewing along these marked lines.

The vertical parallel lines will be pass 1/4" away from central seam.
The horizontal line will be going near stopper, be careful!
How to delete baste stitches

When you will start to delete basting threads I recommend you to divide them on several segments. This trick helps you easy pull them out of sewing machines seams.
How to trim and delete the temporary seam
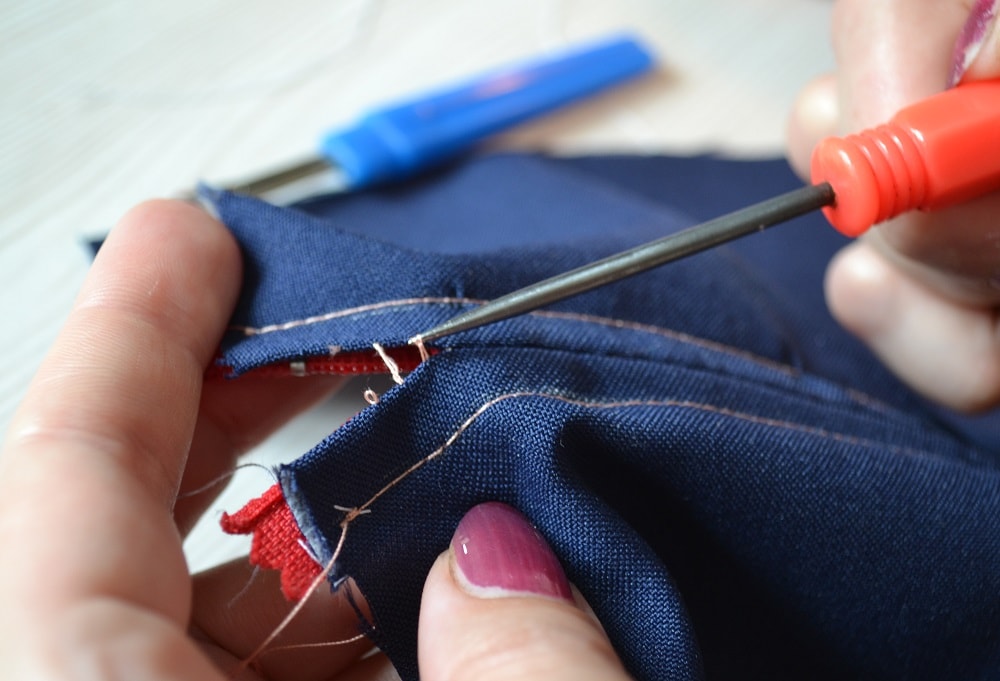
Now the installation of centered zipper is over but you need to do one last work. You need to trim temporary seam and pull its threads, as shown.
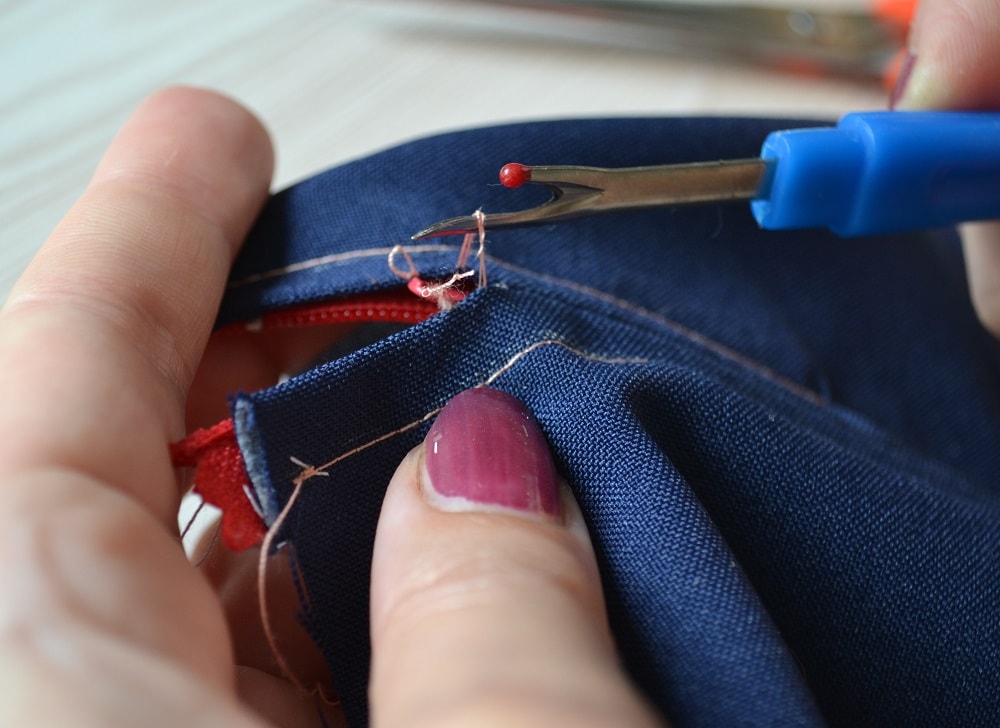
You can do this work in two ways: using an awl or with seam ripper.
Note: After reaching vertical short mark where you done a few back stitches, you need stop trimming of temporary seam.
When a zipper on jeans is broken and no longer zips up, it may seem impossible to fix it. However, there is a way to repair your zipper on jeans without removing a zipper.
How to Install the Invisible Zipper
Learn how to sew an invisible. Here are steps of installing a zipper with 30 photos and tailor's comments.
How to Shorten an Invisible Zipper
If the length a zipper is too long you can shorten it. Let's learn way of shortening an invisible zipper.
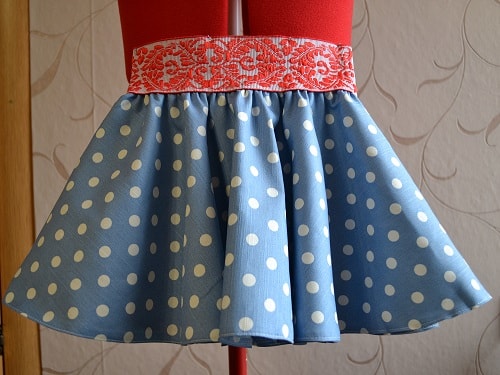
How to Make a Circle Skirt
Here are easy steps how to make a full circle skirt for your daughter 4-5 years.
Tutorial How to Mark and Sew Darts
Here you will find tips on how to draft and make the darts on your skirt or pants.
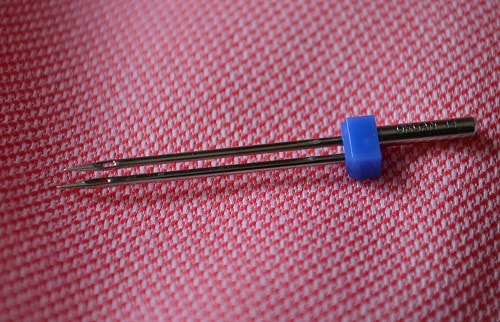
How to Use a Twin or Double Needle
Here's tutorial for how to use a twin or double needle. Using the double needle you can sew knit jersey fabric and make decorative stitches.
How to Sew Bias Tape around Right Angles
There are steps on how to sew bias tape around a quilt having right angles.