How to Patchwork with Easy Techniques
Here is basic guide for attaching small pieces of patchwork. Step by step instructions with photos on how to make a blanket with patchwork techniques.
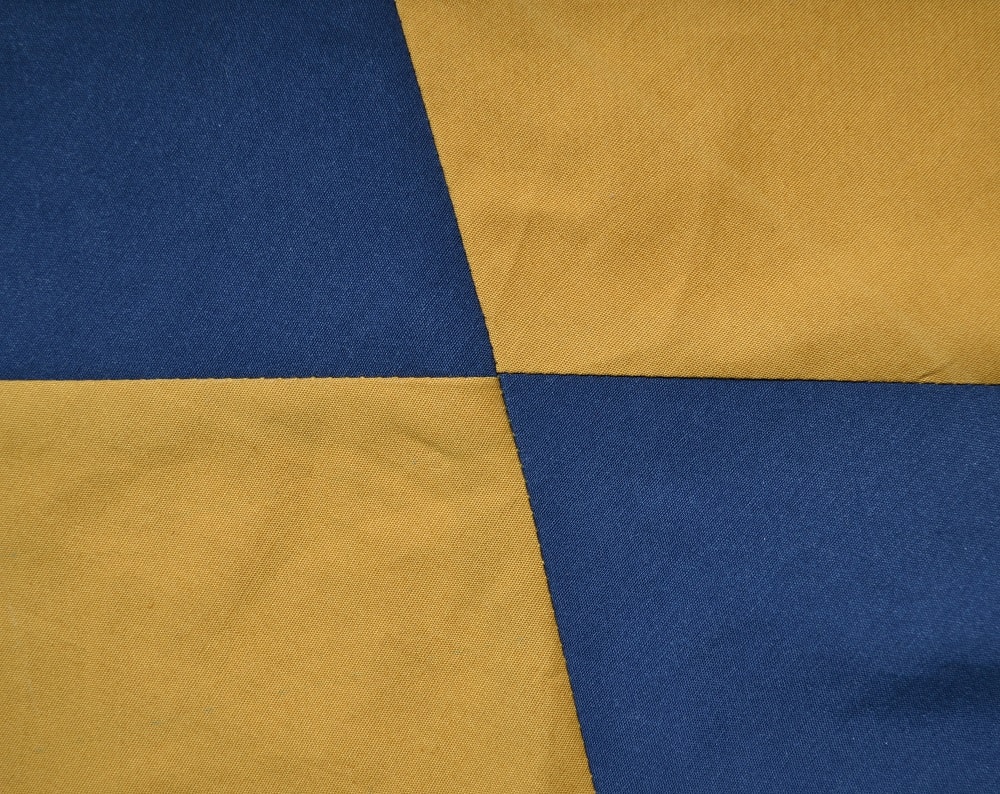
How to cut equal pieces for patchwork
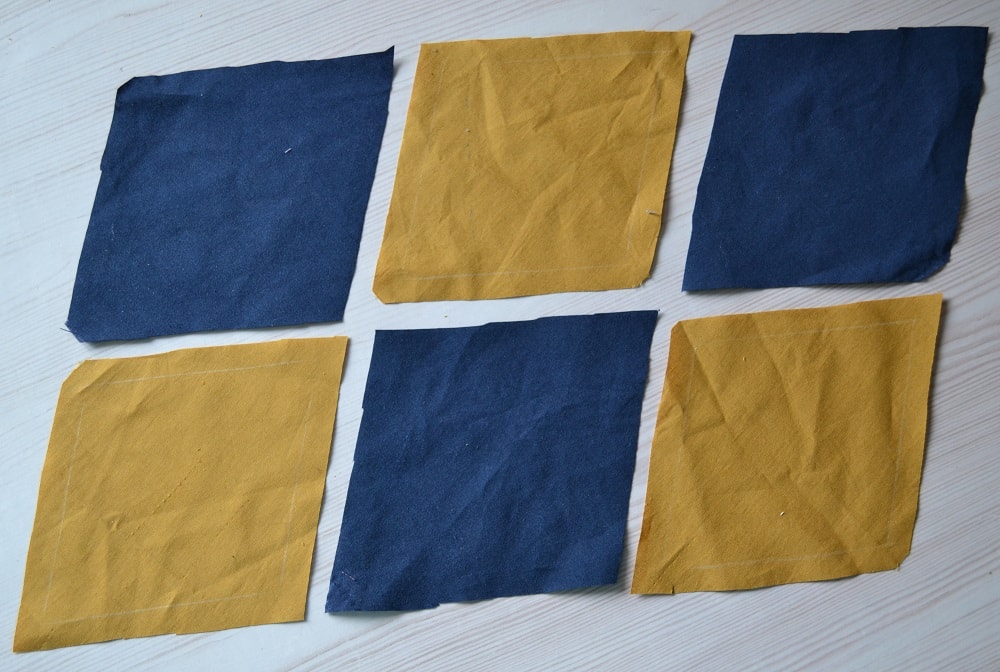
To demonstrate you the technique of sewing pieces I used six rhombuses cutting from two fabrics having different colors.

All sides of rhombuses (and squares) should be the same. To cut the details accurately, you first need to make a paper pattern.
First steps of patchwork technique

Now take first step of patchwork technique. Fold two small parts face down inside.
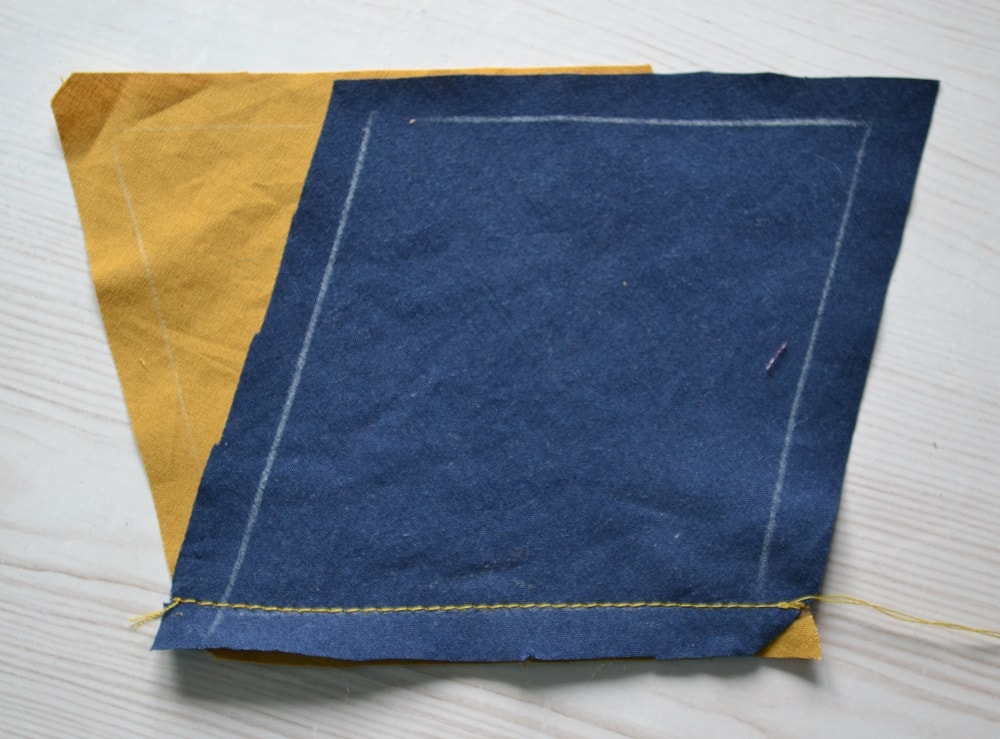
Now you need to sew these parts together (on wrong side of fabric), as shown. The seam allowance should be not less than 1 cm.
At this stage you need to attach the third detail of patchwork.
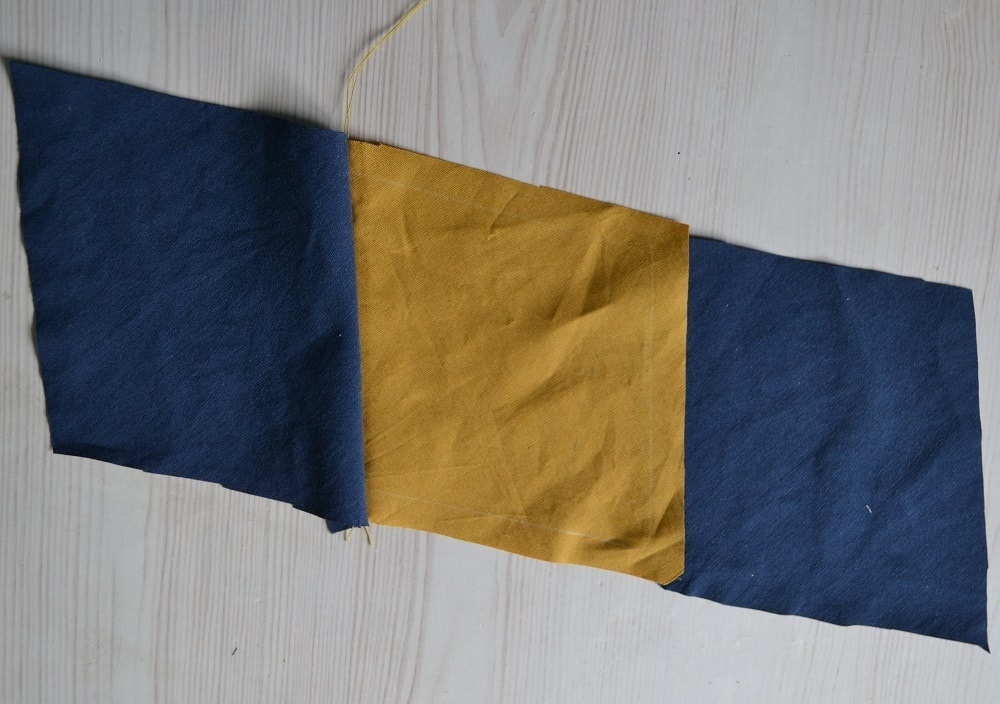
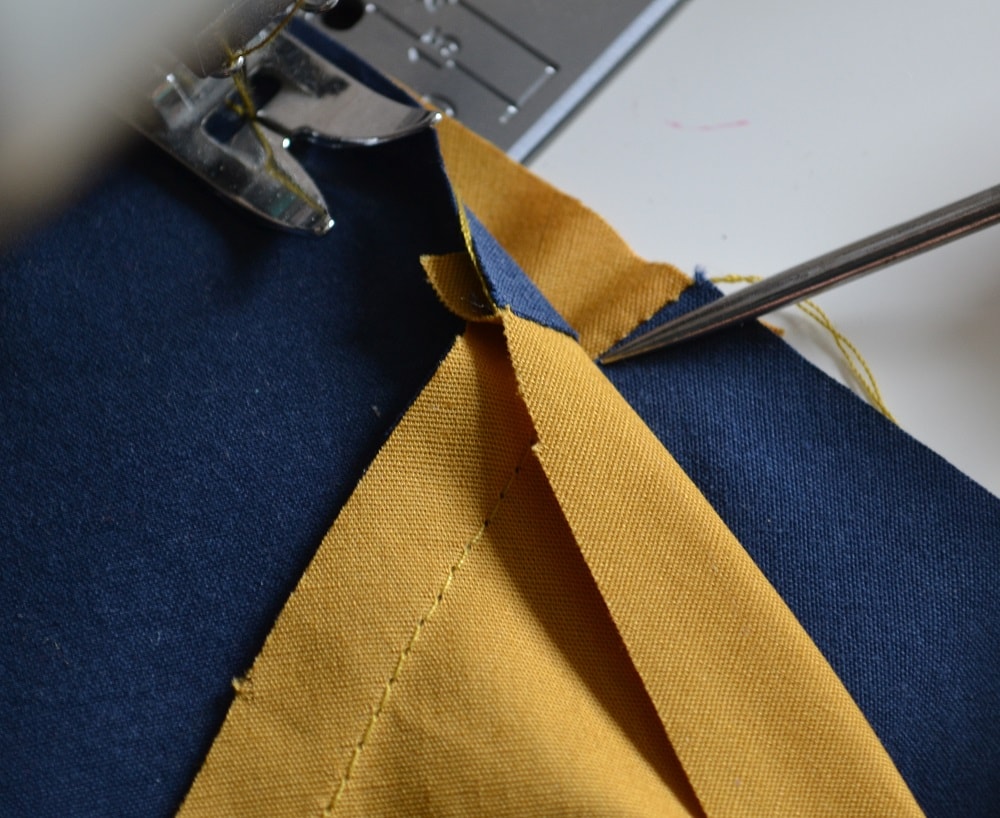
Sew all pieces of patchwork without offset them
It is necessary to sew these seams from edge to edge of fabric without offset them.
Do not forget to make reverse stitches.
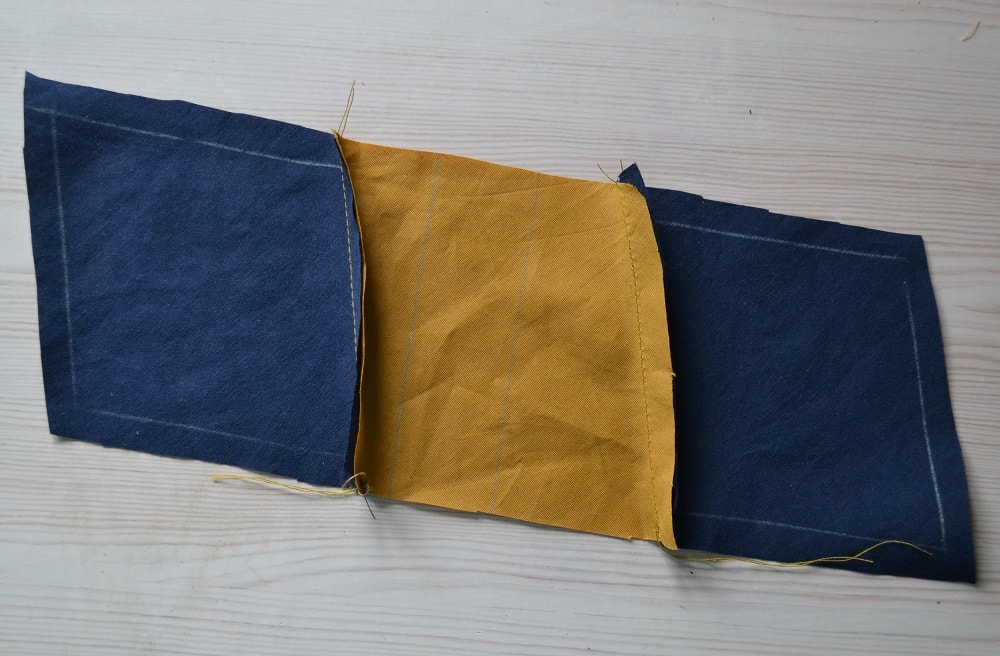
To sew all pieces of patchwork together gently without offset them, you first need to make stripes consisting a few equal pieces. These strips consisting many pieces you can easily connect together into one part.
If you find it difficult to navigate in sequence of joining the parts of patchwork, you can mark all details with chalk (on wrong side).
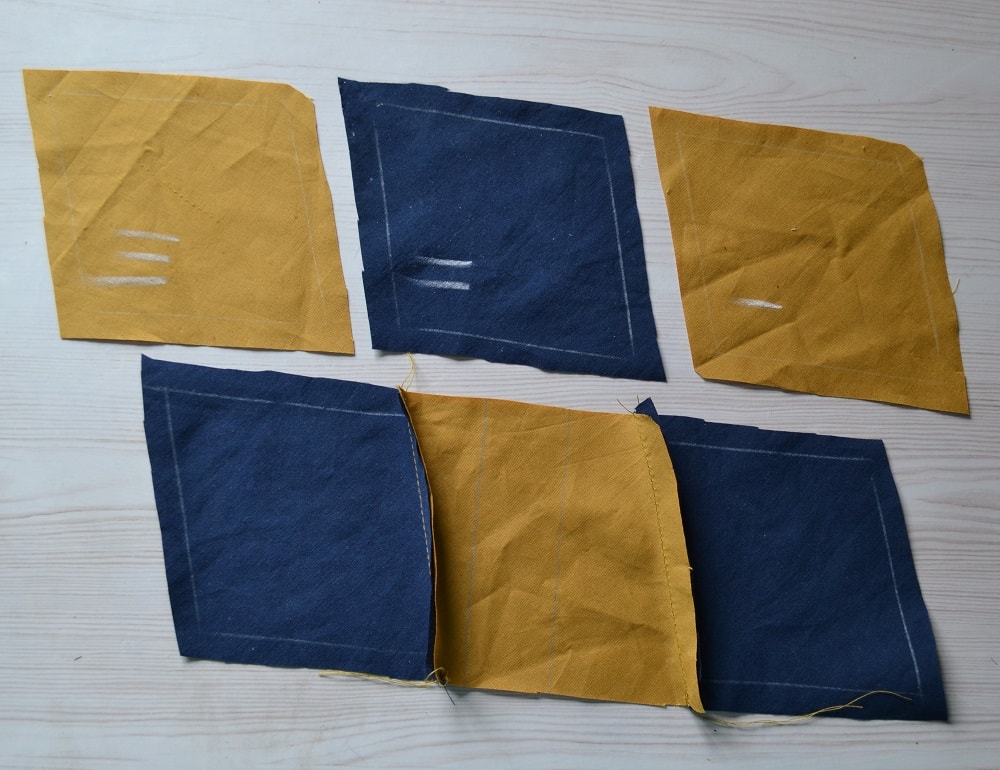
How to connect both strips together

Repeat previous steps to get another strip having three pieces.
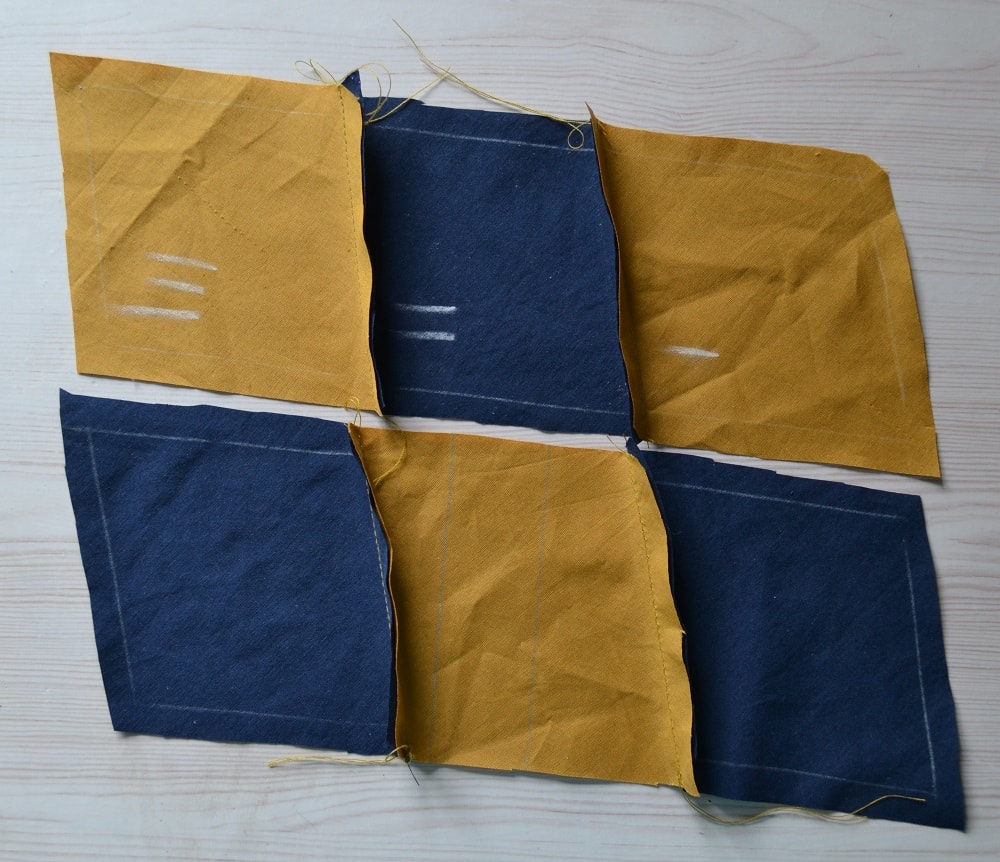
Press all seam allowances of both strips, as shown (in opposite directions).
Now you need to connect these both strips together.
The main difficulty is that all seams on both strips must coincide.
Finishing stage of patchwork sewing
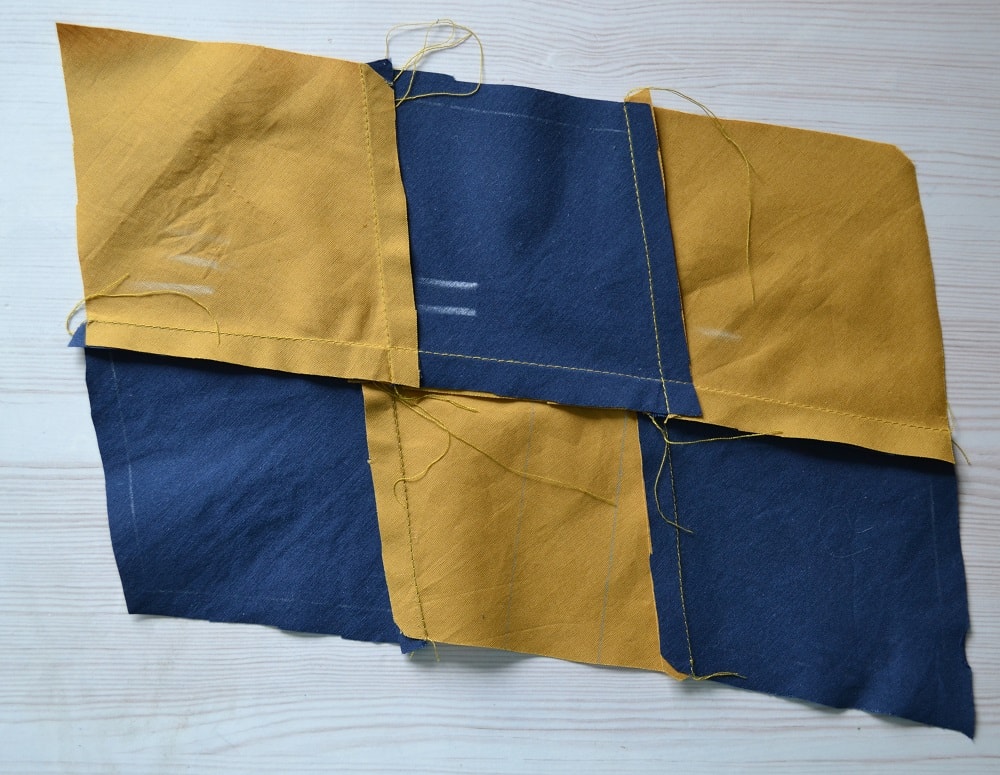
Press well your patchwork after finishing work on wrong and face sides.
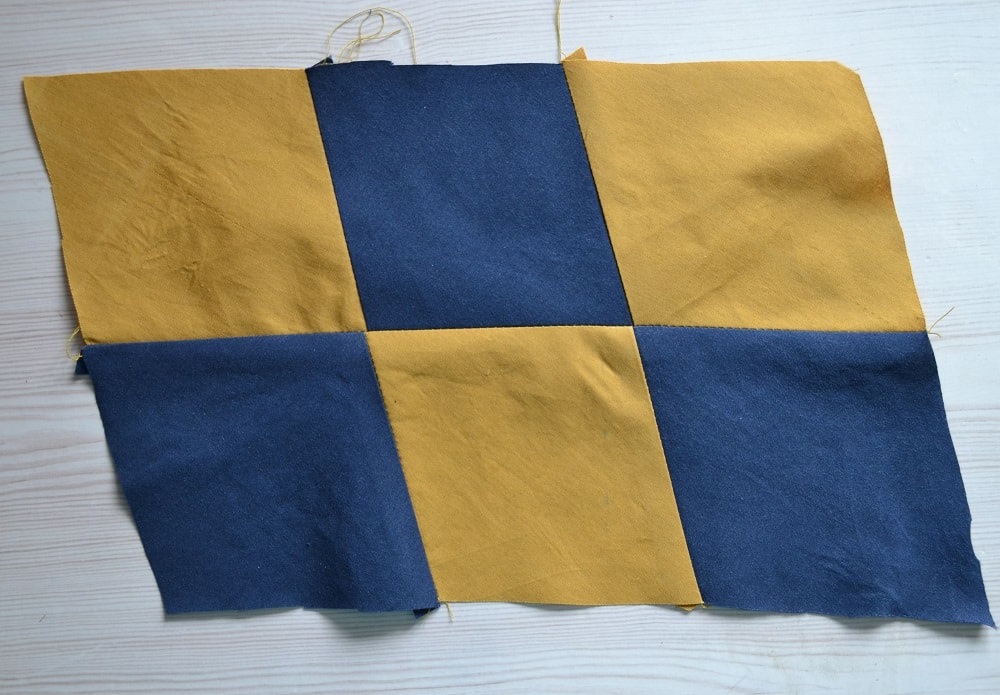
On the front side your patchwork should look like this.
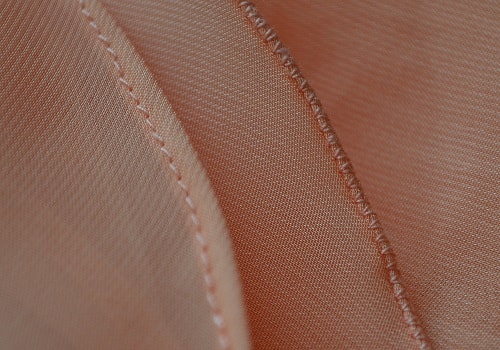
How to Hem Chiffon and other Lightweight Fabrics
Here are two ways of hemming a skirt or dress that are sewn from lightweight fabrics. For this tutorial I used chiffon fabric.
How Make Bias Tape and Facing Neckline
This tutorial will help you make a bias tape for facing a neckline. Learn how to make bias tape and sew it to the neckline your dress.
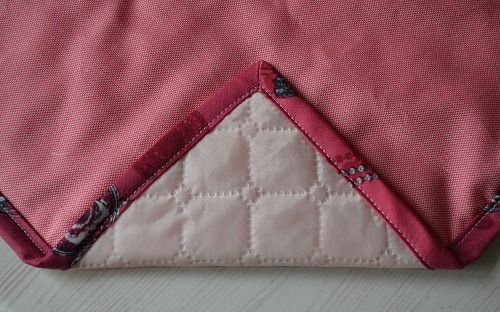
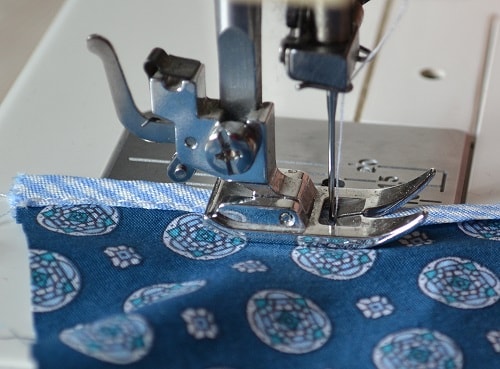
How to Sew Bias Tape around Right Angles
Sew bias tape around a quilt having right angles. Here's easy way how to join two parts of bias strip at a 45 degree angle.

How To Sew Loop Velcro Tape
The double side velcro tape is an alternative fastening on your garments or on anything. Learn how to sew velcro tape correctly.
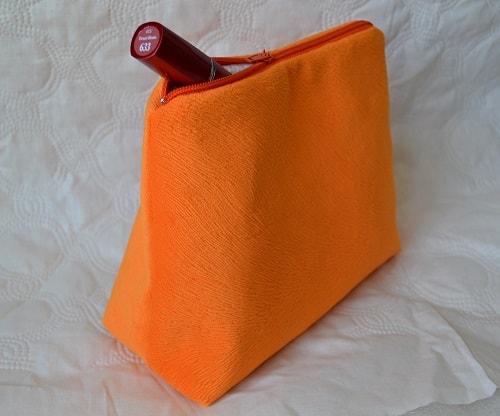
How to Make Your Own Zippered Makeup Bag
Learn how to sew a cosmetic bag. In this tutorial are many photos with comments how to make zippered makeup bag with lining.
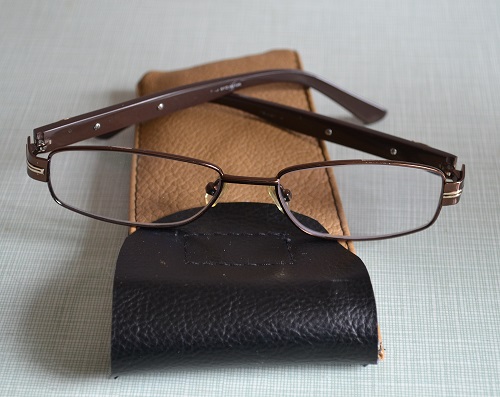
Tutorial of Sewing a Leather Glasses Case with Pattern
Here you will find the tutorial of sewing a leather glasses case. More than 20 photos with comments and free pattern.