Learn How To Do E-Wrap Cast On

You do not know how to use a knitting machine but it is in your home? And you want to learn how to work on knitting machine?
In this case, this lesson will help you make the first step. You wiil learn how to malke first row of the knitted fabric on knitting machine. I show you how to make the e-wrap stitches around the needles of your flat bed machine.
Note: this tutorial shows one of ways how you can to do first rows on knitting machine. There are other methods.
In this video you will learn how to e-wrap cast on and knit first rows on flat knitting machine.
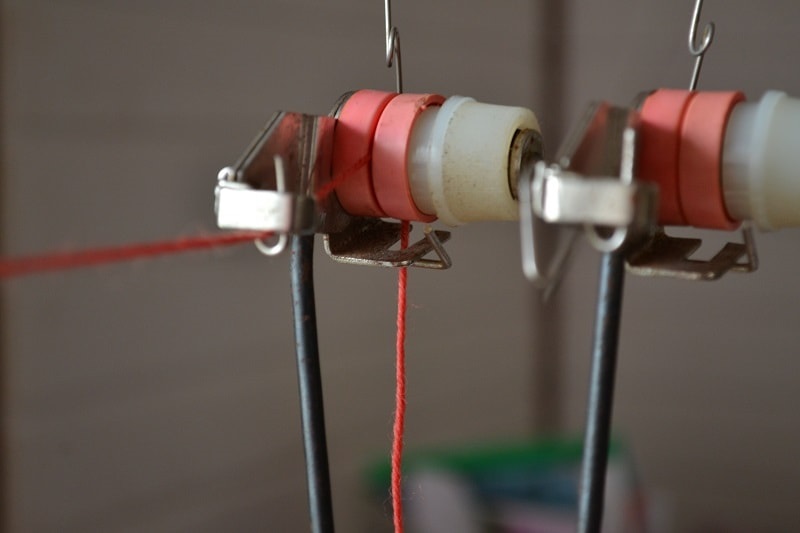
The yarn tensioner of knitting machine
Let's do a simple e-wrap cast on and make a few rows of knitted fabric.
A knitting machine pulls the yarn through the yarn tensioner. The knitting carriage forms with help of needles the loops. This brief description of how it works a knitting machine.
Let's first prepare it for work. At first pull the end of the thread out from skein (the inner end of the yarn) and insert it in the yarn tensioner.

Do not miss insert the yarn into the eyelet of the take-up spring.
knitting machine pusher (needle selector)
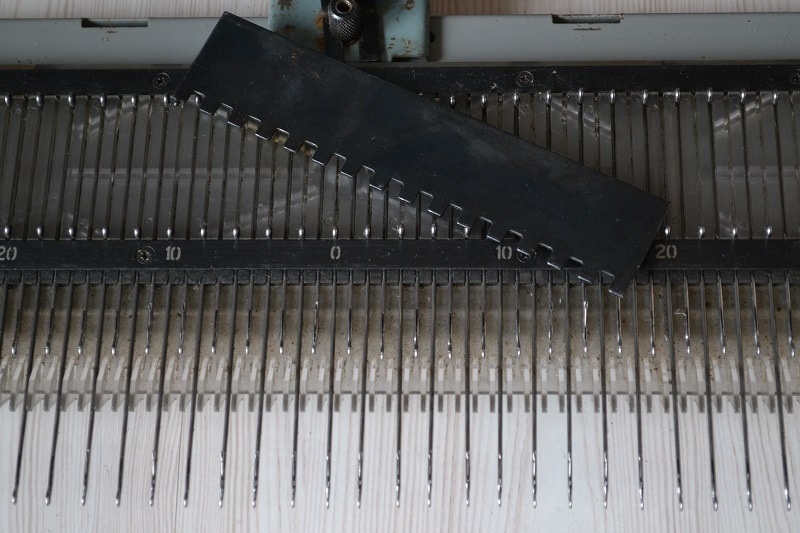
At the beginning of knitting you must to skip needles in work (one by one) in between working needles. Take the knitting machine pusher (needle selector) and move the needed quantity of needles forwards. The needle selector you need use very often. It is necessary for proper location and quickly changing the needle position for making the ribbing, intarsia knitting etc.
For test working I recomend to use a small number of needles (40-60 needles). But keep in mind that the calculation is made from the center of the needle bed (30 - 0 - 30). Therefore the counter stays in center of the needle bed.
Push to yourself 20 needles (10 on the left side and 10 on the right side).
Note: at this step you need to move forwards every second needle only.
At the beginning of knitting

First you need to bind the end of yarn to the left clamp of knitting machine. Now, holding of the yarn with fingers of the right hand, you need to wrap the yarn (counter-clockwise) around every needle that are selected.
Note: Begin to do wraps the needles from the left side of needle bed.
Look on the latches! They need be located forwards and the all wraps of yarn will be lie behind them.
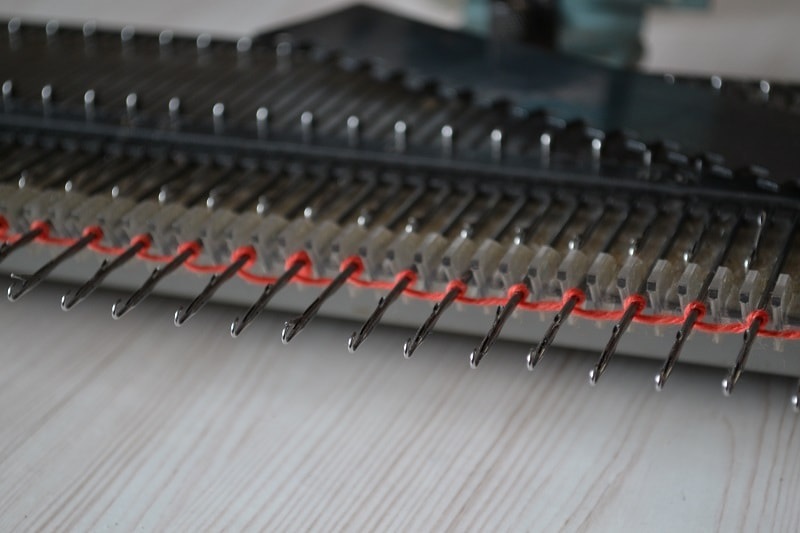
Step by step you need to wrap all needles until you reach the last needle that was selected for work.
Do not wrap the thread too tight. If you tighten the thread very too it may break when the carriage work.
Check the position of the latches

Before knitting the first row you need push down all selected needles (with yarn) using the needle selector to position needles - D.
Check the position of the latches, they should be closed. Depending on the model of knitting machine the latches of needles must be lifted by hand or automatically.
The knitting machine carriage

Now you need insert the thread into the knitting machine carriage.
Note: Carriage must stay on the right side of the knitting machine bed.
Insert the yarn onto the "gate" and close the gate lever.
The cast-on comb

It's time to knit the first row, but it would be better if you hang on yarn (between the needles) the special metal comb before.
Now you can knit the first row

And now you can knit the first row. Gently and slowly move the carriage to left.
Make sure the yarn is threaded through the tension unit properly.
Note: At begining of knitting the first rows you need select the weak value of yarns. For first rows better to set on the tension dial more weak tension (6-8) instead standart (3-4).

If you are beginner and make first steps in knitting you will not understand the meaning of many common technical terms and phrases that are associated with machine knitting. Therefore I think using these photos will be better way understand it than writing the technical terms.
I hope now you know how to cast on and make the first rows of your knitting easy and correctly.
Note: there are other methods on how to do e-wrap cast on home knitting machines having flat bed.
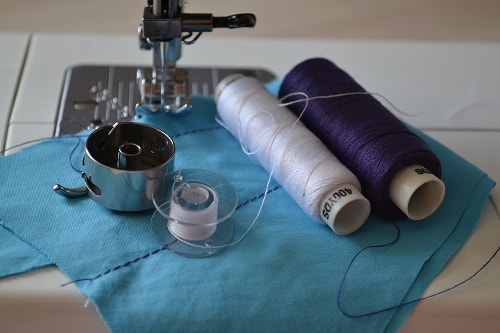
How to Thread a Sewing Machine
This is universal tutorial for threading any sewing machines and winding a bobbin. More than 30 photos with pro comments help you learn how thread your sewing machine.
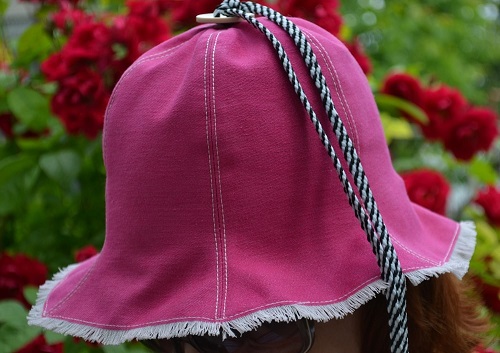
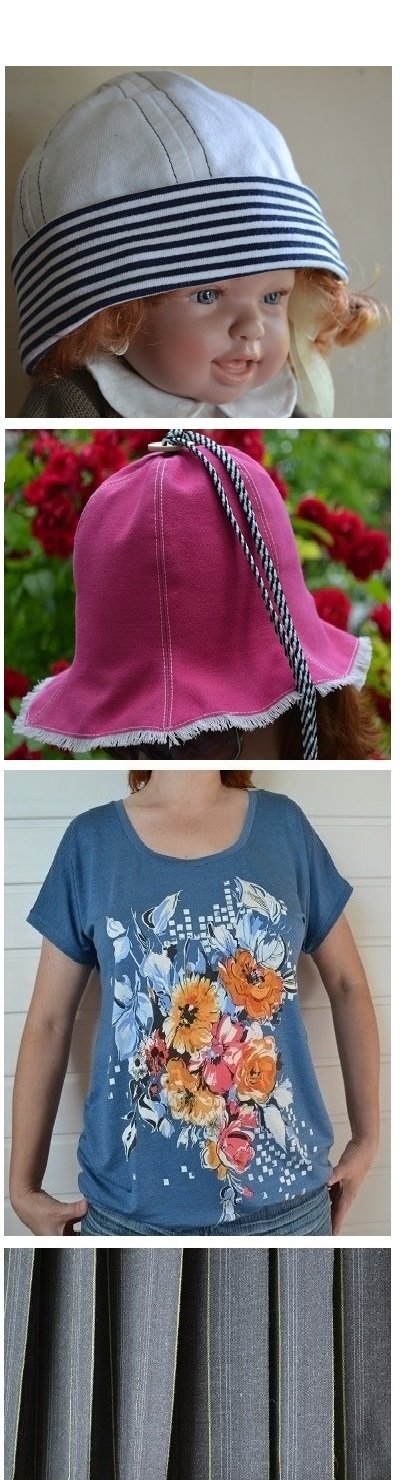
How to make women's reversible bucket hat
Try to do the women's bucket hat yourself. It's a super easy and free way on how to sew fine and nice sun hat for yourself or your kids.
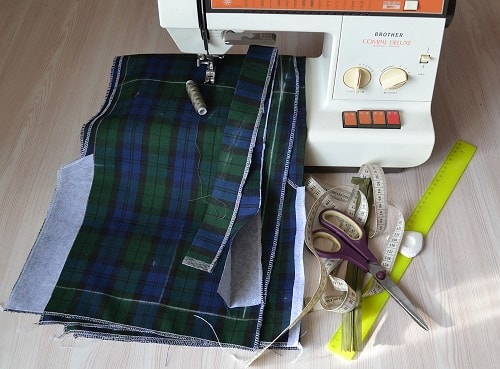
Tutorial How to Make a Pencil Skirt
This is the easy and detailed tutorial how to sew your pencil skirt or any other models of the straight skirts.
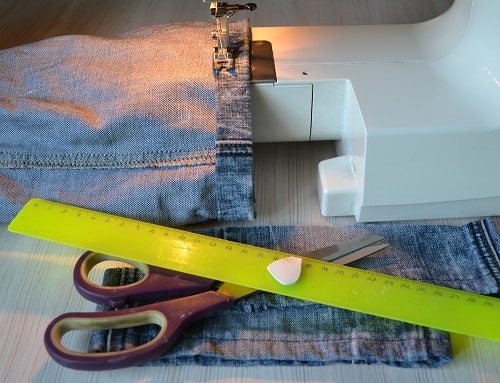
How to Cut the Bottom of Jeans
This is the tutorial with steps on how to restore the bottom edge of your old jeans. In this post you will learn two ways how to cut bottom of jeans at home.
Steps to Shirring with Elastic Thread
Shirring technique is often used for decoration the dresses or skirts. In this tutorial you learn how to sew with elastic thread.
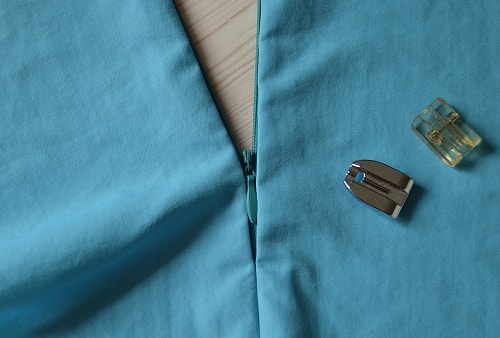
How to Install the Invisible Zipper
Techneque of sewing an invisible zipper is an important skill. Here are steps of installing a zipper with 30 photos and tailor's comments.
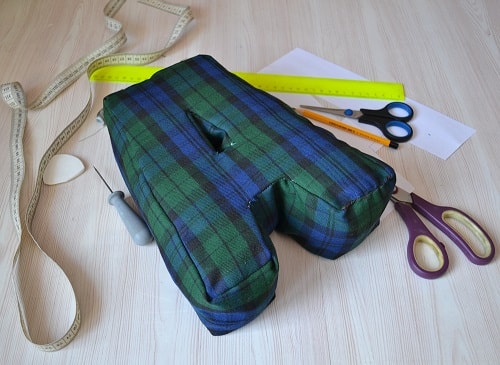
How To Make Alphabet Letter Pillows
These are steps of sewing an alphabet letter pillow. You will learn how to make the most difficult form of pillows - alphabet letter A.