Shirring with Elastic Thread
You like shirring technique but you not tried make the shirring yet ? Many of us, especially beginners, do not dare to sew with elastic threads. In fact shirring for beginner is not an easy work. But using my tutorial having a plurality of tips and high-quality and detailed photos you can do assembly of fabric well.
Shirring is a great technique for decoration skirts around waist, shirts hems and even entire bodices! In this tutorial you learn how to sew with elastic thread with easy.
In this video tutorial you learn how to sew with elastic thread on sewing machine.
Threads for making a shirring
You need know that for sewing with an elastic thread is best suited any light cotton fabrics. Heavy weights fabrics like wool won't shirr at all.
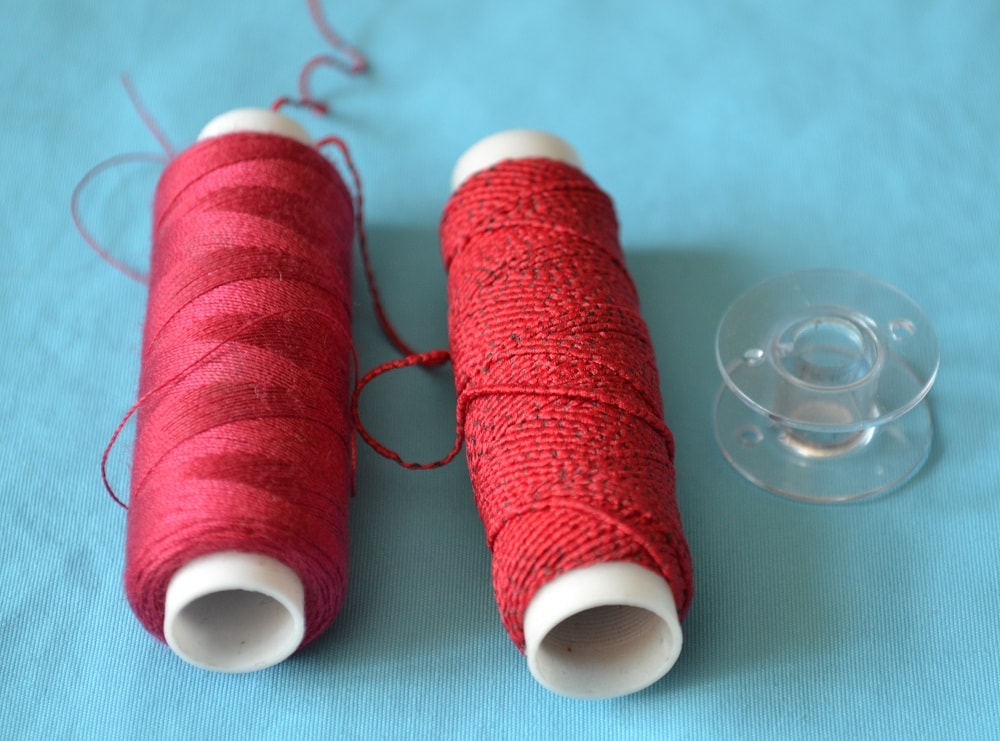
For shirring you need use two different kinds of threads.
Now start shirring.
First you need insert usual thin thread in needle .
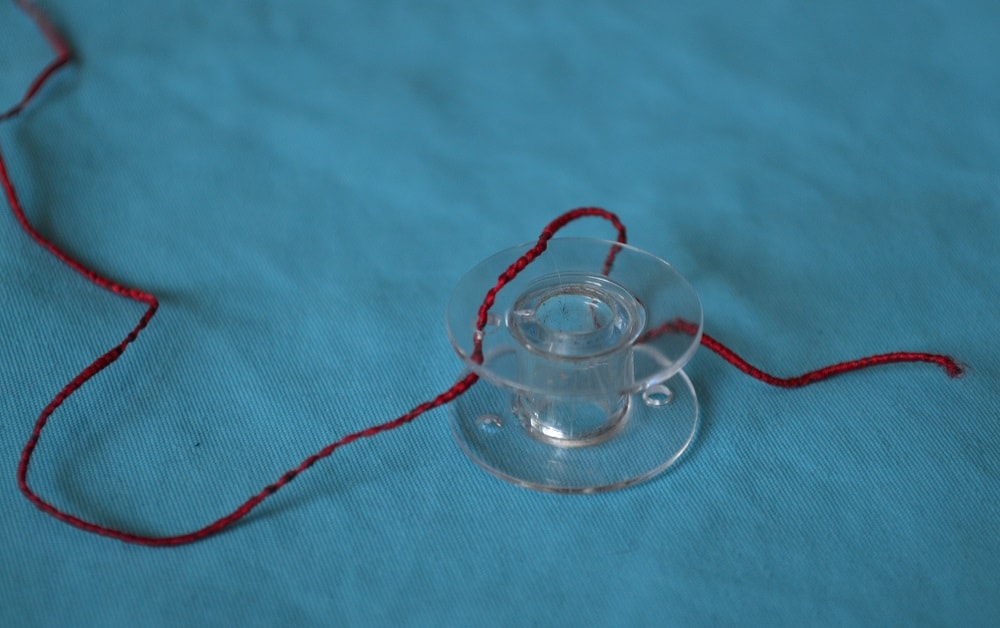
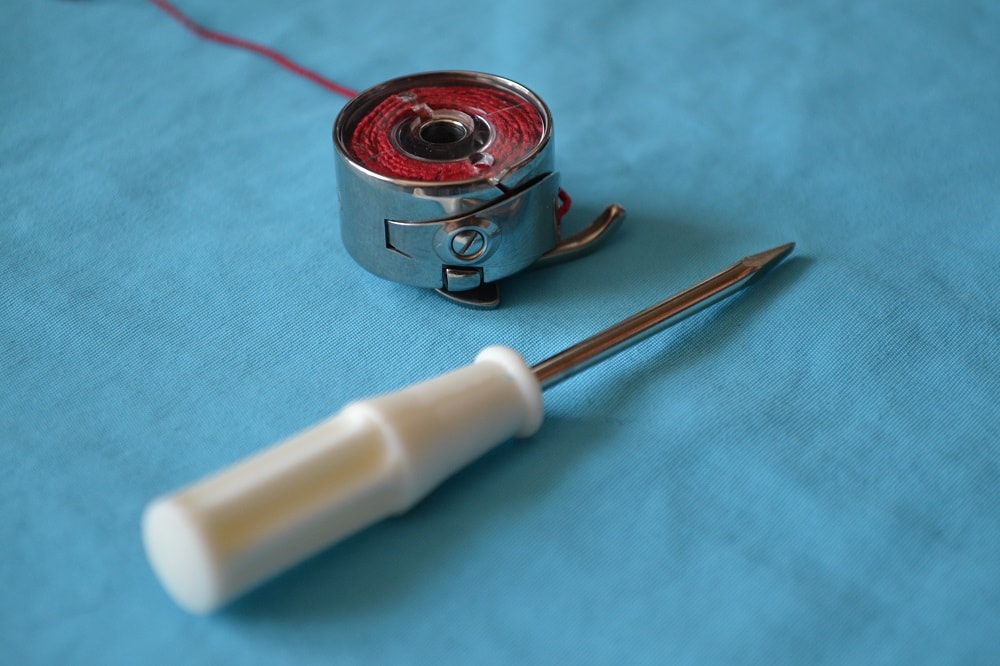
But for winding a bobbin you need use a thick elastic thread.
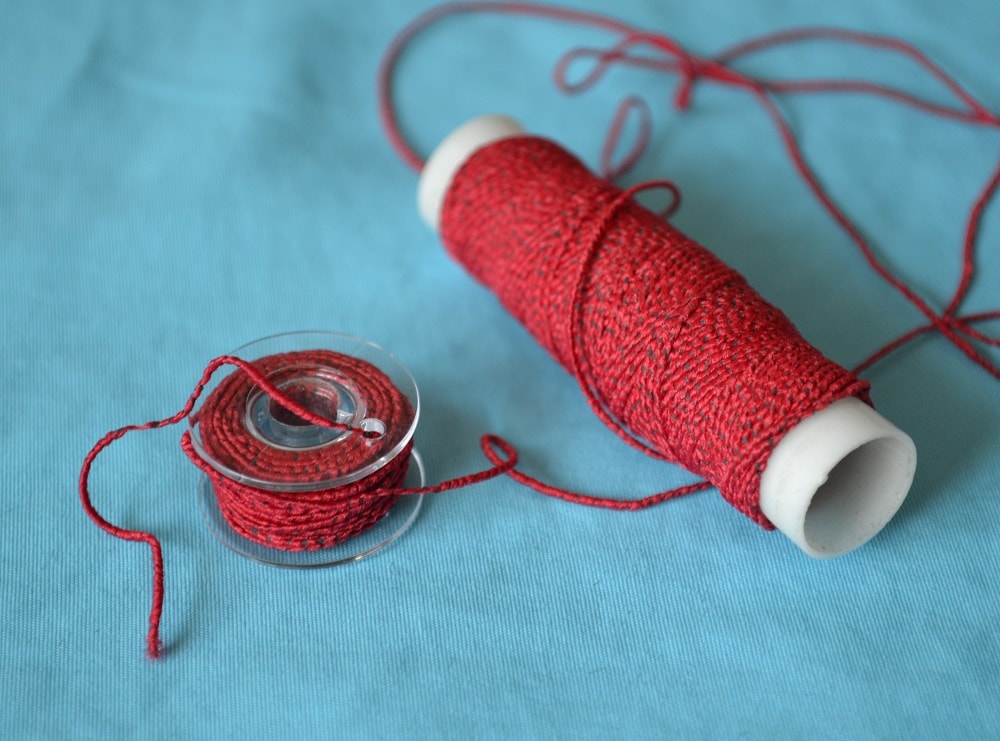
Note: When you are make shirring you must wind a bobbin with elastic thread by hand only without using a bobbin winder of sewing machine.
Don't pull tightly the elastic thread. Wind a spool by hand carefully and easily without tension of thread's turns.
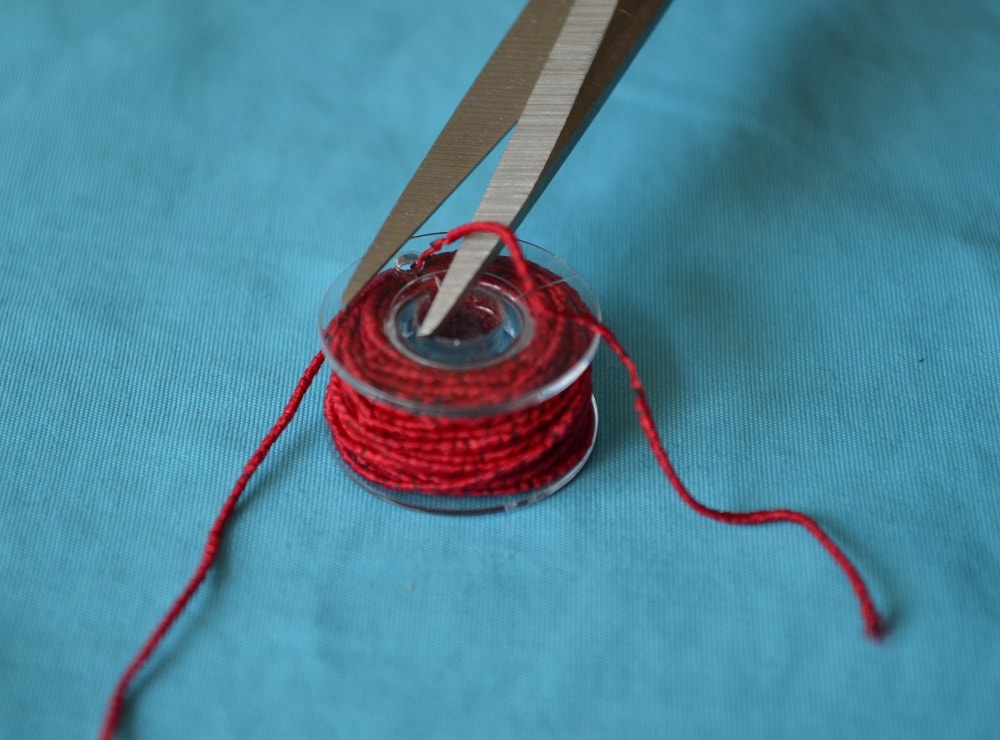
Cut this end a thread as close as possible to surface a side of bobbin.
How to adjust bobbin thread tension
Now it's time prepare a sewing machine to sewing with elastic thread.
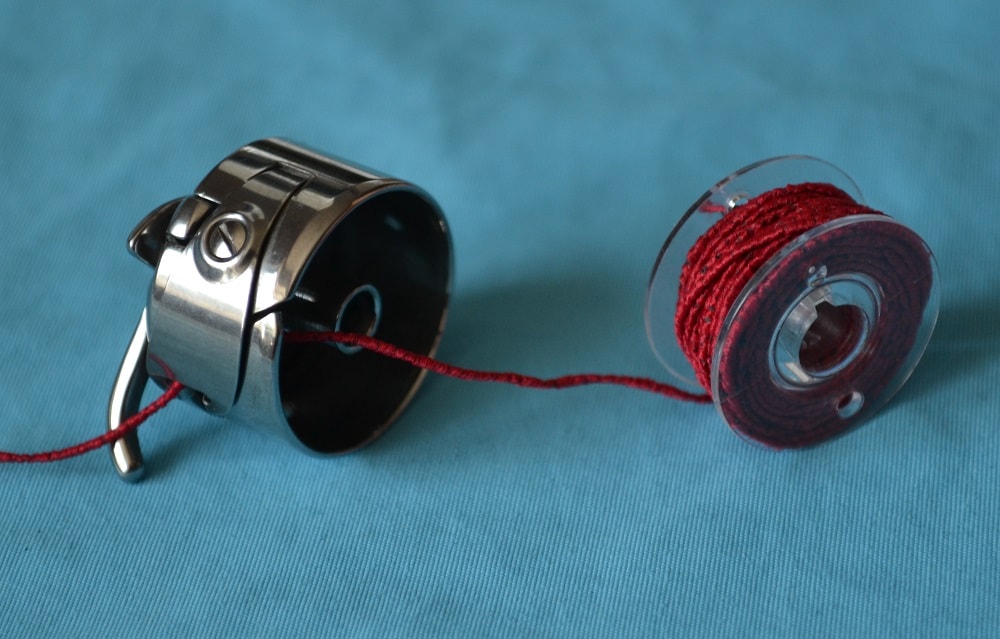
Place a bobbin into bobbin case or just place it into shuttle if you have a sewing machine with top-loading a bobbin (horizontal rotary hook).
After placing a spool into bobbin case pull the thread through this metal plate and check its tension.

If the thread easy to pull out through this tension plate do not do anything. If the thread pulls out with difficulty you can loosen tension of this plate. Turn the screw half a turn to the left.
Only after this fine adjustment, your sewing machine can sew an elastic thread normal.
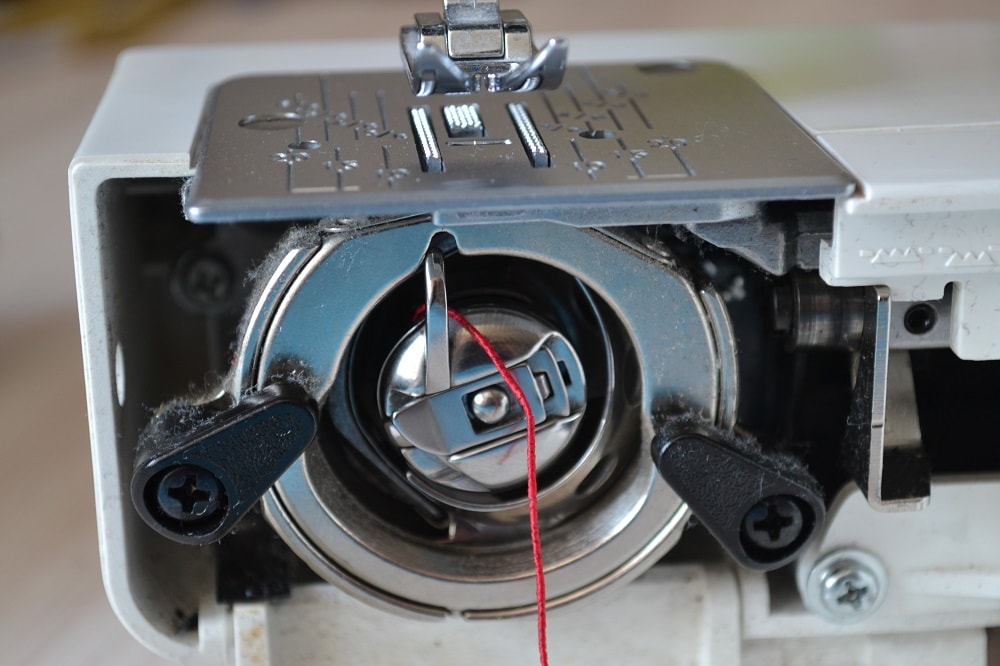
Now place the bobbin case (or bobbin only) in hook device a sewing machine.
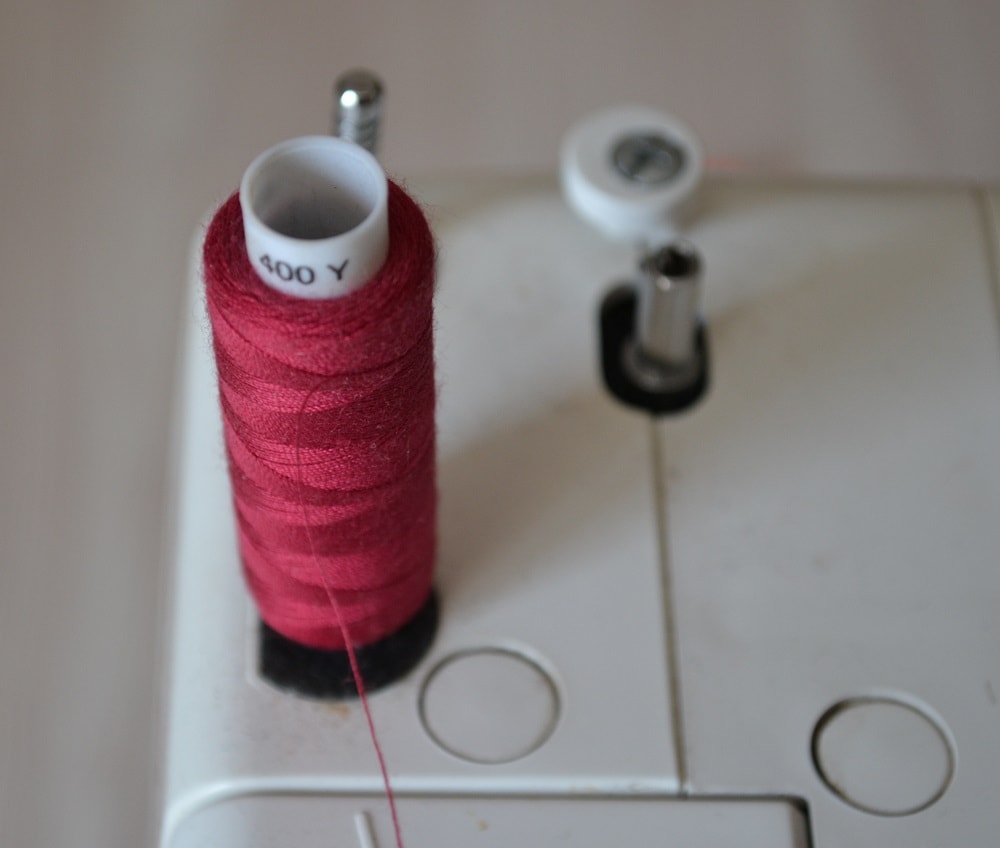
You are remembering that in the top of your machine you'll be using regular thread. In my tutorial I use contrasting color thread. You need to choose the color of both threads like color of fabric.
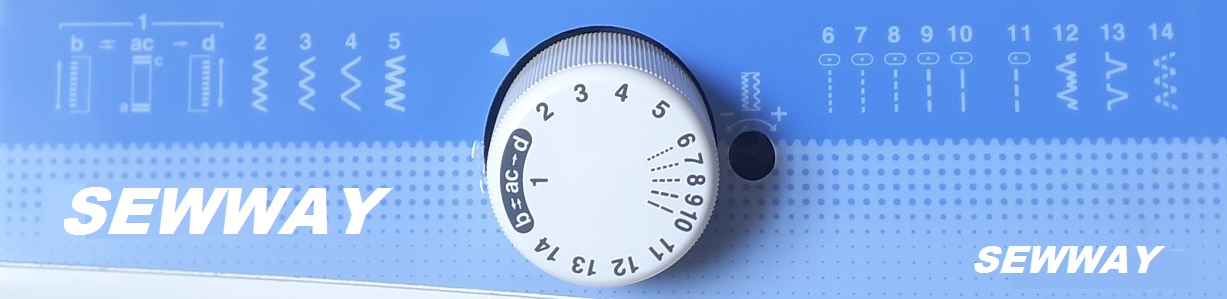
Select stitch type and stitch length
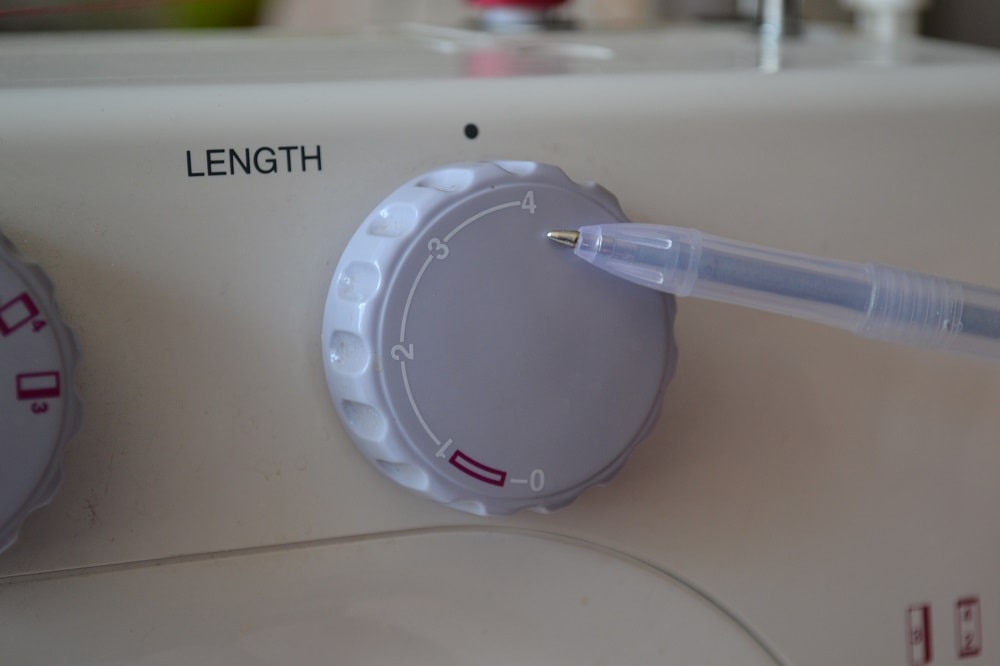
I'm going to use most long stitches. Set a stitch length regulator at position having maximum value.
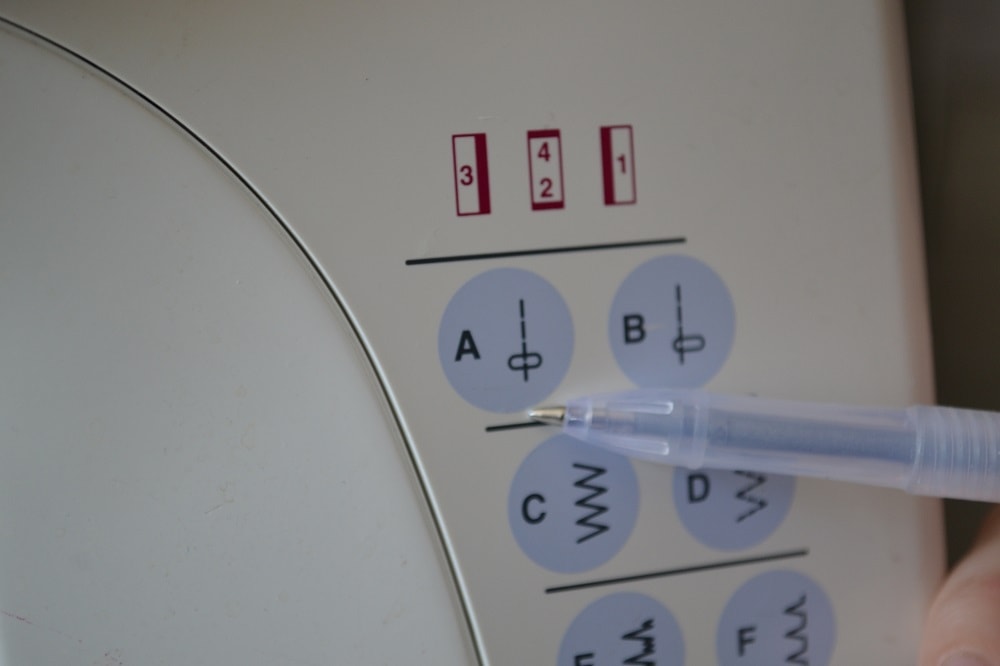
For shirring with elastic thread you need to use an universal presser foot. Select usual mode working a sewing machine (straight stitches).
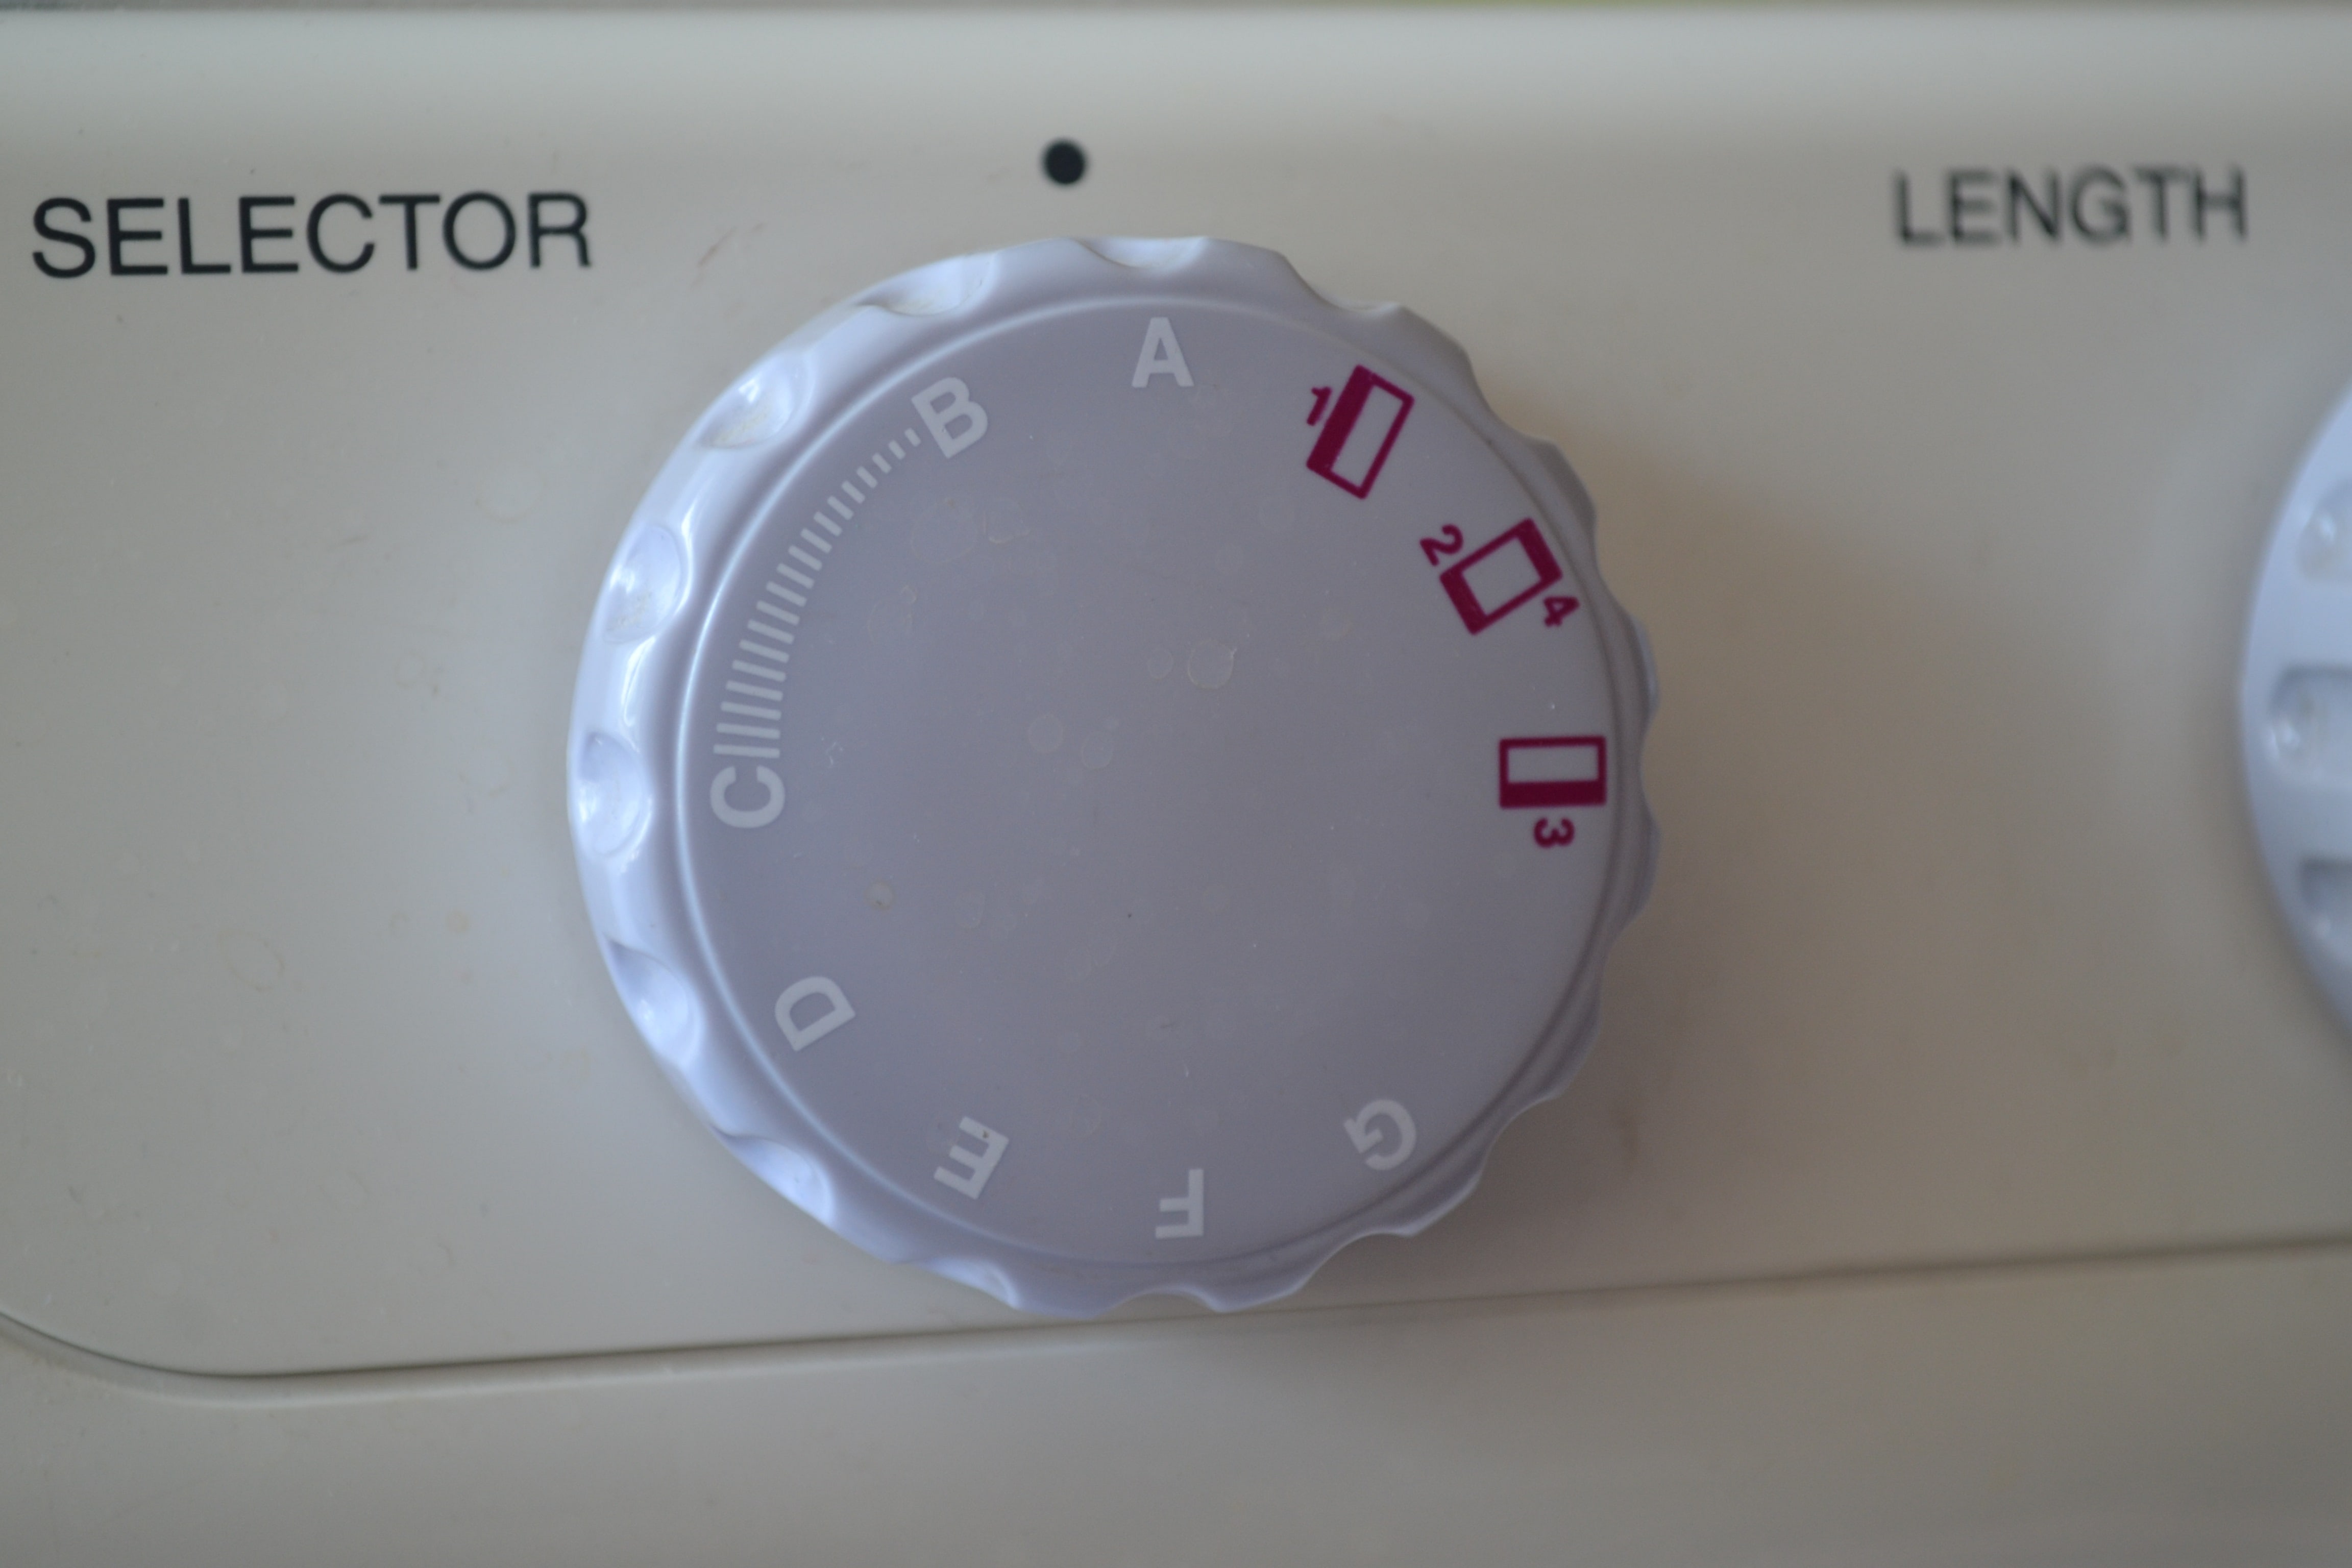
Next set a stitch selector to position of sewing of straight stitch.
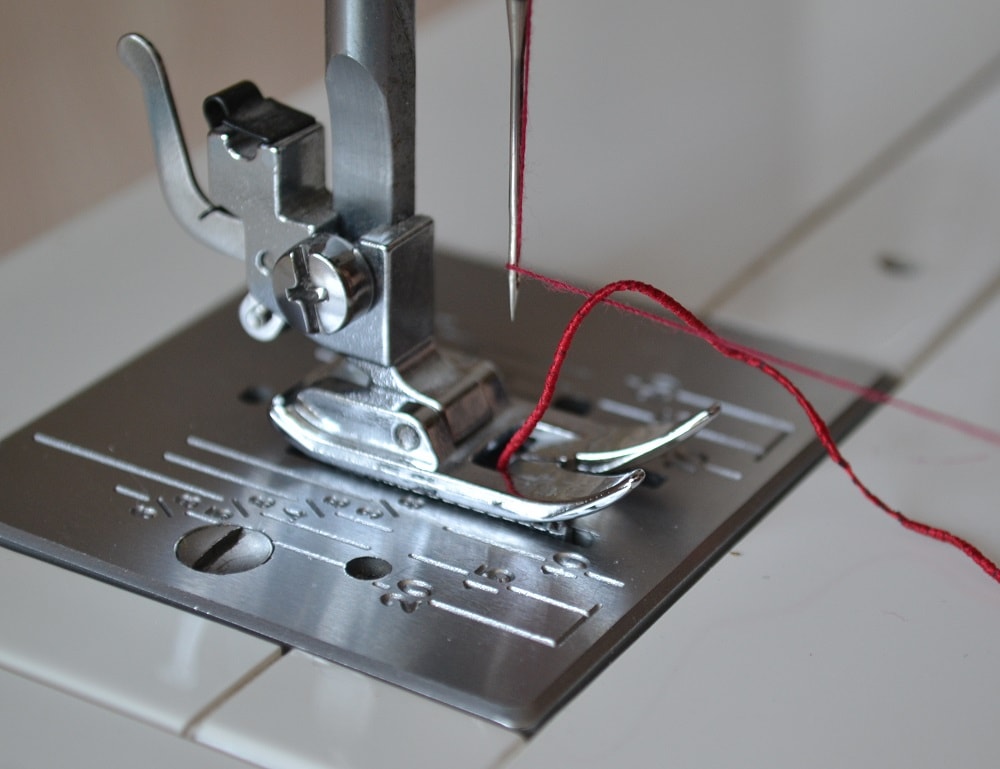
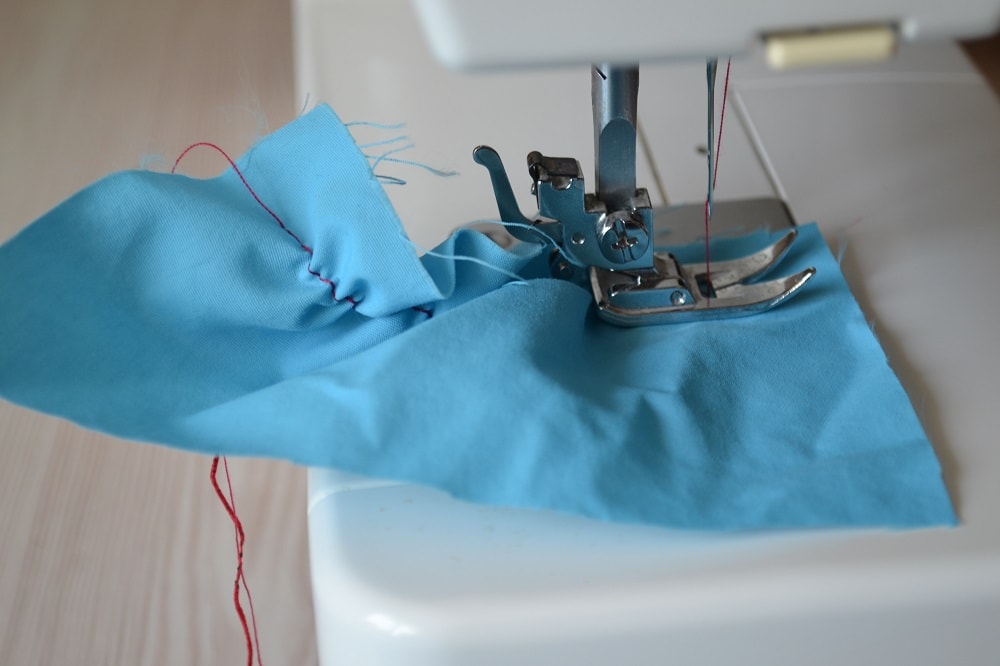
Now put a presser foot down and turn a flywheel around by hand. Pull out needle thread end and lift up elastic thread from a slit of needle plate also.
Pass both threads under the presser foot sole. If this is not done then long ends of threads will be ingress into stitches during making a shirring.
How to set normal thread tension for shirring
If you are beginner and you want get good result I recommend first try sew shirring on a scrap of thin fabric. After it you can sew with elastic thread on your skirt or dress and any garment.
Look at wrong side your test fabric. May be is needed to change a tension of top thread (to loosen or tighten). In my example the tension a needle thread and bobbin thread are normal.
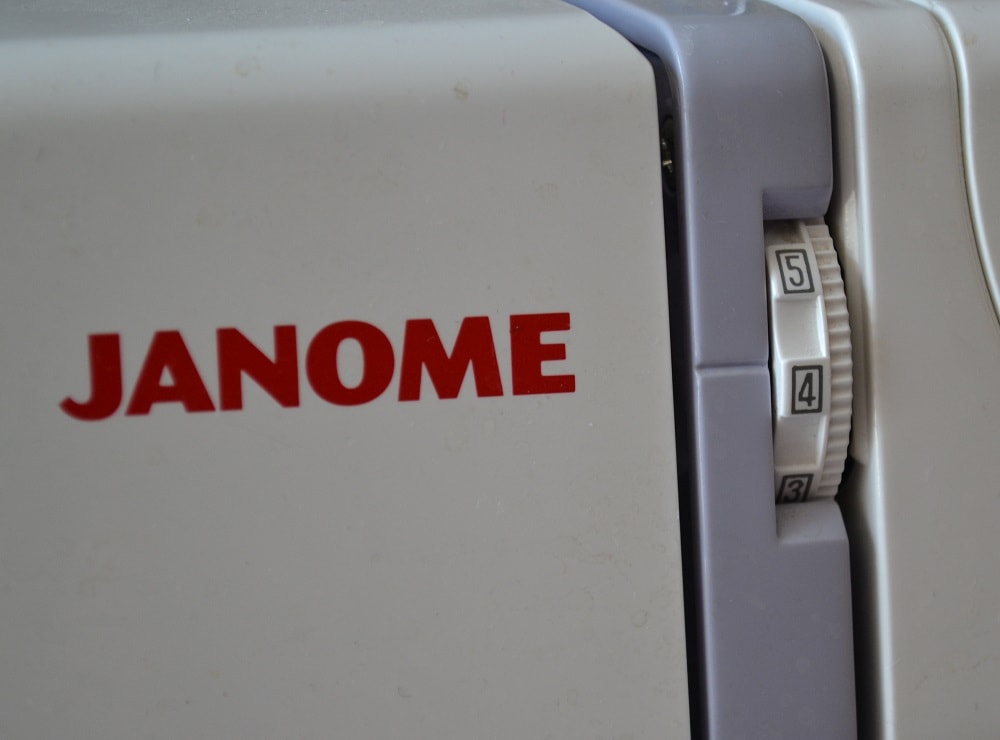
I turned my tension dial up to 4 but your sewing machine can have another values.
Note: Top thread tension varies depending on tension of bottom elastic thread.
First steps of shirring
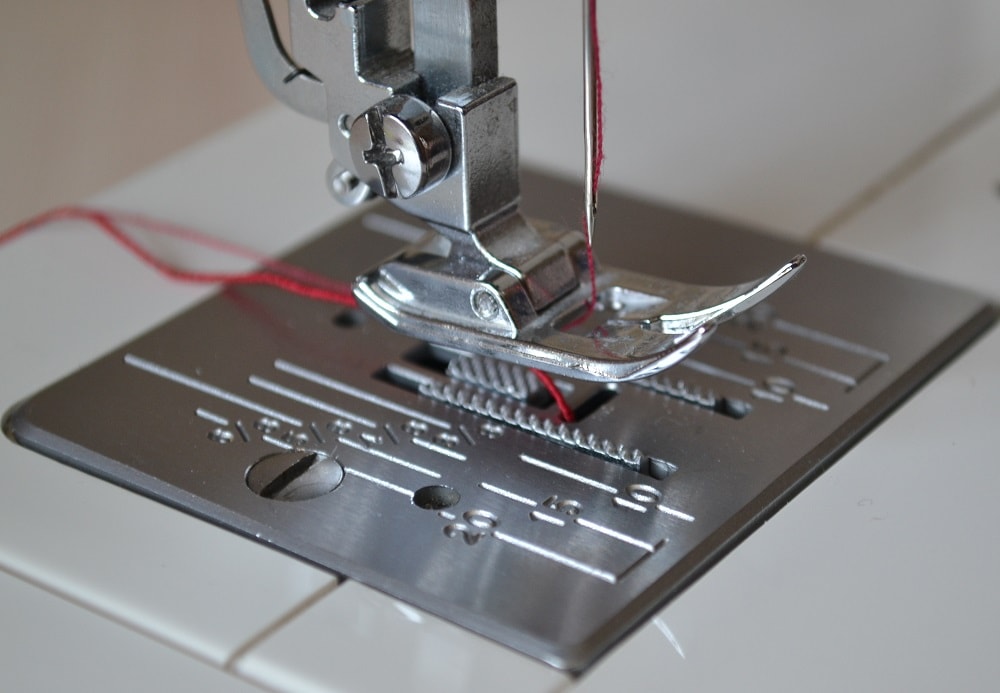
Now it's time start sew a shirring your fabric with elastic thread.
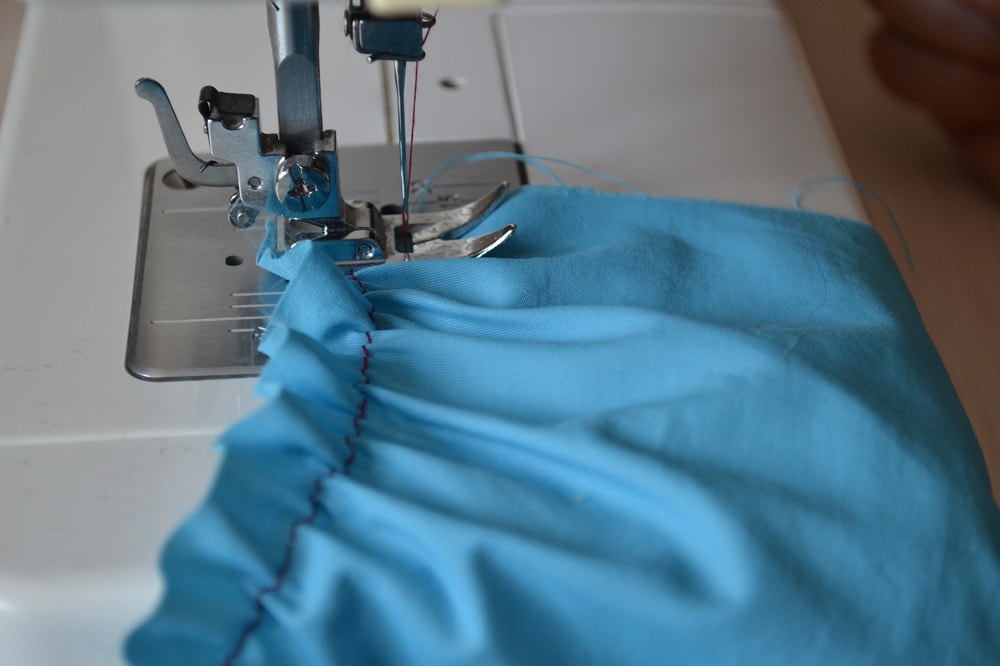
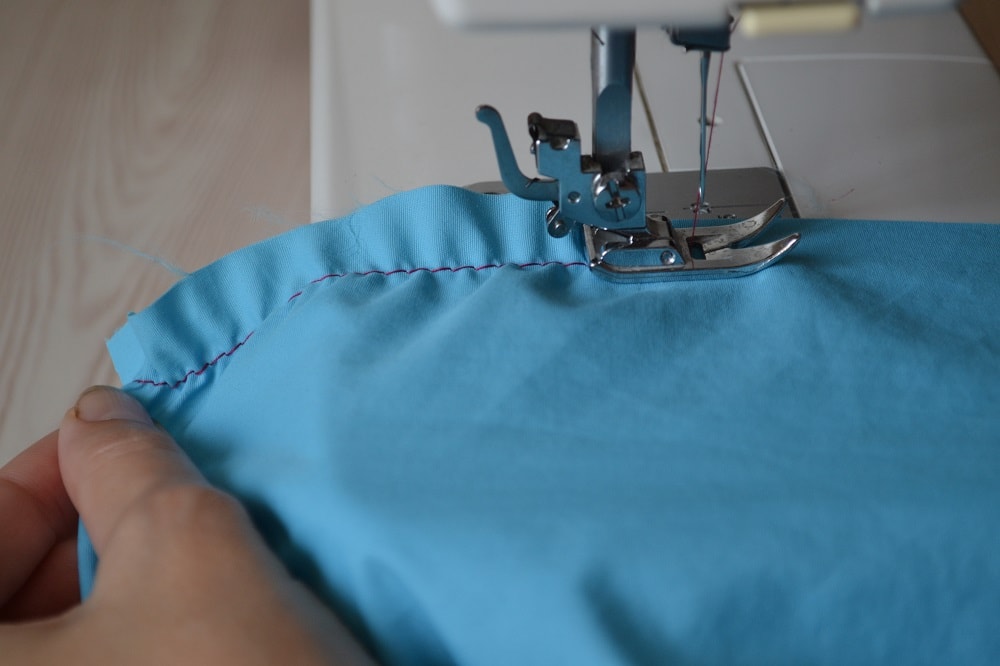
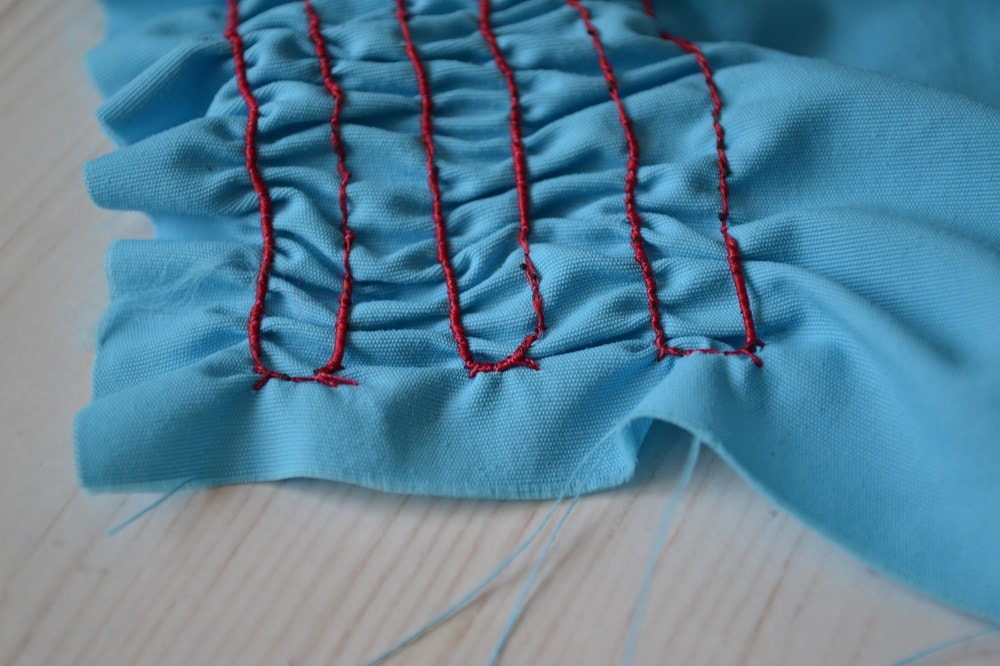
On this photo you can see a way how to sew many rows with elastic thread without cutting of threads ends, making one stitch line.

It's a good idea to turn and do 3-4 stitches along edge of fabric. Now you can start sewing backwards.
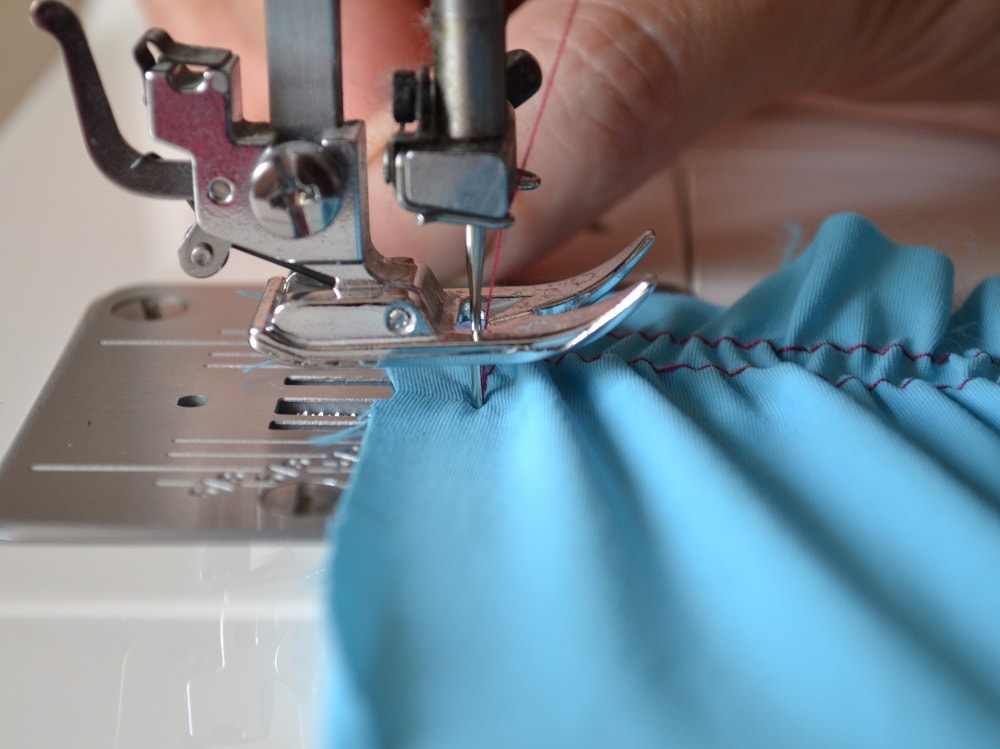
Next row of shirring with elastic thread you need make the same way.
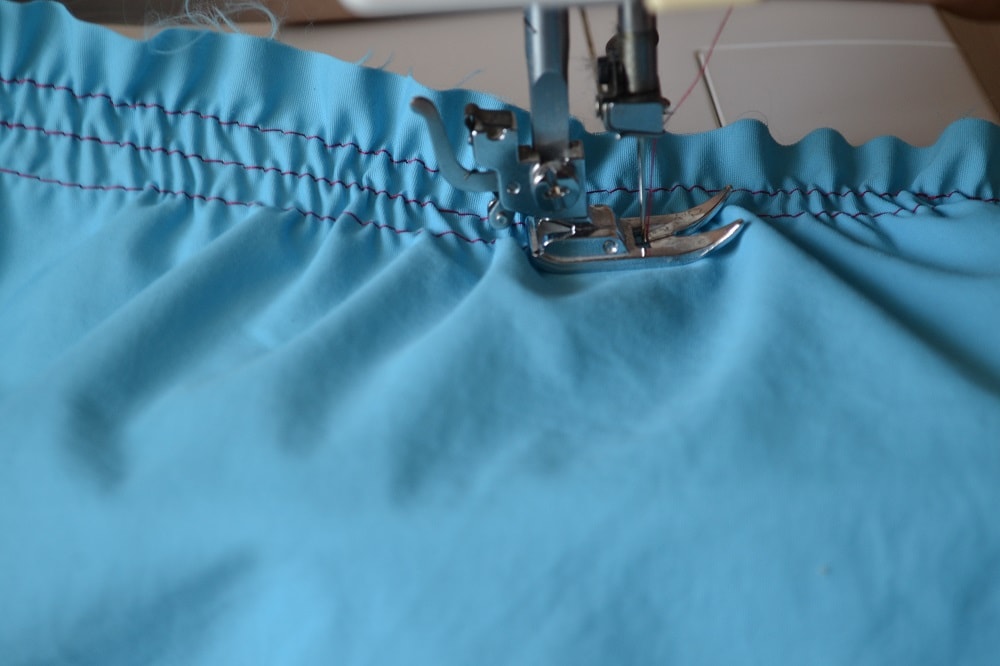
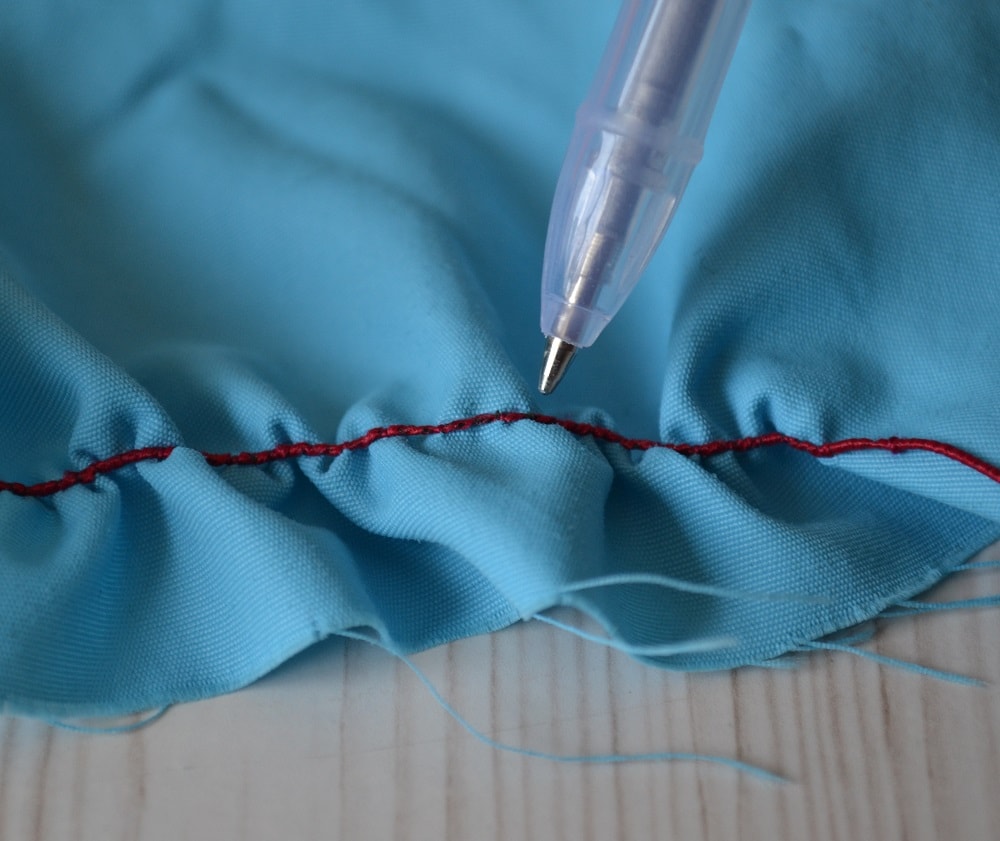
First and second rows of a shirring should be seem very loose, but wait a bit. At the end of shirring all rows will work together very tough.
Final steps of shirring with elastic thread
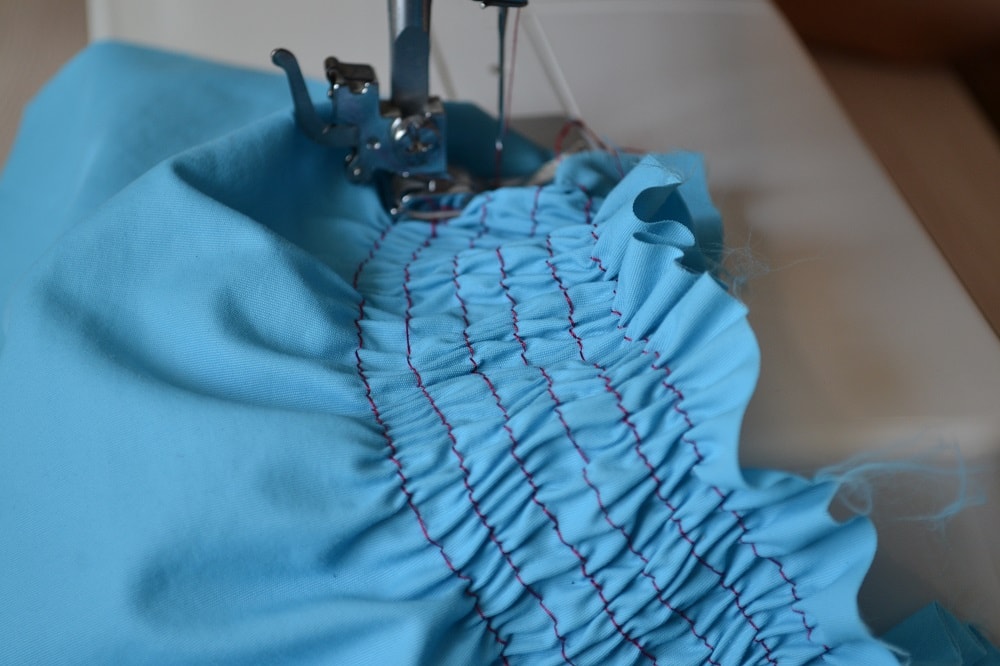
So looks a face side of shirring.
This is wrong side of shirring with elastic thread.
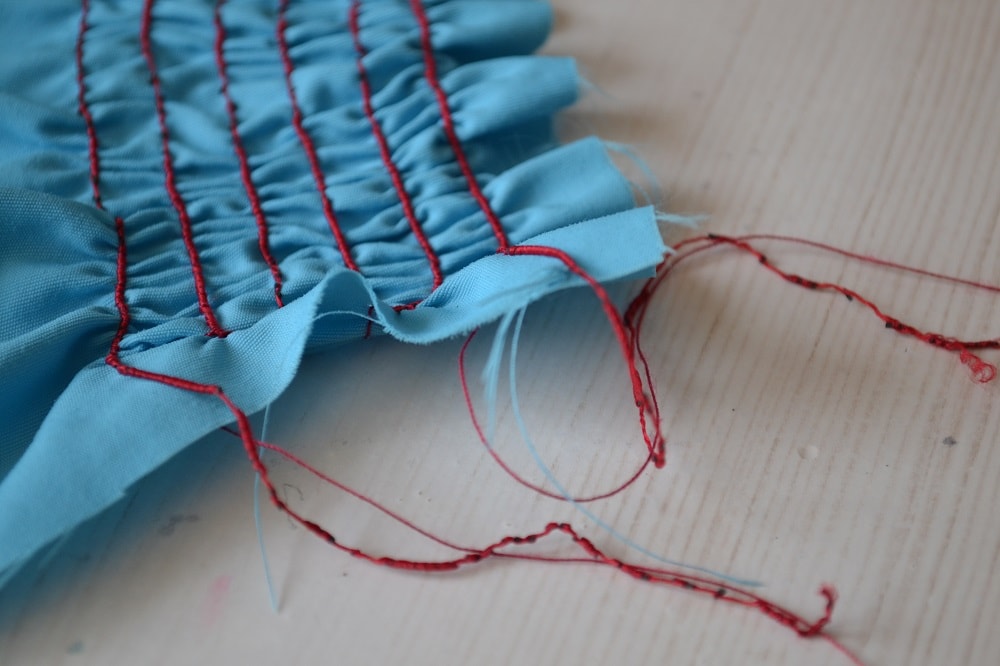
Tie every pair of threads ends together.
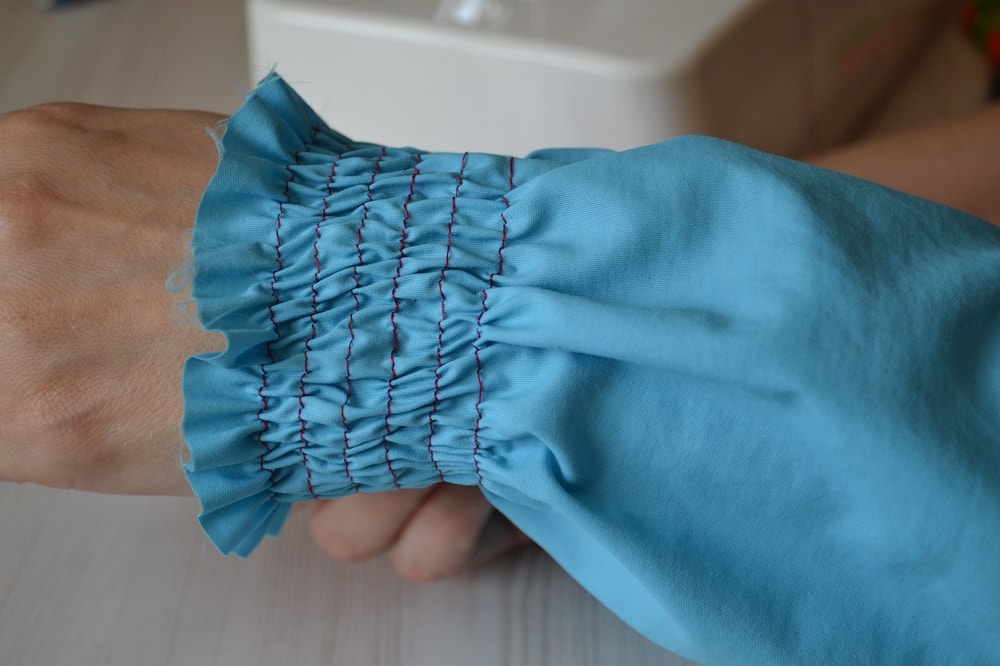
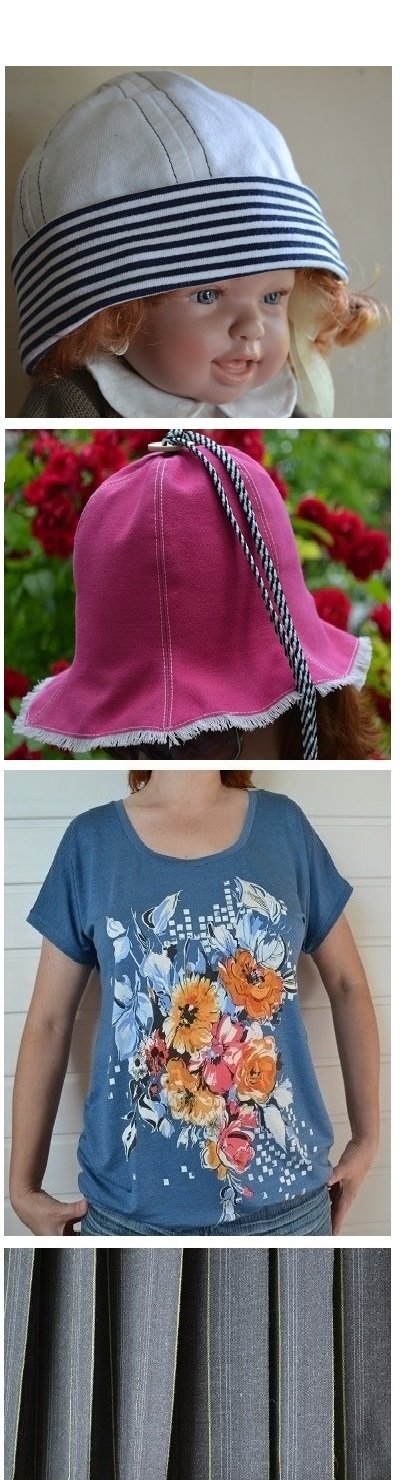
Shirring with elastic thread can be used for decoration around sleeves of shirts or around waistline of dresses etc.
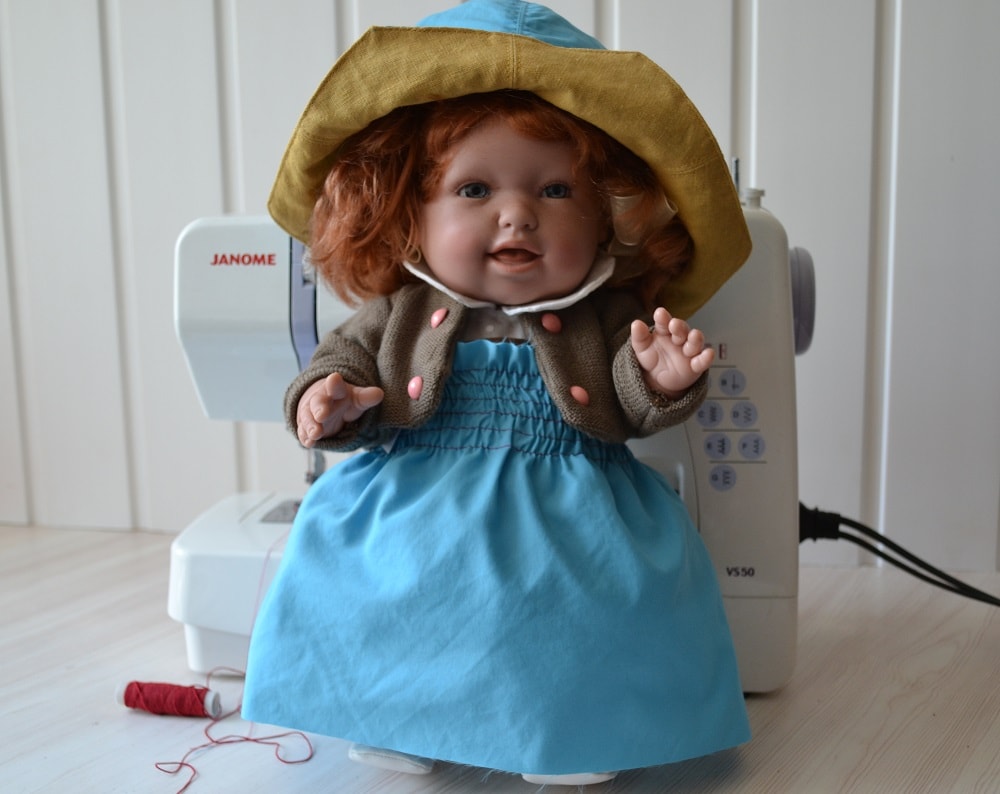
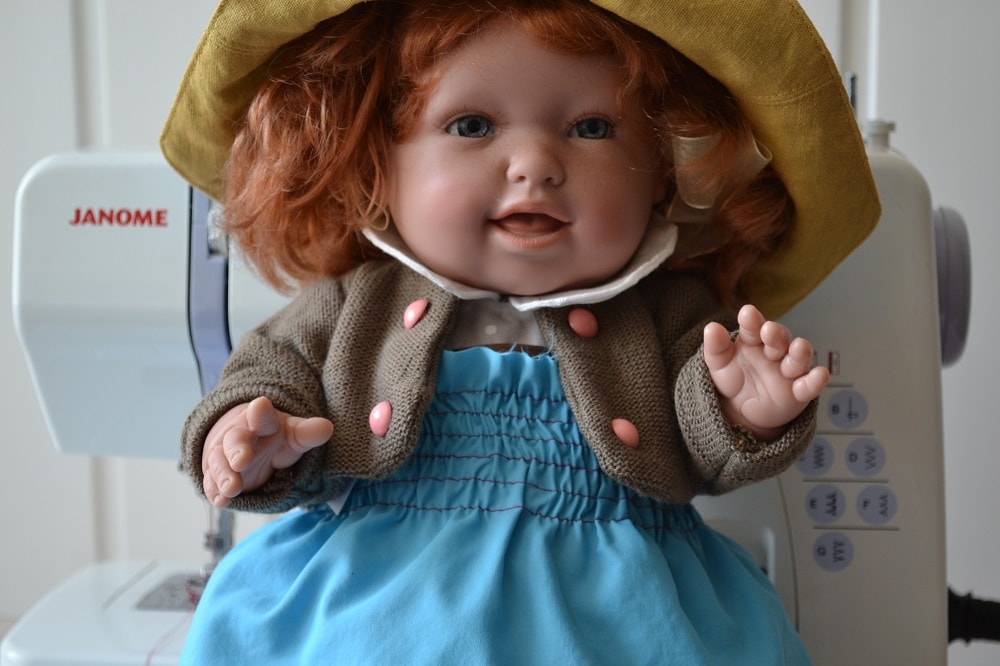
The shirring technique can be used for sewing another garments also, including sewing a dress for your dolls.
Once you have made all rows of shirring you can use an iron. Not press it strong, better hold your iron very lightly over shirred stitches using a steam only.
In this video shows how to gather and ruffle fabric using a sewing machine.
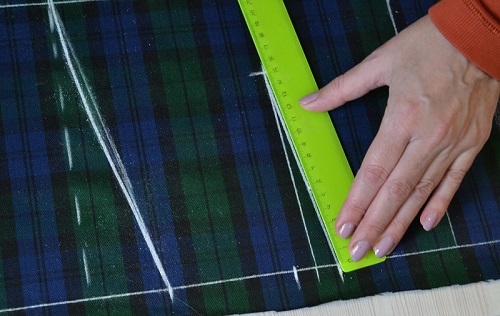
How to Draft a Pencil Skirt Pattern direct on fabric
In this lesson you will learn how to draft a pencil skirt pattern without paper. We will build a pattern skirt scheme directly on the fabric.
Free pattern drafting of a straight skirt
An experienced tailor teaches you to draft the pattern of the straight skirt. This free method can be used to drafting of any sizes straight skirt.
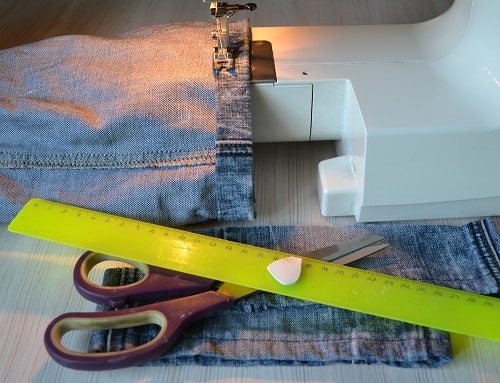
How to Cut the Bottom of Jeans
Learn how to restore the bottom edge of your old jeans. In this post you will learn two ways how to cut bottom of jeans at home.
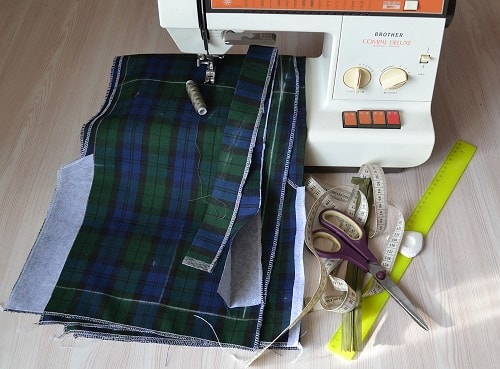
Tutorial How to Make a Pencil Skirt
This is the easy and detailed tutorial how to sew your pencil skirt or any other models of the straight skirts.
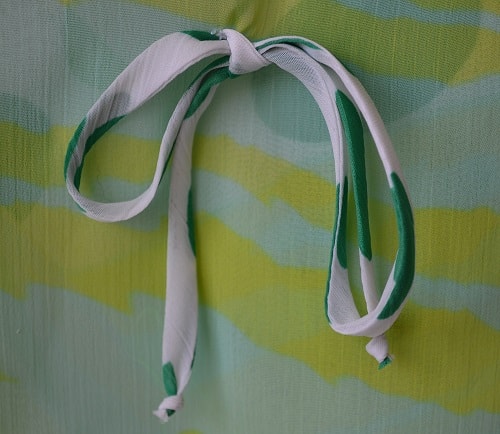
How to Make Womens Spaghetti Straps Dress
Ten steps how to make chiffon spaghetti straps.

How to Add a Cuff to the Pants or Sleeve
The cuff is best way of lengthen boys trousers. Learn how to add the cuffs to the pants or sleeves. This is step-by-step sewing tutorial.
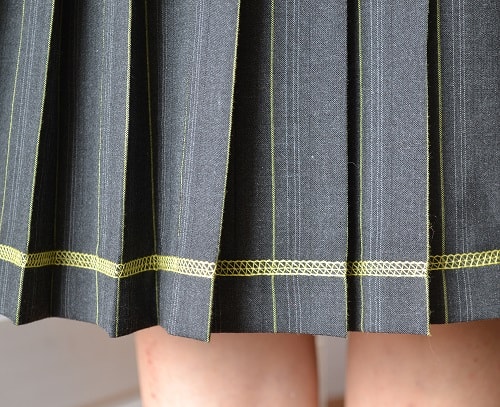
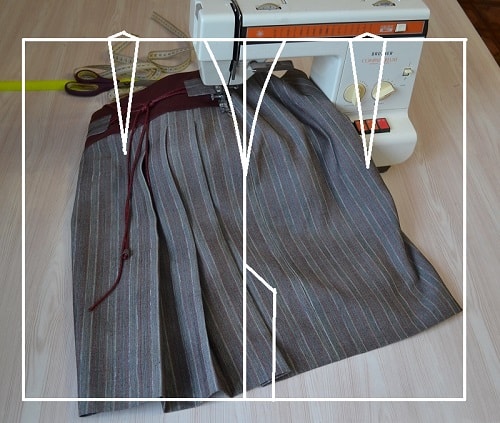
How to Make Pleated Skirt of Striped Fabric
Here is sewing tutorial on how to make pleats of striped fabrics. These steps with photos and comments help you sew a pleated skirt.