Newsboy Cap Tutorial with Pattern
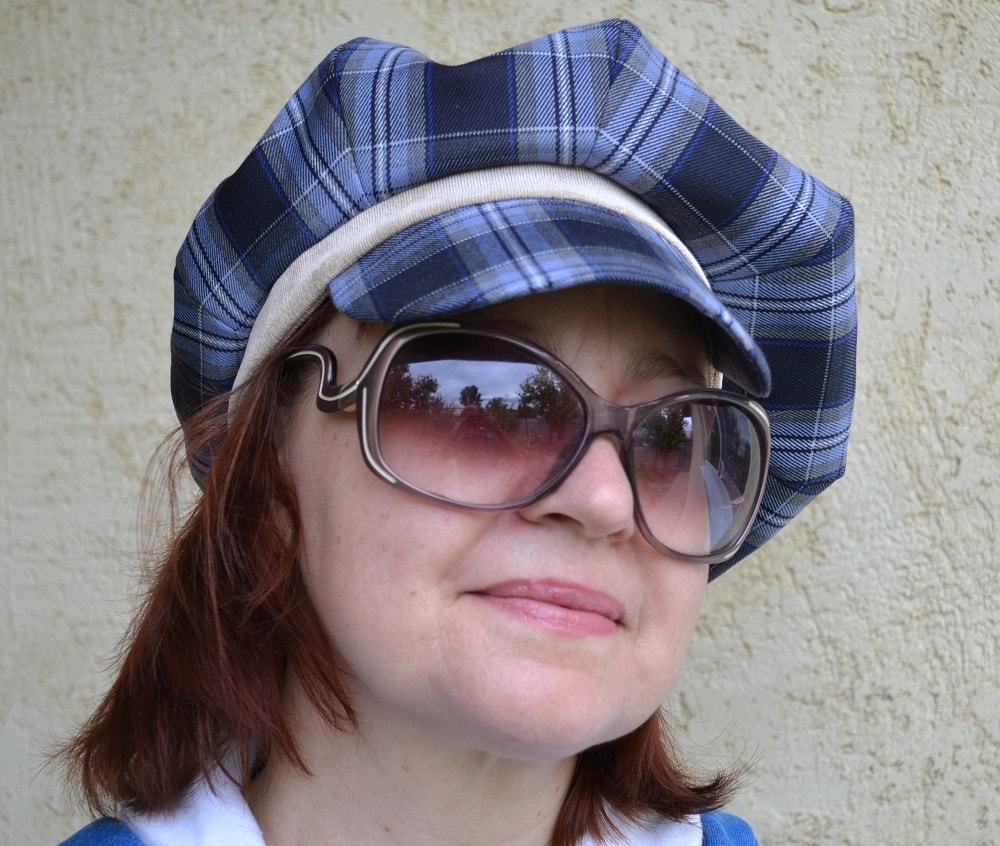
Look at my newsboy cap and may be you will have desire to make such hat. Here you find tutorial how to sew newsboy cap and pattern (PDF) of two sizes.
The newsboy cap is traditionally a men's cap worn newspaper boy in the late 19th and early 20th centuries (USA). But it looks cool on women in our days too, especially with sunglasses!
This tutorial has only some main steps how to sew newsboy cap. The version with full illustrated instructions (more than 50 photos) and printed sewing pattern (pdf) of newsboy cap you can get for a fee (10$).
Note: For sewing a newsboy cap you need have some sewing skills.
The pattern not includes seam allowances. Don't forget to add around every piece 1 cm (3/8).
The pattern is printable on A4 or letter size paper. The file with pattern Includes 2 pdf data: pattern for head size 55cm //21,7" and pattern for head size 58cm //22,8".
This photo shows 55cm // 21.7". It is little bit loose fit for me.
If you decide to sew such plaid newsboy cap or have any question doesn't hesitate to contact me!
Materials: Main fabric /140 cm (55") width // length: 0.5 m (0.54 yds)
Lining fabric / 140 cm (55") width // length: 0.5 m (0.54 yds)
After a long and difficult sewing, the newsboy hat is ready and I decided to show it to you not only in the photos but in the video. In this video you not find tutorial how to sew newsboy cap and pattern. In this video, you will see how a ready-made cap looks like only.
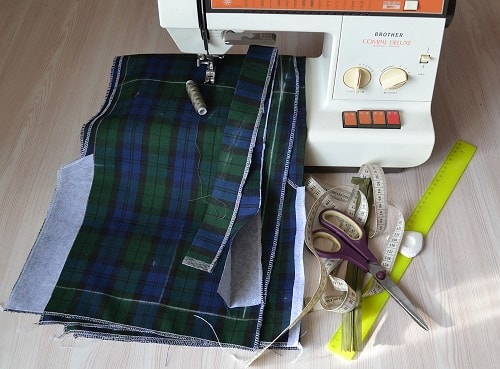
Details needed for sewing this hat
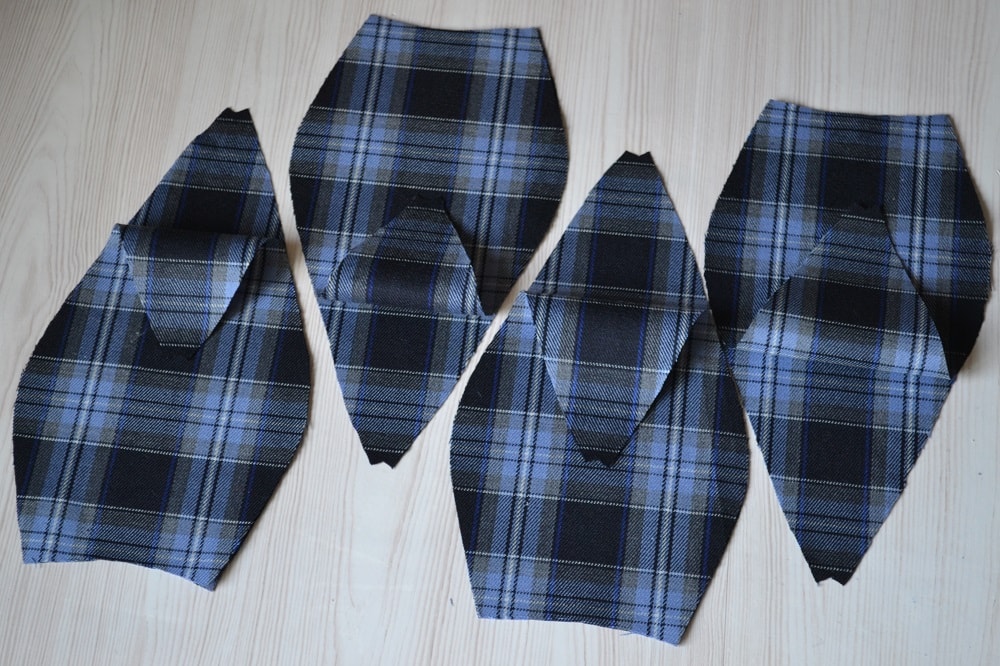
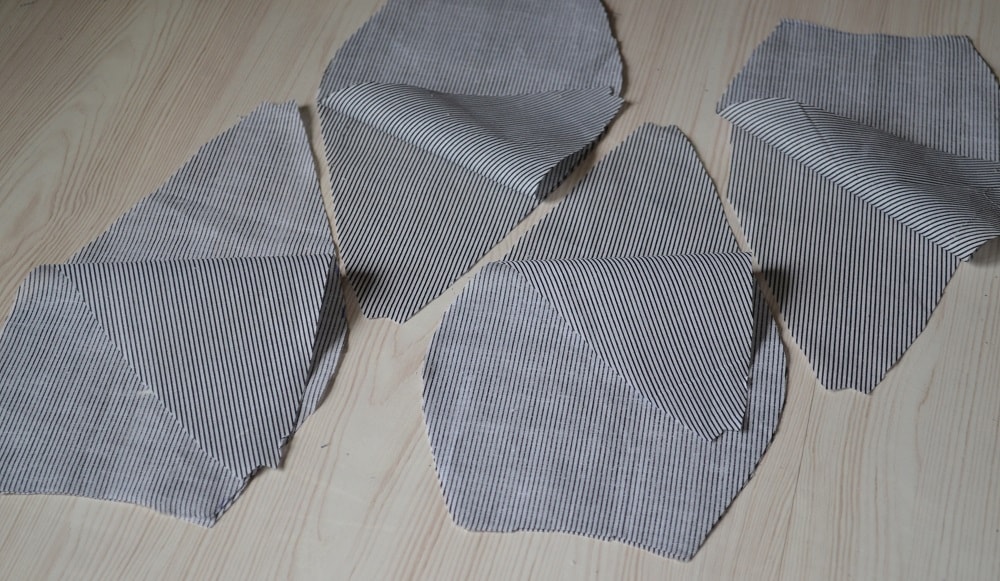
The first thing you should do - to cut eight equal cone pieces of hat. For each part, you have to add seam allowances 1cm (3/8).
If you will to sew such plaid women's newsboy beret for winter from wool fabric you must take into account texture of checkered fabrics. All parts a cap must have symmetrical location of squares of checkered fabrics.
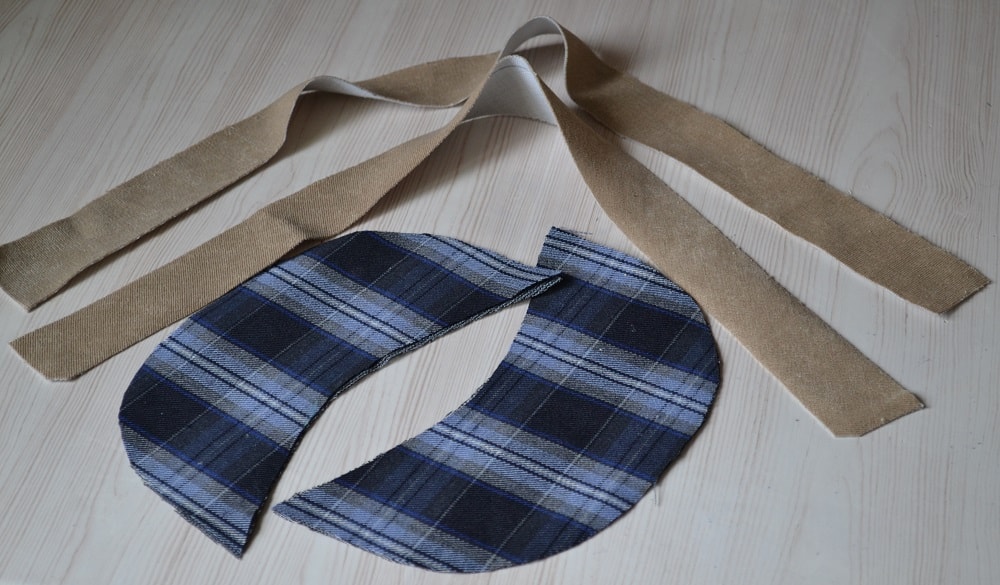
Cut out all fabrics pieces shown at the image above including a cap visor (2 parts) and cap-band (tape has 2 parts).
Don't forget to add seam allowances about 1 cm (3/8).
Now you just have to cut eight equal cone pieces of lining (similar thin cotton fabric) and you can start sewing a beret.
Adding to fabric a fusible interfacing fabric
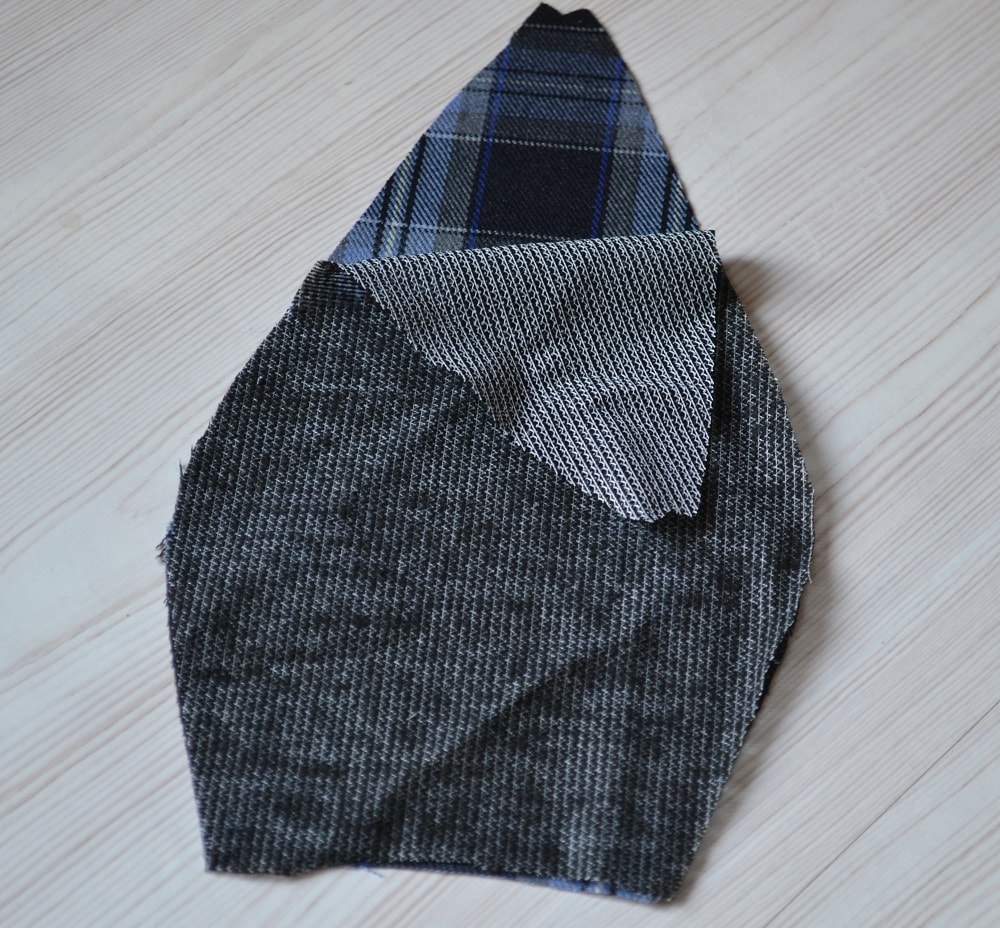
Look at this photo. After you have cut these parts of cap you need to clip little triangles on the tops. This will help you correctly lay seams on the top of cap.
Keep in mind that all wool fabric parts (and other light fabrics) of the newsboy cap is needed to duplicate (on wrong side) with a fusible interfacing fabric.
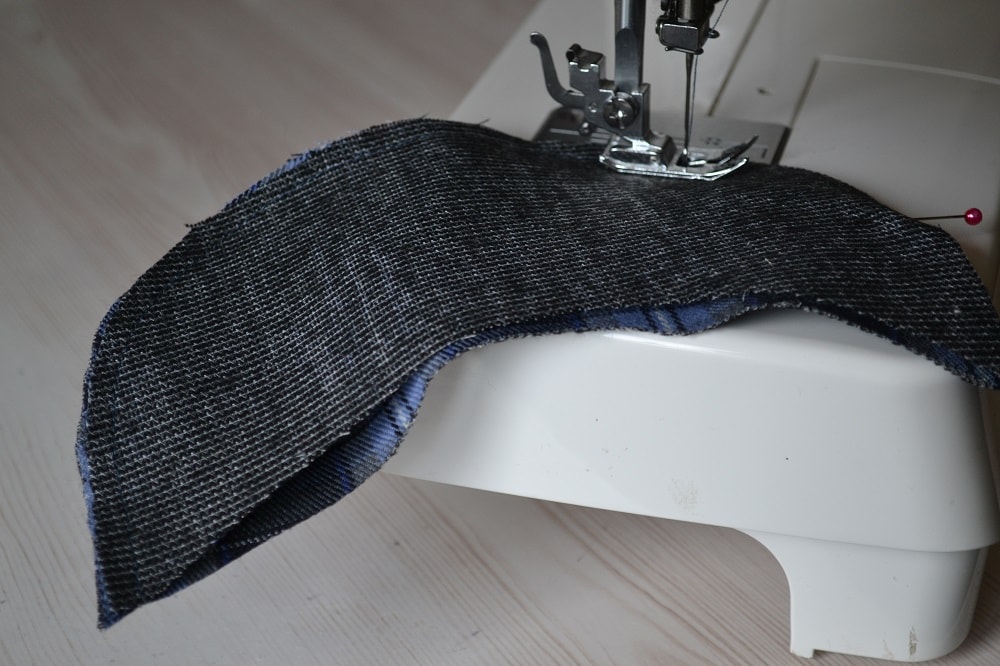
Sewing all pieces of cap together
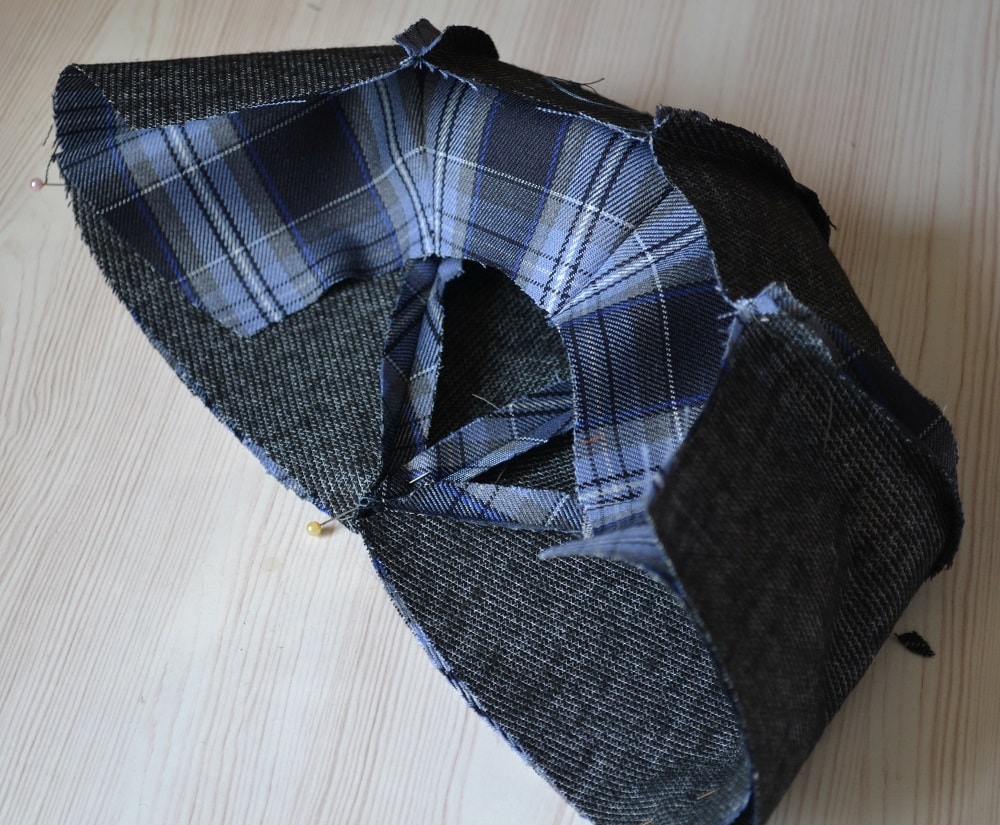
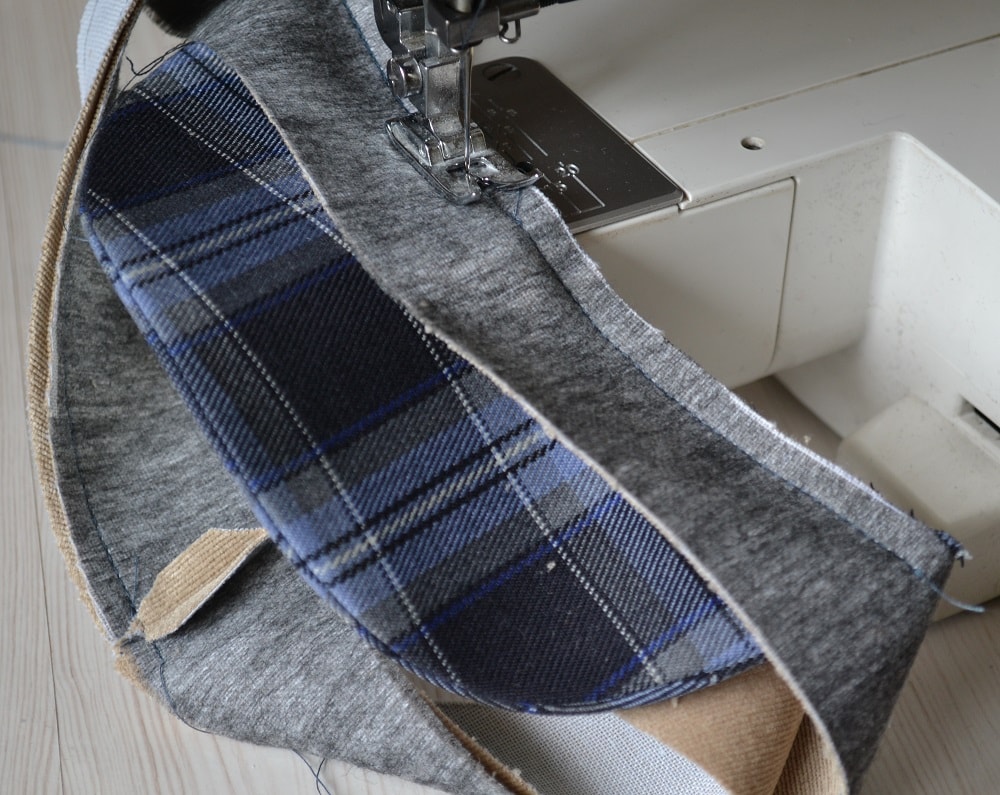
Now you need to sew four pieces of cap together as shown on this photo.
It is time to stitch the two half of the hat.
Press all seam allowances with steam iron in opposite directions (open) on wrong side a cap.
Now it is time to make a visor
Now it is time to make a visor.
For bottom of the cap visor you could have making different color of fabric or use the same color as top parts of the hat. But both parts of a visor you need to duplicate with the fusible interfacing fabric necessarily.
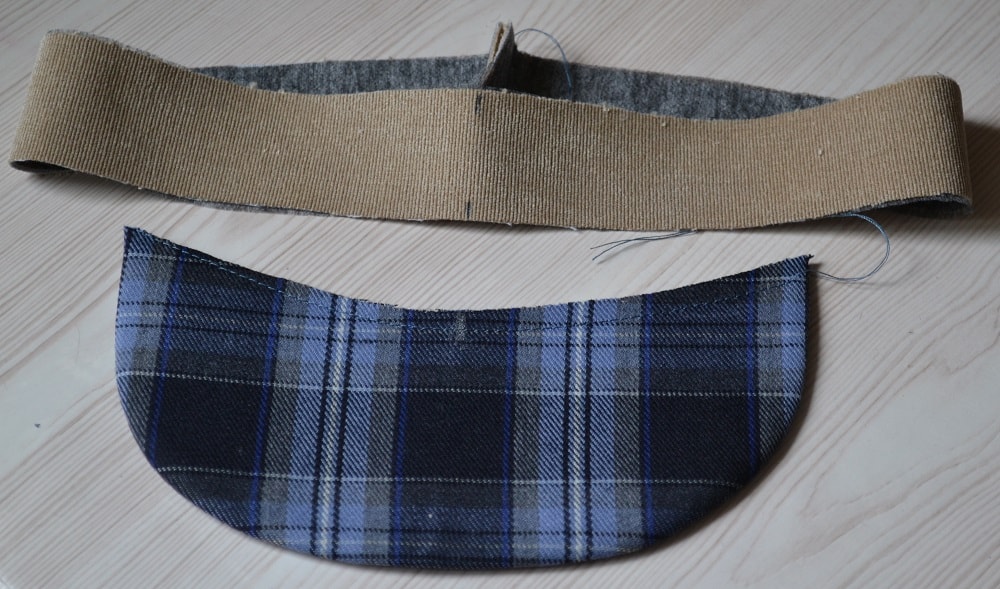
Before sewing a hat you need to cut two strips (cap-band). Keep in mind that you can change its width at your discretion. The taller hat you want the wider this strip will be.
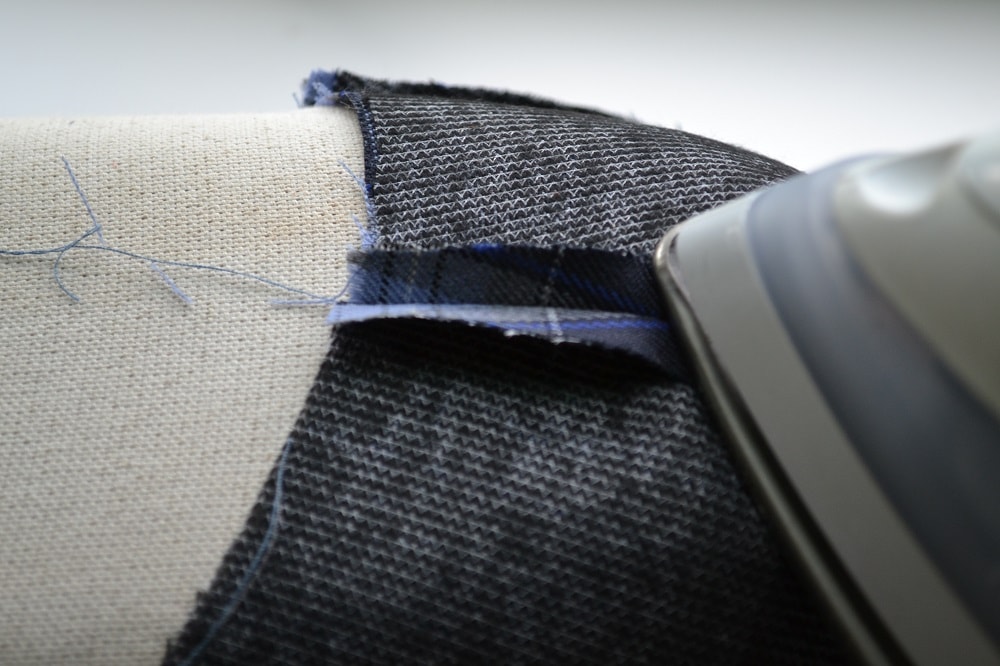
How to sew a cap-band to visor
Firstly you need to sew both strips of the cap-band to the visor.
After you sew the visor, you can continue sewing both head band pieces together. Sew the head band pieces and visor with wide stitches (5-6 mm).
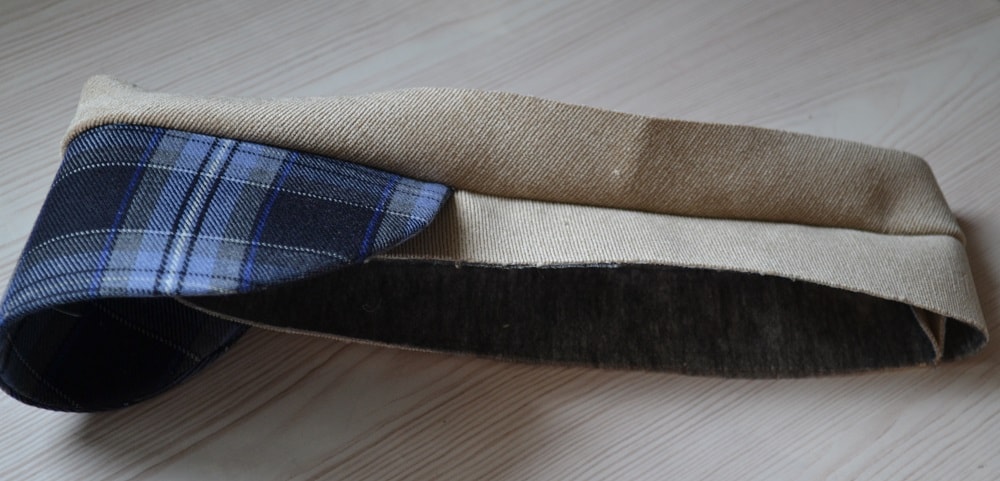
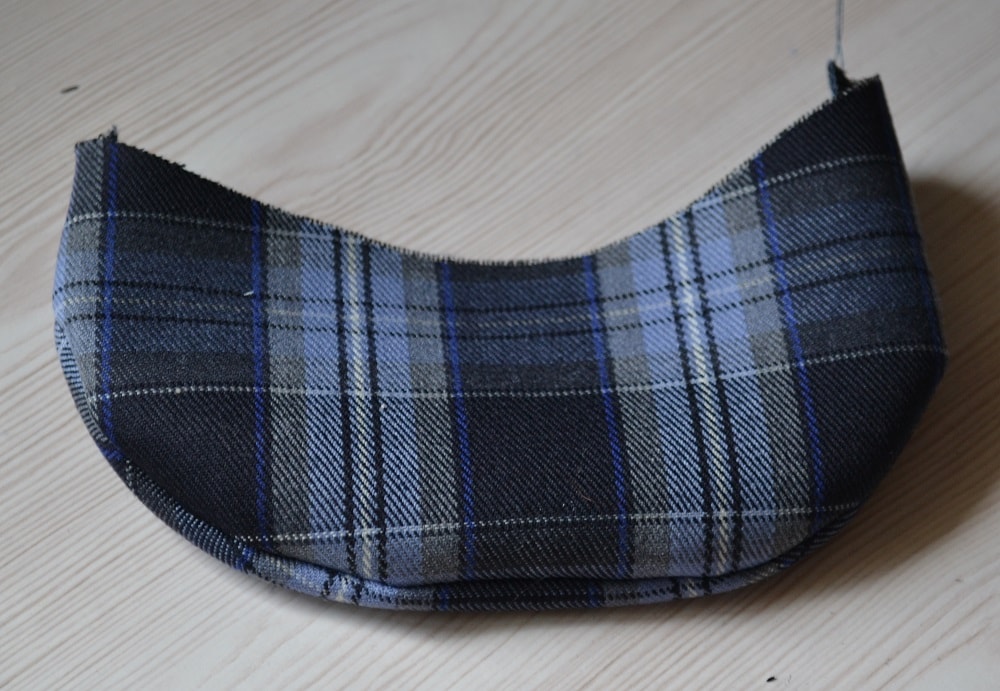
Now fold these both parts of the strips in half.
Sewing upper part of newsboy cap with visor
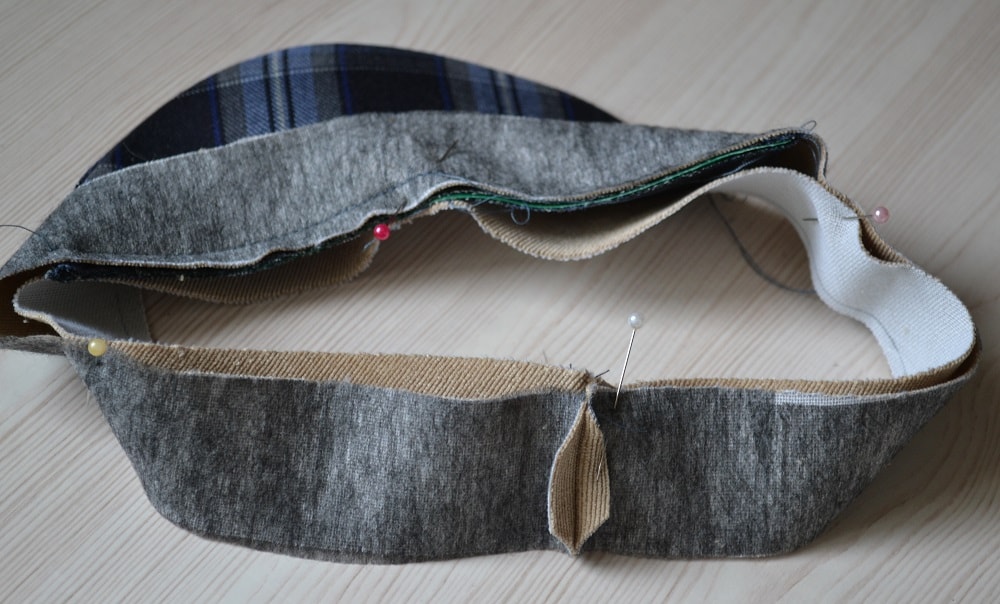
Take the upper part of the hat and connect it with one strip of the cap-band (all details place face to face).
Pin it in four points as shown.
Now you need sew these details together. Be sure that your sewing machine can do it. This is the thickest seam and sewing machine may break a needle.
Note: Segment of visor location can be done by hand stitching.
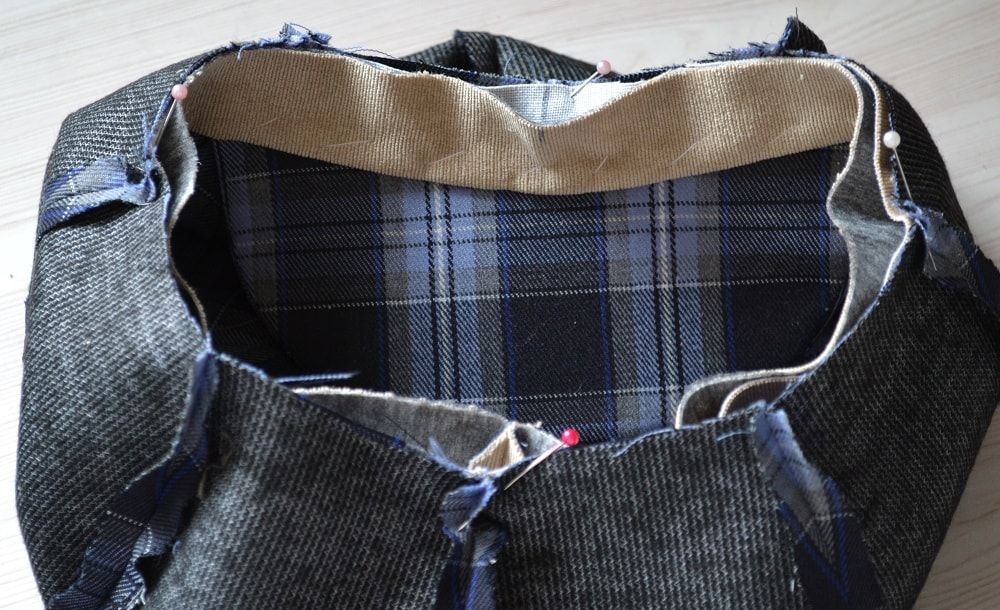
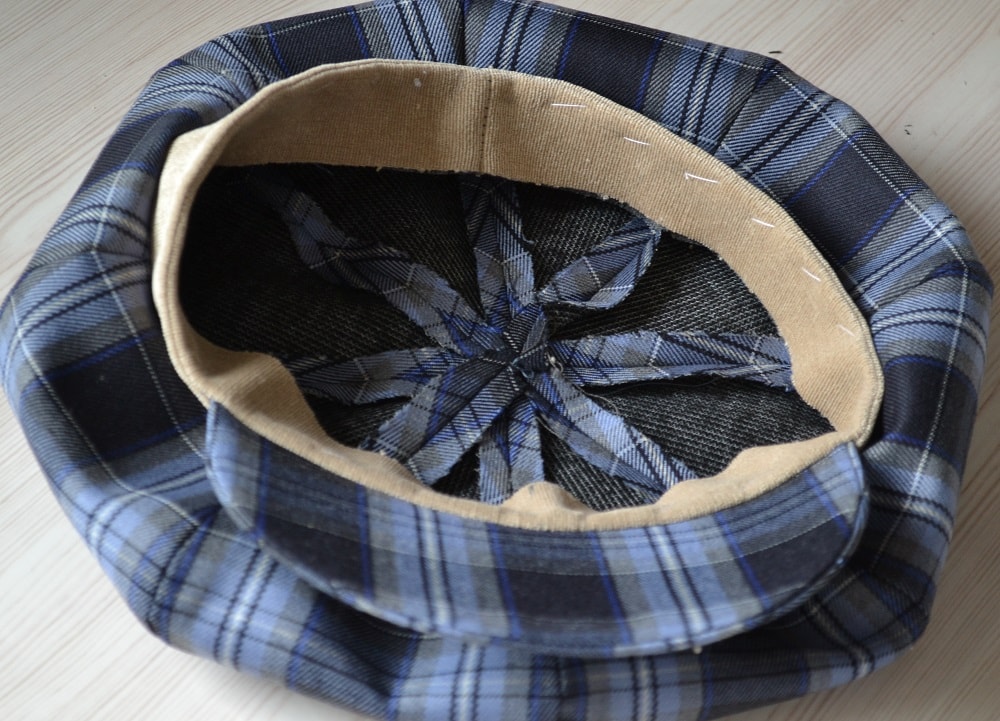
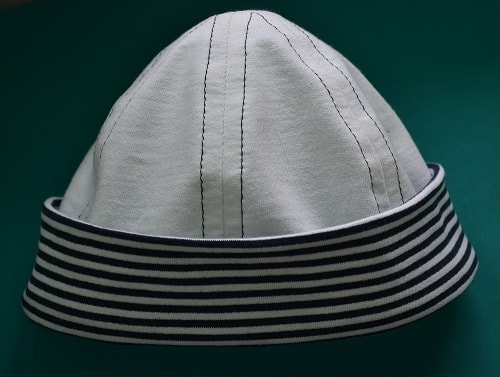
Now you need attach a lining
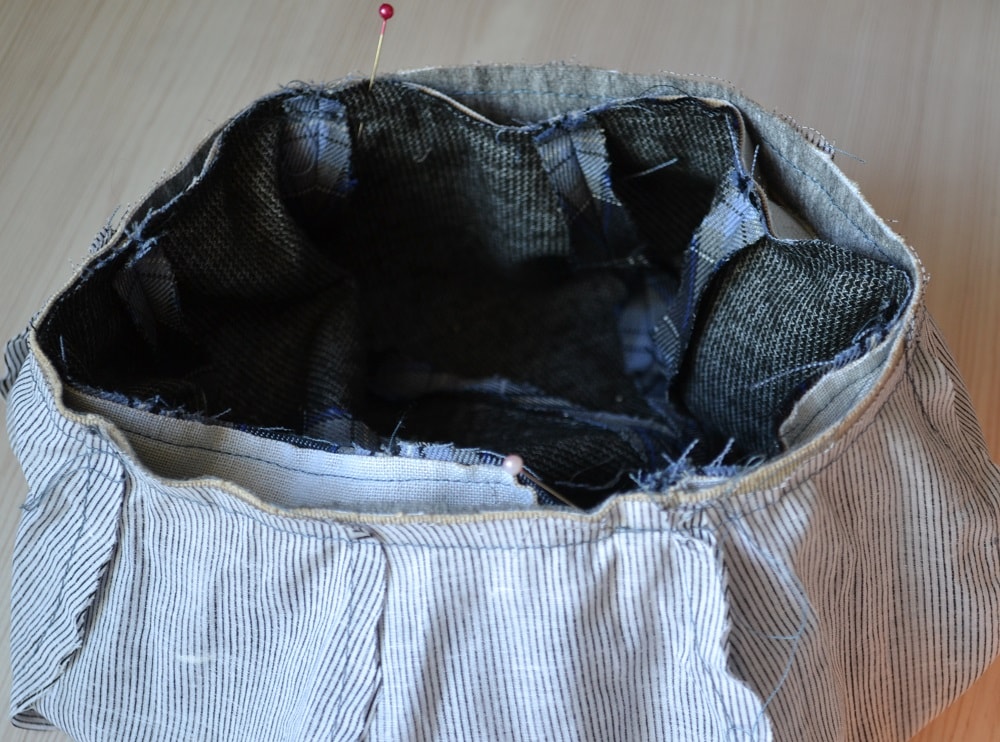
Now you need only attach a lining to inner strip of the cap-band.
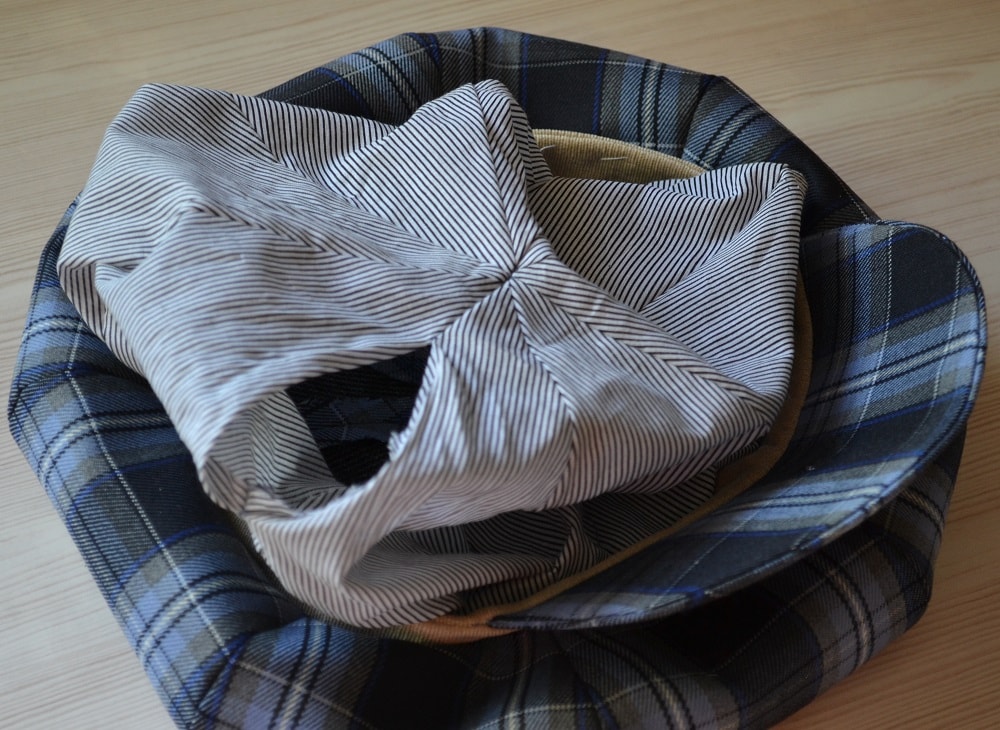
It is time turn out the cap on the front side through this hole.
Decoration for newsboy hat
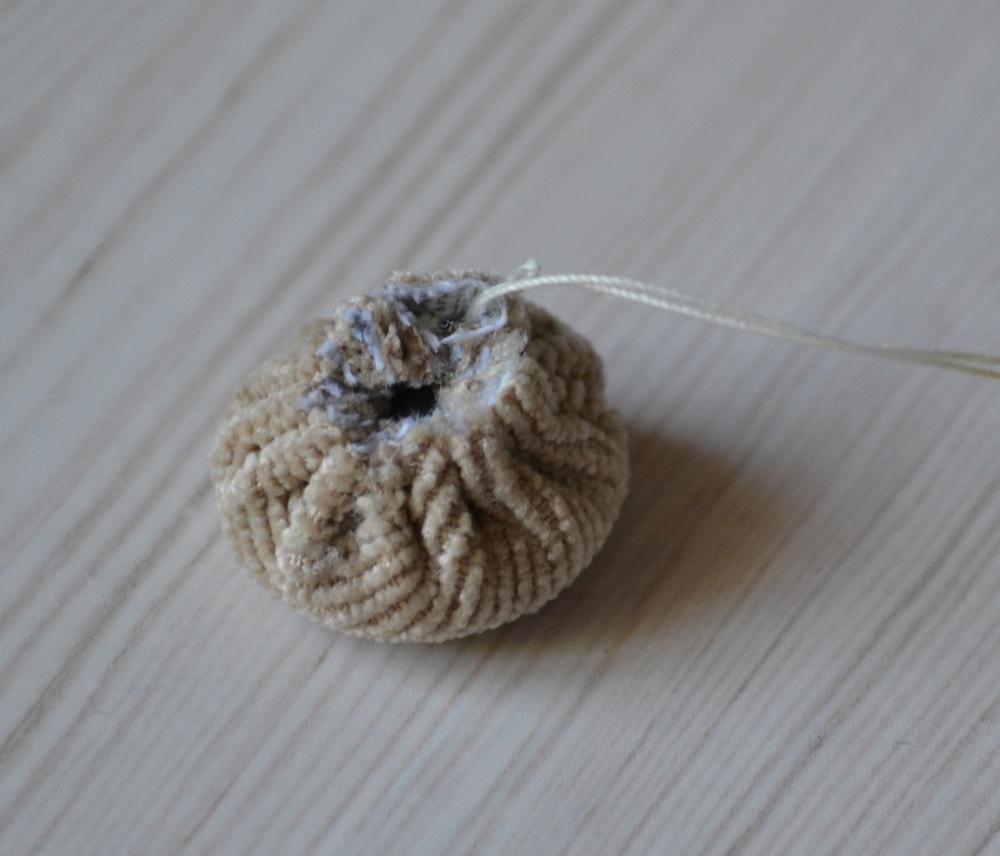
Any usual button can be a nice decoration for newsboy hat.
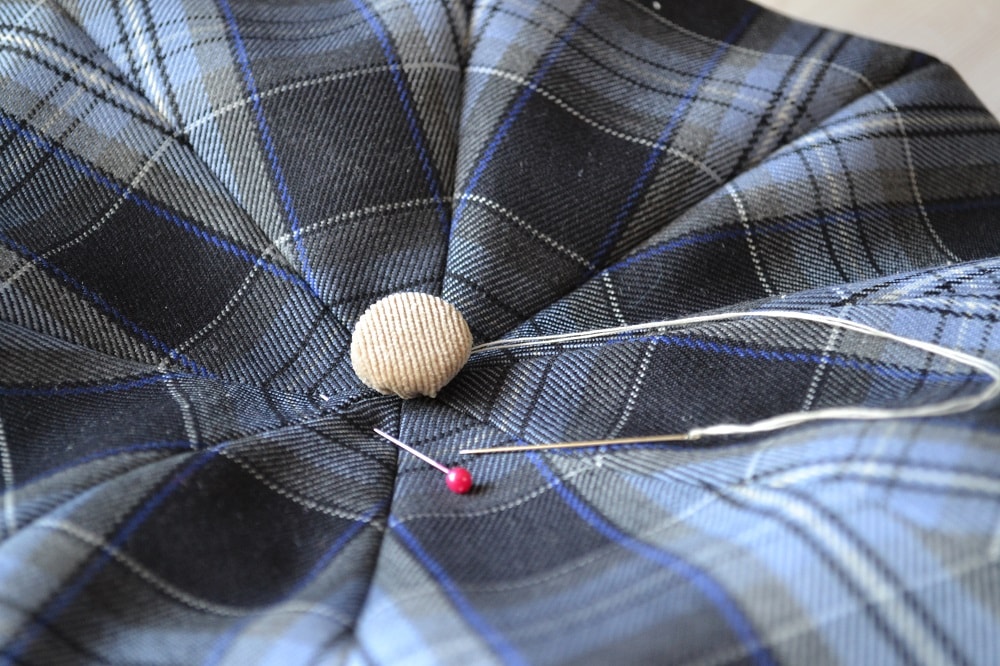
Now you need to sew a button to the top of cap. This will not only decorate the hat but and hide docking seams.
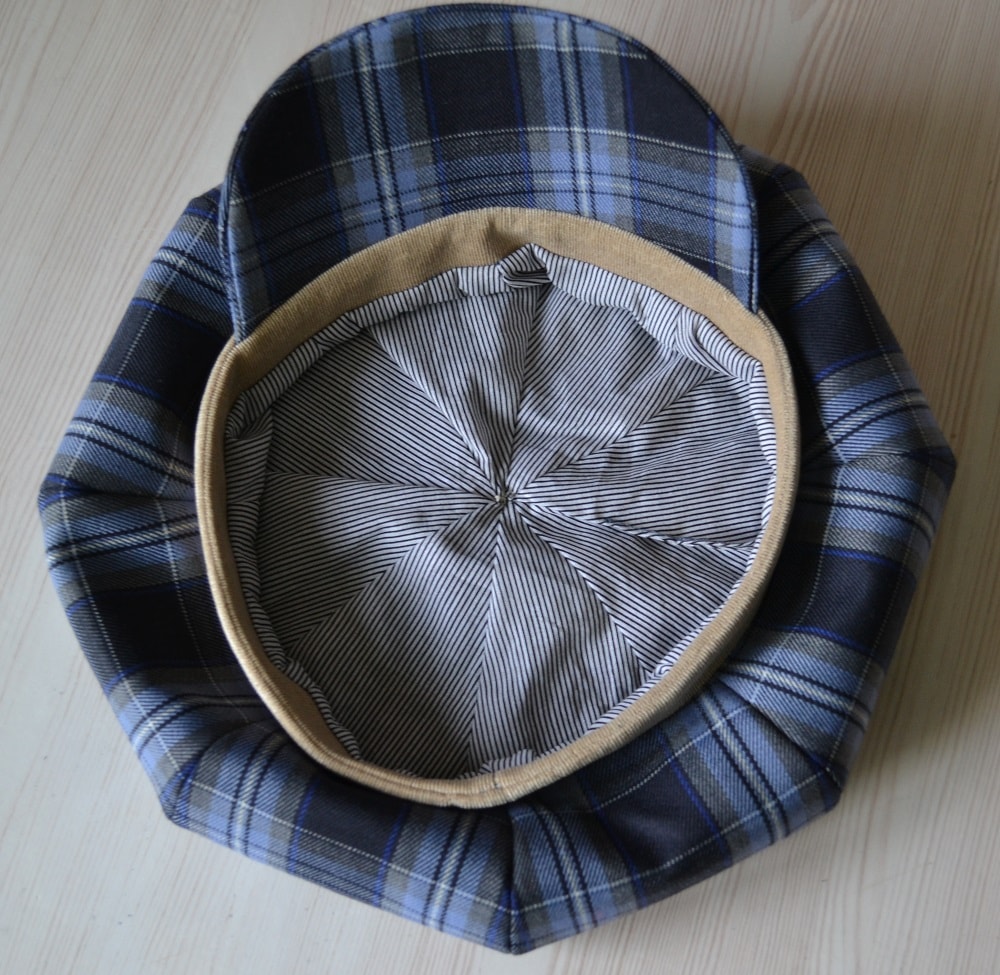
So looks the newsboy cap inside.

It is time to put on this newsboy hat and look in your mirror.
In this video shows how to sew a baseball cap having 6 panels. Professional tips of sewing a baseball hat for beginners.
Tutorial How to Make a Pencil Skirt
This is easy and detailed tutorial how to sew your pencil skirt or any other models of the straight skirts.
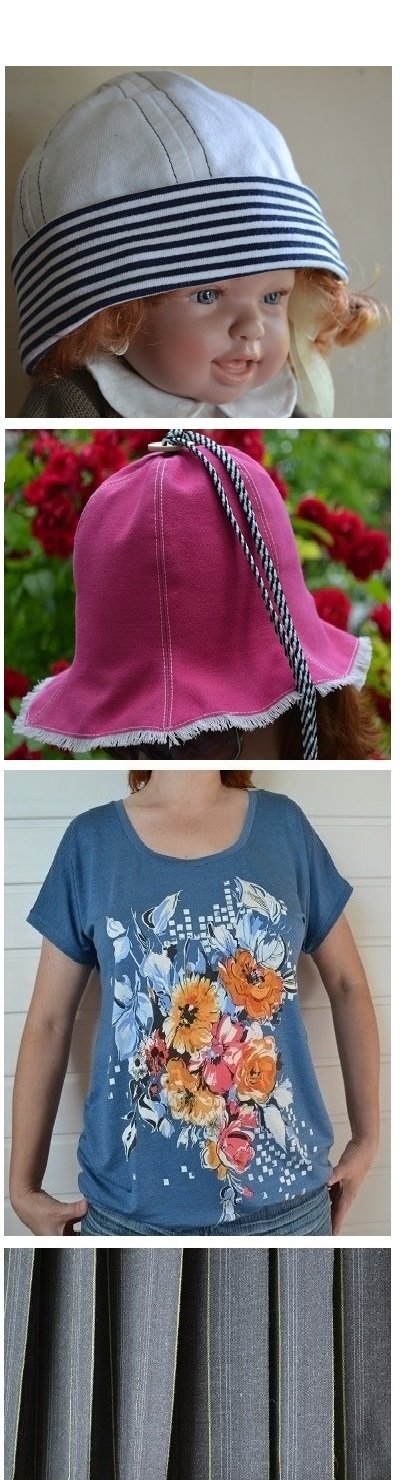
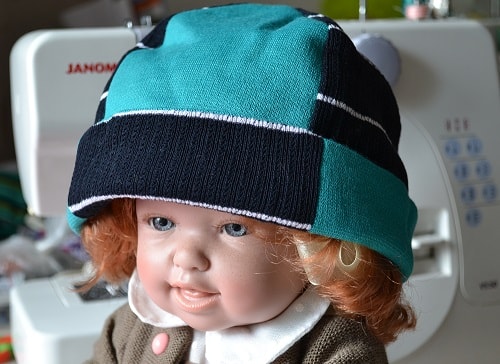
Knit Baby Beanie Hat Tutorial
In this post I propose easy tutorial how to sew a knit baby hats. The sewing tutorial has 20 photos and pro comments.
How to Make Reversible Slouchy Beanie Hat
This reversible cotton jersey beanie hat is for boys and girls. Here are steps to sewing of knit slouchy beanie with 20 photos and comments.
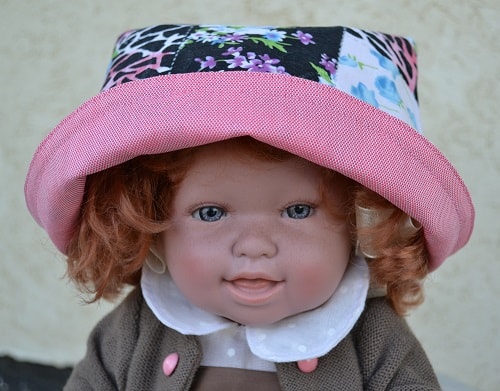
Girls Summer Hat Tutorial
This summer kid's hat looks fine and will be good to protect your baby head from the sun. Try sewing this girl's sun hat using these photos and comments.

Tips for Sewing with Leather
If you are working with leather and faux leather here you find a few helpful tips for sewing with leather.
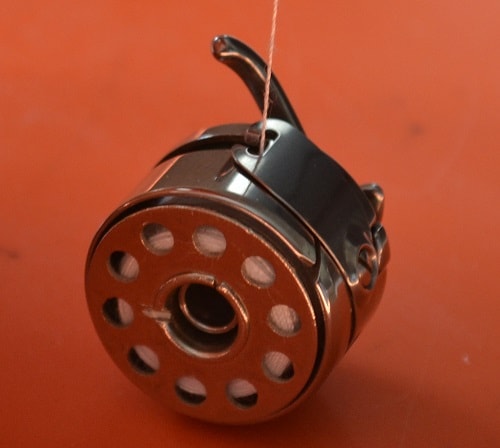
Bobbin Case Device and Troubleshooting
Bobbin case is an important part of the sewing machine. Here you find the device description and troubleshooting tips for problems of bobbin case.
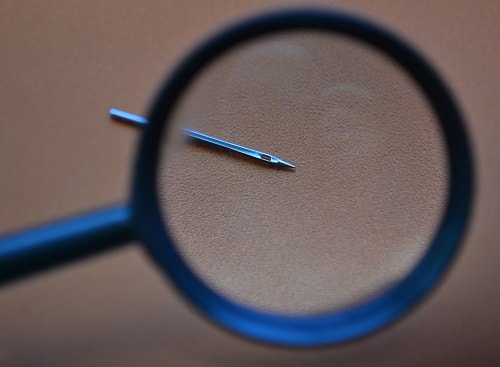
20 Sewing Tips and Tricks for Beginners
Want to learn the secrets of professional tailor? In this case you need to read this post containing 20 sewing tips and tricks for beginners.