How to Sew Four Step Buttonholes

Most of us are able to sew on sewing machine with a straight seam or using zigzag stitches. These skills can easily get even the beginner. But making a buttonhole on sewing machine is a whole different matter. Despite of this you must to be able to perform a buttonhole also good.
Make the buttonholes is needed at the end of sewing your garment. And you can do it in different ways. The way depends on the technical capabilities of your sewing machine. There are one step buttonhole sewing machines (an automatic buttonhole) and four step buttonhole (in four stages).
In this tutorial we will learn how to sew four step buttonholes. Even if you have manual for making buttonholes on sewing machine read my tutorial also. High-quality photos and pro tips will teach you make a buttonhole in four stages easy and correctly.
In this video tutorial you learn how to do a four-step buttonhole on sewing machine.
Preparation to sewing a buttonhole

For this training tutorial I use a small piece of fabric.

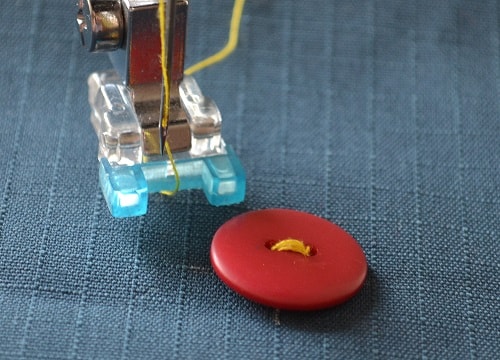
To perform this training I use medium size a flat button and special presser foot for sewing buttons.
Look in the set of sewing machine feet. Your sewing machine must have such presser foot if it has this operation.

The place of fabric where you will make the buttonhole should be strengthened with special fusible material (one side). Therefore you'll cut a small piece of interfacing and press it.

What is fusible interfacing fabric? It is thin transparent material having the pieces of glue on one wrong side. Face side is smooth without the adhesive tubercles.
You will place the adhesive tubercles down onto the wrong side fabric and press it with steam iron.

Now iron it but keep in the mind if iron is not too hot your fabric and fusible interfacing won't stick together. Too hot iron can damage both of them!
For best results, use only steam iron and a thin pad of fabric.
Marking buttonhole on the fabric

Before sewing a buttonhole in four-steps you need to make some measuring. You need measure the length of button and the hole.

Mark the buttonhole length on the fabric. Its length must be bit a longer than the button diameter.
Presser foot for making a buttonhole

Remove the usual presser foot from your sewing machine.

Attach the special buttonhole presser foot to sewing machine.

The top thread you need insert through the slit of the buttonhole foot.
Four Step Buttonhole Stages

Turn the handle of a choosing length stitches to almost smallest value.

At the same time set the stitch selector to buttonhole position - step 1.

Place your fabric under the buttonhole presser foot.

The marking line must lay exactly in the middle of slit the buttonhole.

Start sewing a buttonhole at slow speed.
Stop sewing exactly at the point of end markings.

In this step you need to set the stitch selector to buttonhole - position 2.
Note: the needle should be in the raised position.

And now you can press on foot control pedal and to make several broad stitches.

Now you need set the selector of buttonhole in position 3.
Note: the needle should be in the raised position.

Continue sewing your buttonhole at slow speed.
Note: the machine will sew in the opposite direction.

Stop sewing exactly at the point of opposite end a hole.

Now you must to set the stitch selector of buttonhole in position 4.
Note: the needle should be in the raised position.

In this position the sewing machine must to do a few several broad stitches. It is the final operation of the sewing a buttonhole.

Remove the fabric with buttonhole from the sewing machine.

Now you need trim the ends of the threads on both sides a buttonhole (wrong and face sides).
Cutting an internal hole

When the buttonhole is done, you'll need cut a fabric along the center inner line.

Do it with using a special sewing tool - the seam ripper.

Plug the seam ripper at one end of buttonhole and first cut one half distance of the slit. If you don't want accidental damage the stitches you can continue cutting the other edge a buttonhole.

Now you need do last step and trim the ends of the thread.
Insert your button into the slot a buttonhole and make sure your button fits. If you need the length of the slit can cut a little but it should be done very carefully.
In this tutorial you learned how to do four-step buttonhole on sewing machine. But almost all modern sewing machines come with the ability to do buttonholes automatic (one step buttonhole). The instruction how to make such buttonhole you can find in another post.
How to Sew an Automatic Buttonhole.
This video shows how to sew automatic buttonhole on sewing machine.
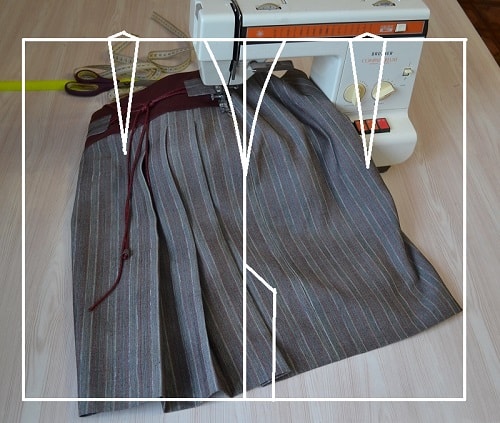
Free pattern drafting of a straight skirt
An experienced tailor teaches you how to draft the straight skirt pattern. This free method is used to draft other skirts models.
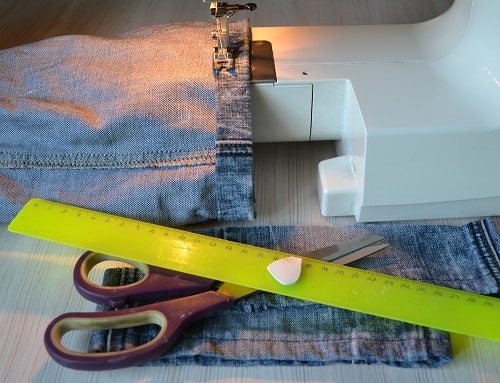
How to Cut the Bottom of Jeans
This tutorial has steps for restoring of the bottom edge of your old jeans. In this post you will learn two ways how to cut bottom of jeans at home.
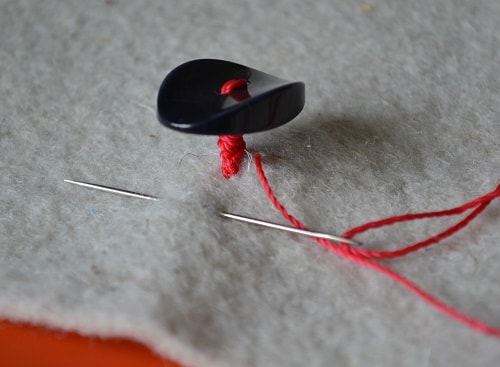
How to Sew a Button by Hand
Here are steps how to sew a flat button having two or four holes. For the big size buttons you need use a method of sewing on buttons "on the leg".
How to Sew on Buttons with Sewing Machine
In this tutorial you will learn how to use the button sewing presser foot. Pro tips how to sew on buttons with sewing machine having zig zag stitch.
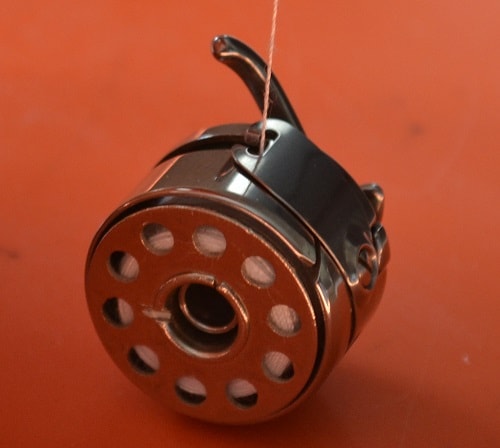
Bobbin Case Device and Troubleshooting
Bobbin case is an important part of the sewing machine. Here you find the device description and troubleshooting tips for problems of bobbin case.
20 Sewing Tips and Tricks for Beginners
Want to learn the secrets of professional tailor? In this case you need to read this post containing 20 sewing tips and tricks for beginners.
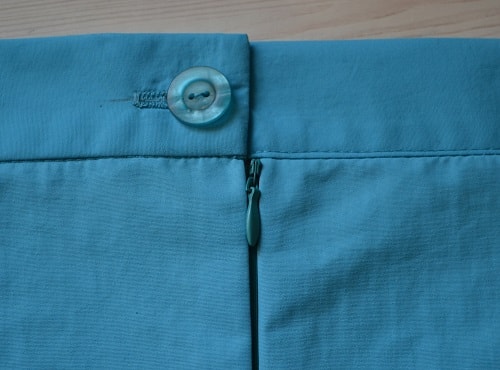
How to Make Waistband with Buttonhole
This is tutorial how to add the waistband to the waistline of the skirt or pants. This is the step-by-step technique sewing the waistband with buttonhole and zipper.