How to Make an Automatic Buttonhole
Some sewing machines make one-step buttonholes. Other models of sewing machines can do only four-step buttonholes. Look in your manual and read about the buttonhole system. But you need to know that some sewing machines don't have this feature at all.
Modern models of sewing machines can sew buttonholes automatic. So this post will be helpful more for owner new models of sewing machines. If you want learn how to sew four-step buttonholes or how to sew on buttons with sewing machine too, you need to read another tutorials on my site.
Sewing of four-step buttonhole is not very difficult, but no matter it's always a good idea to test your first sample on pieces of fabric.
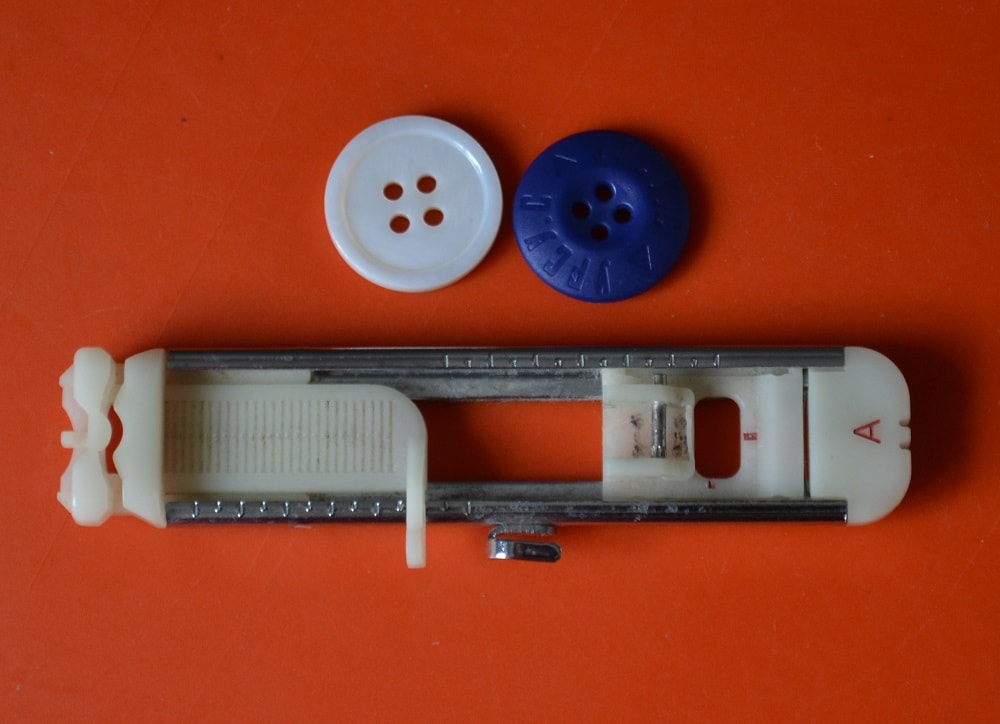
Automatic buttonhole presser foot
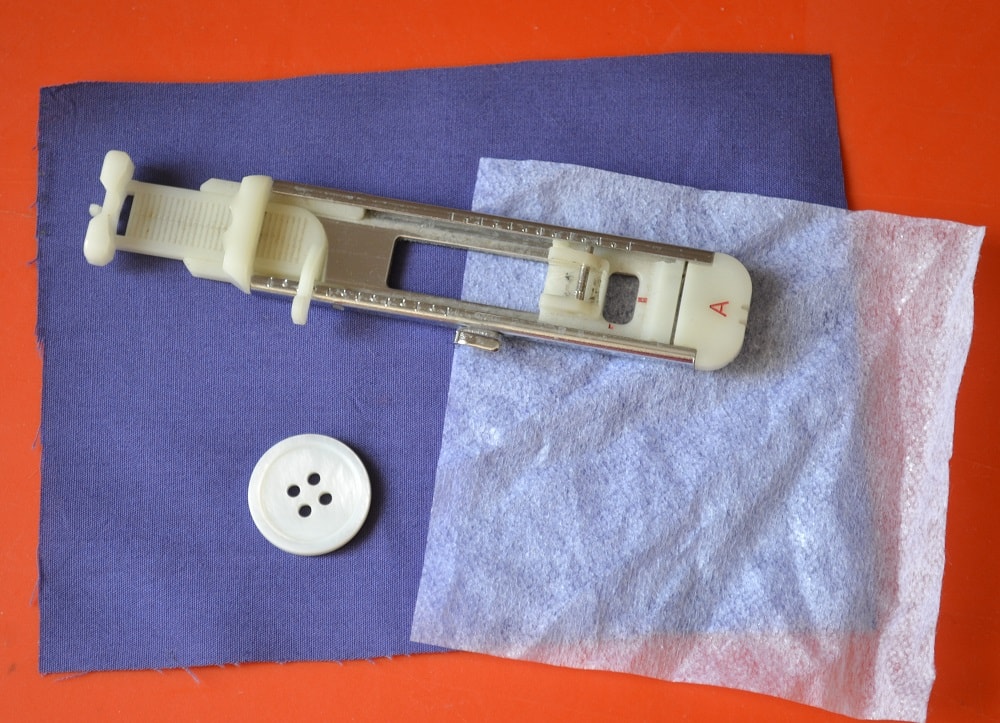
On this photo is shown a buttonhole presser foot. Many kinds of these presser feet have at the back part a place for button that looks like this.
Look in your set of sewing machine feet. For sewing the one-step buttonholes your sewing machine must have such presser foot necessarily.
Add on fabric a piece of fusible interfacing
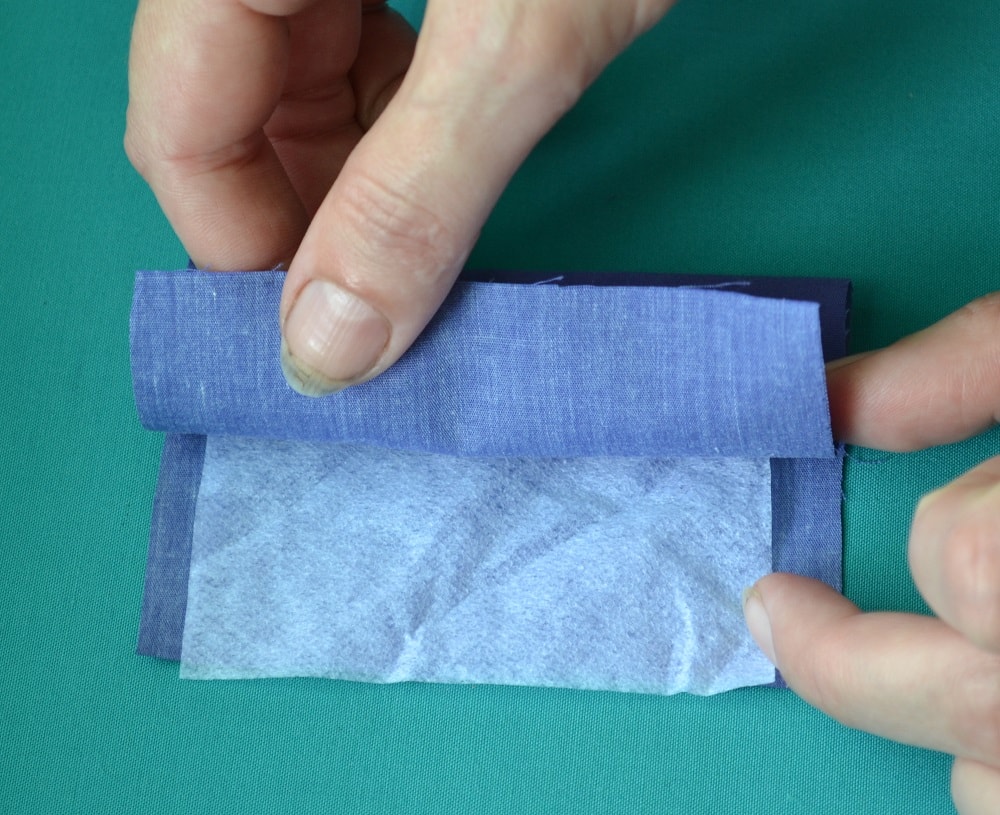
Between folded fabrics in area where you will sew buttonhole you need to put a piece of fusible interfacing fabric.
Before making a buttonhole you need choose size of button for your garment.
Place selected button in buttonhole foott
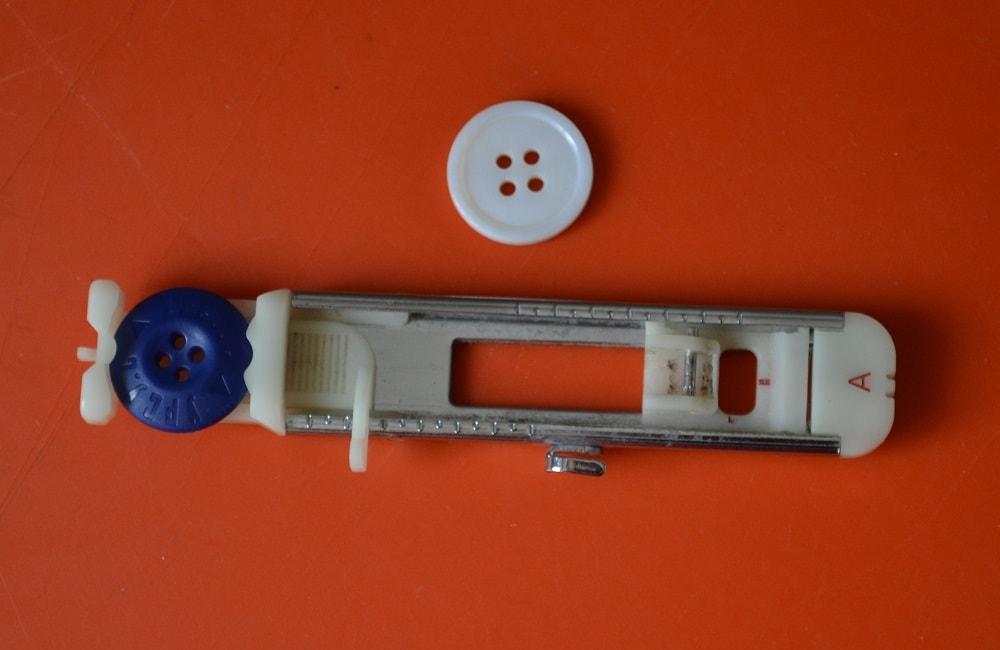
Next, place the button in the holder at the back of the buttonhole foot.
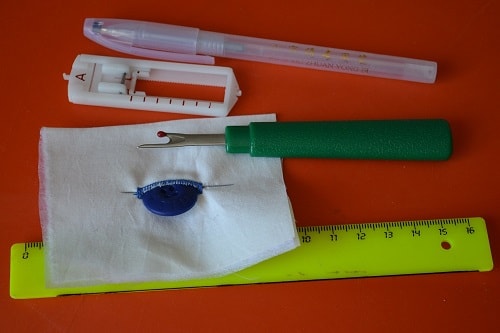
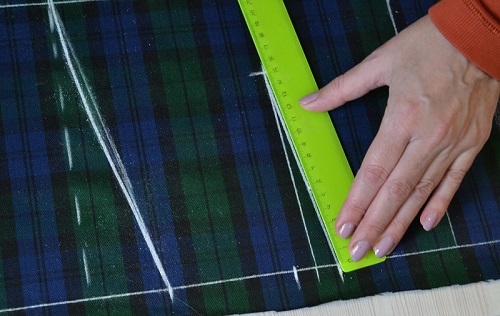
How to mark a buttonhole length

Now you need mark a buttonholes length on face side a fabric, using a special washable pen or chalk.
The length of hole should be a little more than diameter of the button.
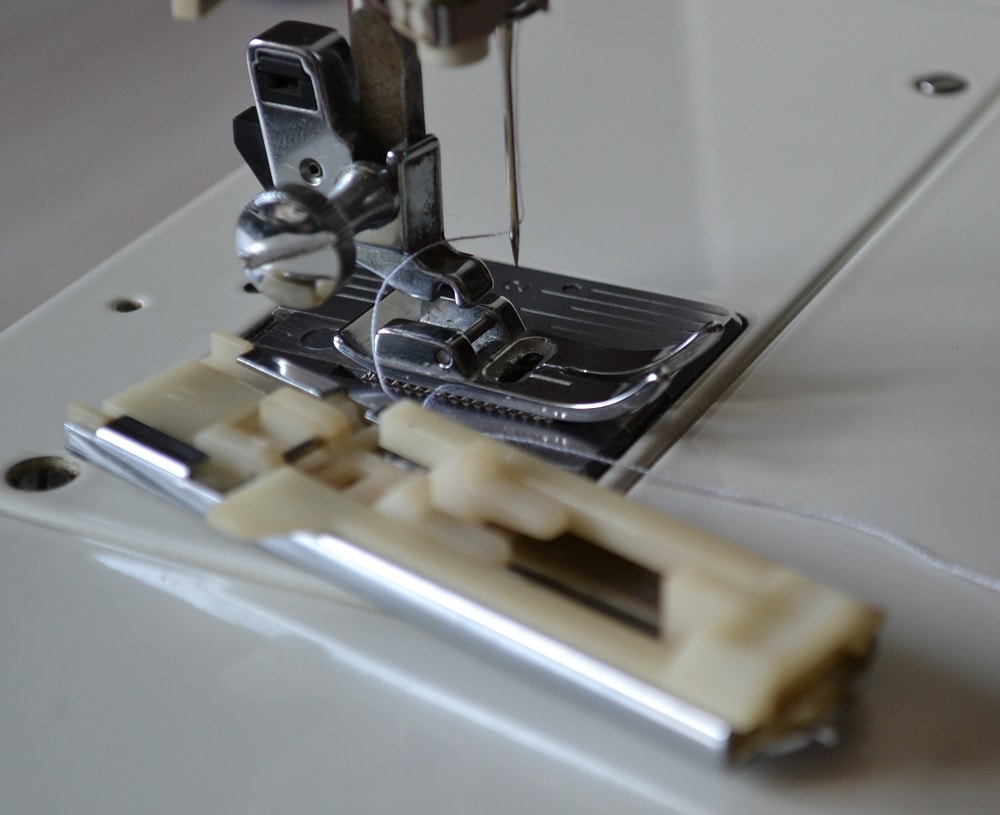
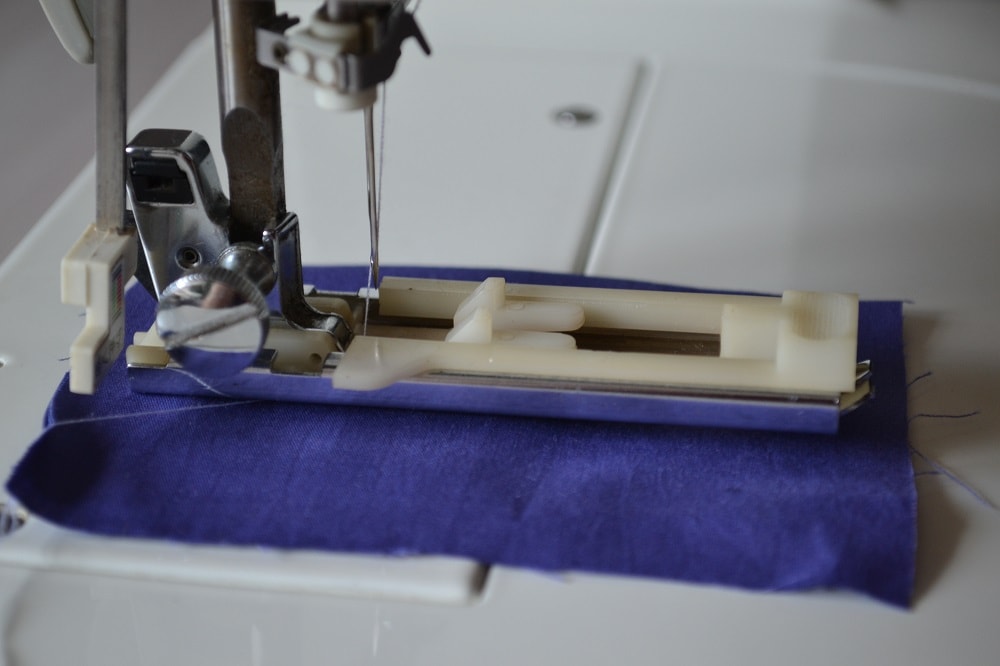
Remove the universal presser foot from sewing machine.
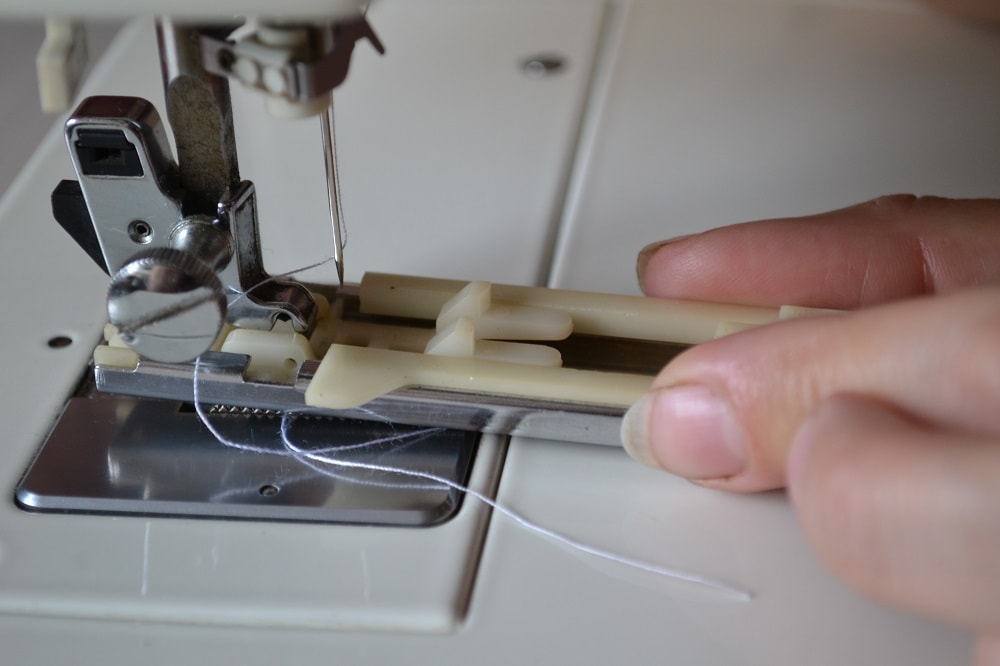
Instead it you need attach the special buttonhole foot.
This rod is needed for making buttonhole
Before sewing don't forget pull down this lever.
To make a buttonhole in automatic mode this rod must be lowered as far as it will go. What is it for? To auto switch moving a presser foot back.
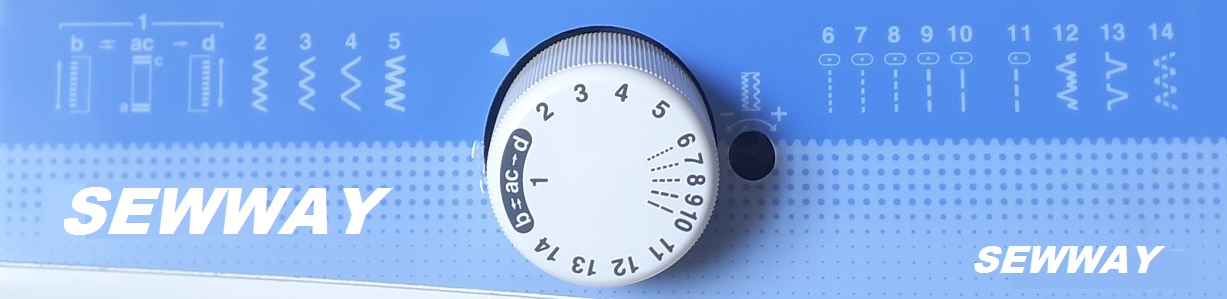
Set selector to one-step buttonhole position
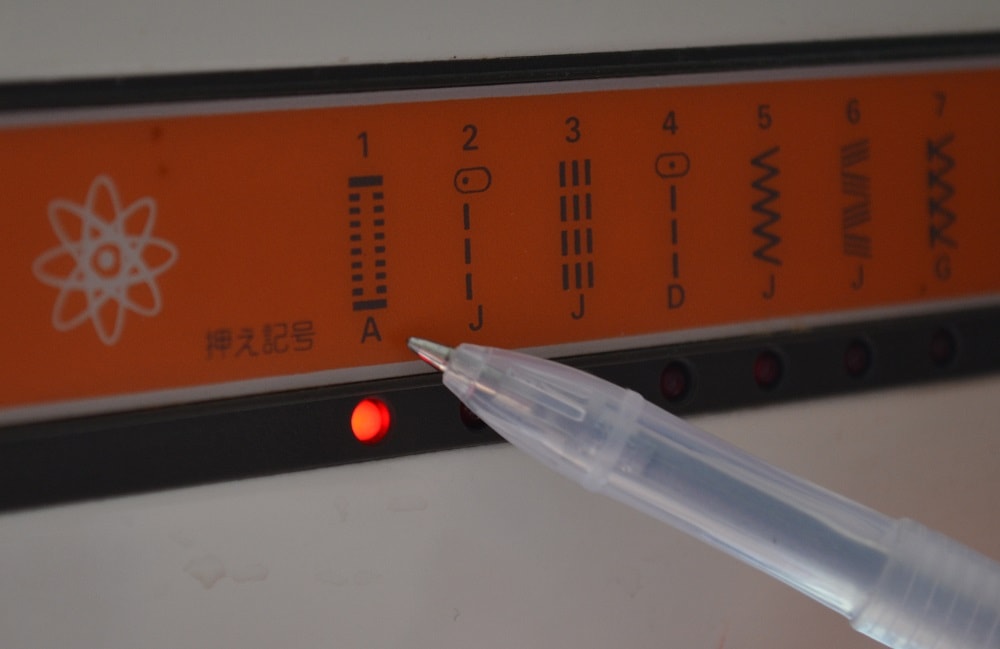
Set selector of kinds of sewing stitches to one-step buttonhole position.

Turn a handle of length a stitch to the smallest value.
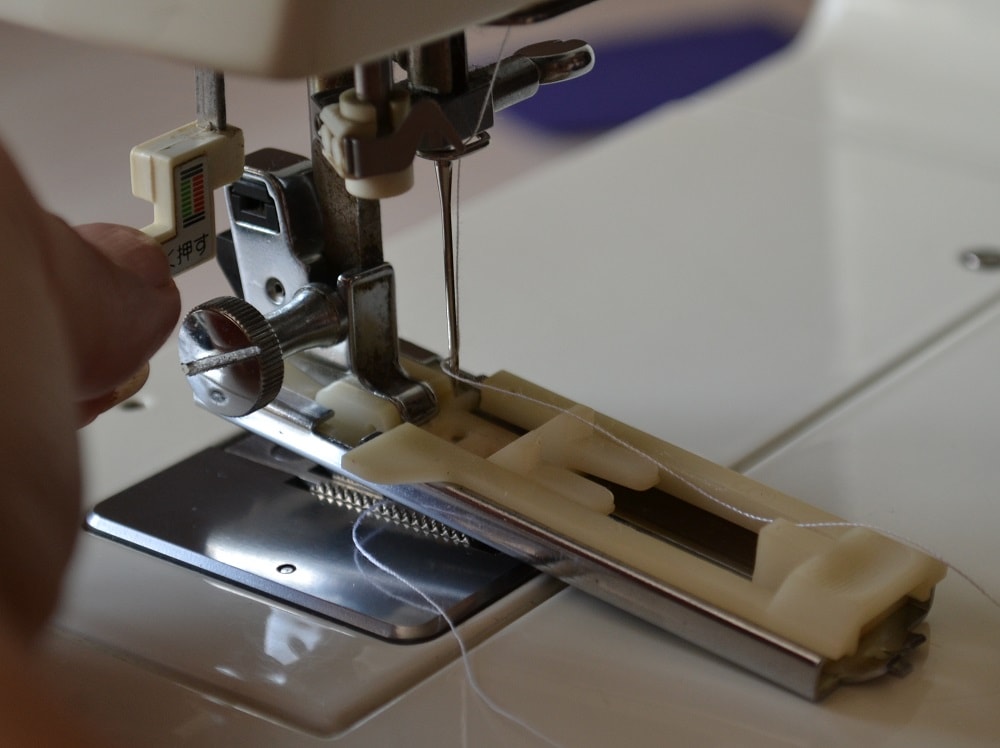
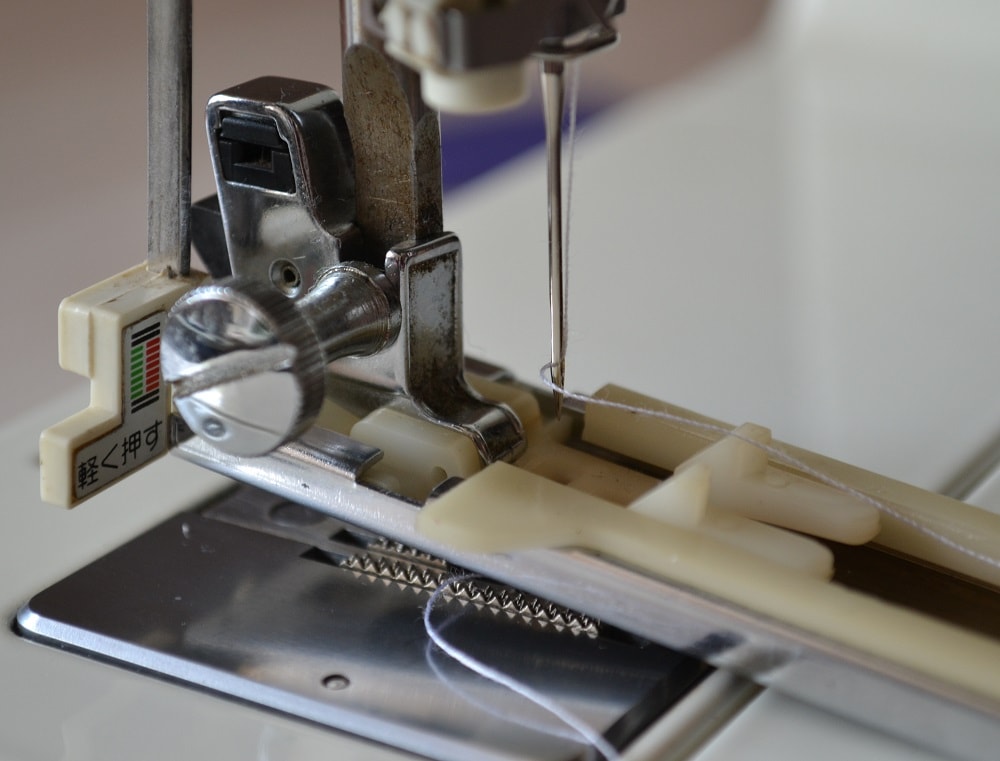
Pull top thread into slit of presser foot
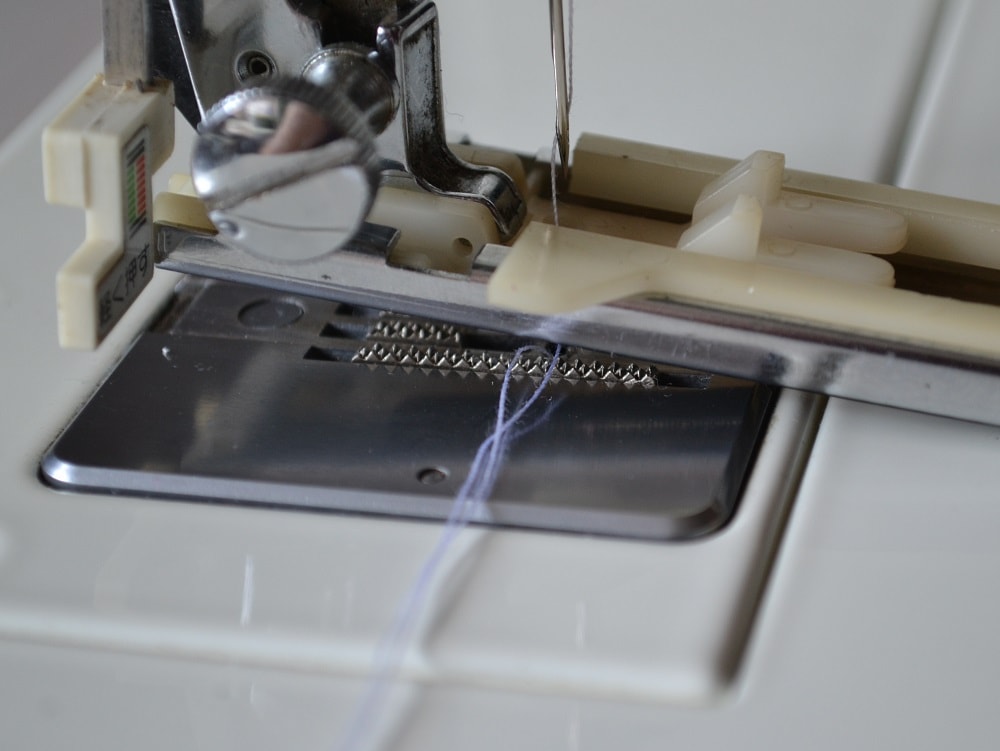
Pull top thread into slit of presser foot. This must be done to prevent ingress long ends of the thread into stitches of buttonhole.
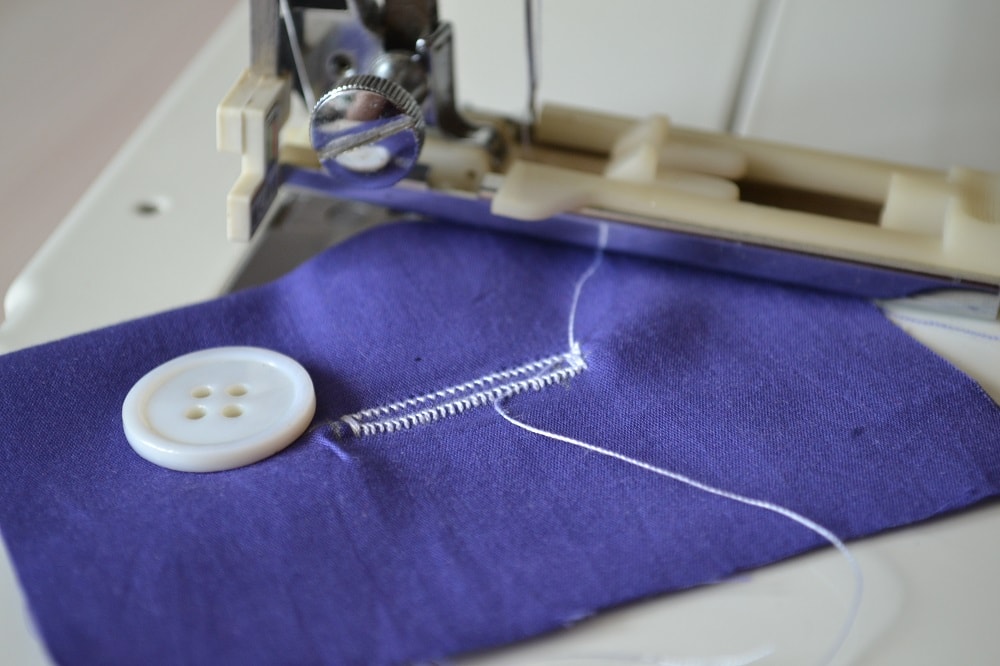
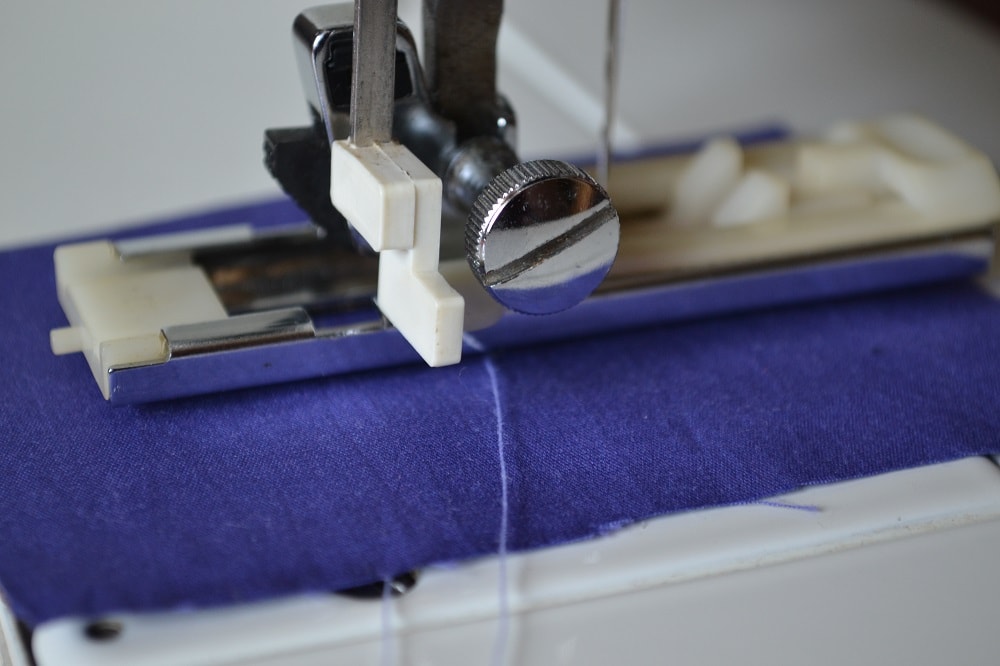
Making a buttonhole in automatic mode
Now you are ready start sewing a buttonhole. Press on the foot pedal and your sewing machine will automatically sew all four steps.
Note: not all buttonhole presser feet have holder for button.
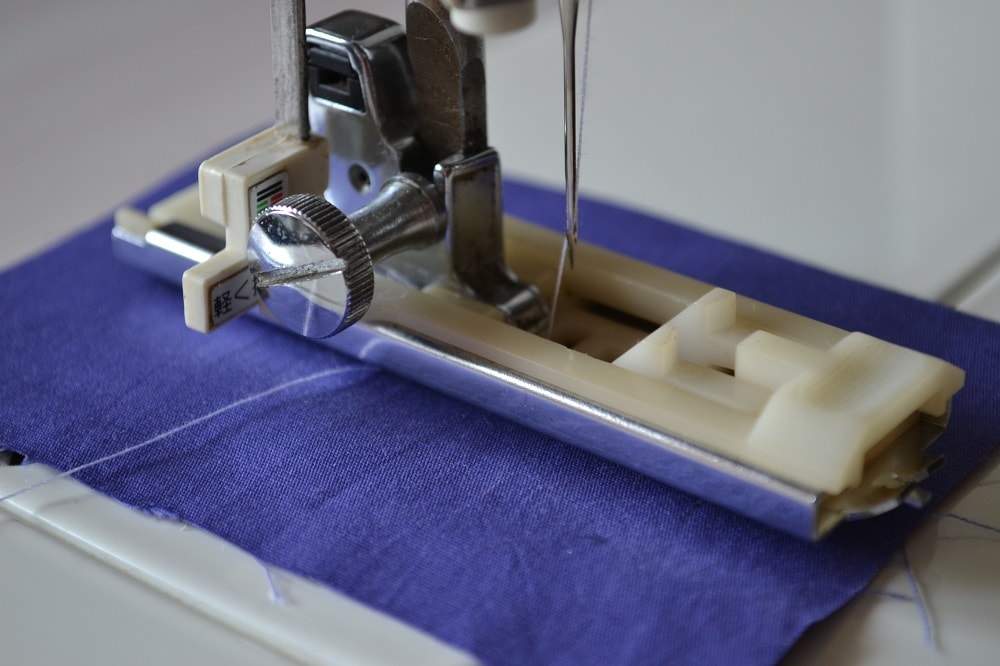
Now sewing machine will make last step of stitching an automatic buttonhole.

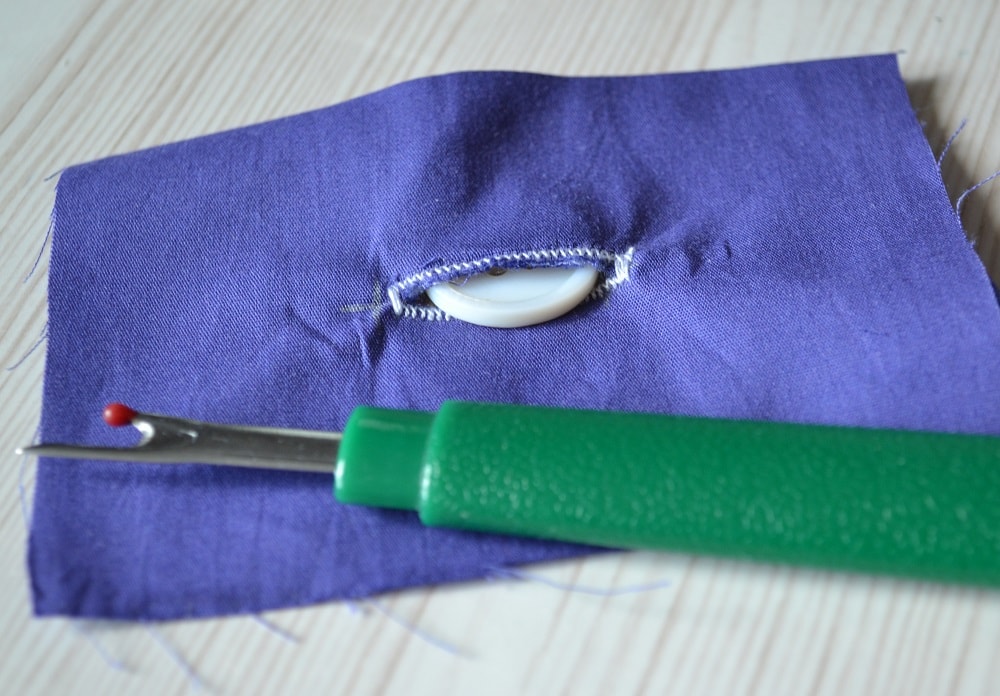
Lift up the presser foot and remove your test fabric from sewing machine. Yo can to trim the ends of threads.
How to cut the opening for a button
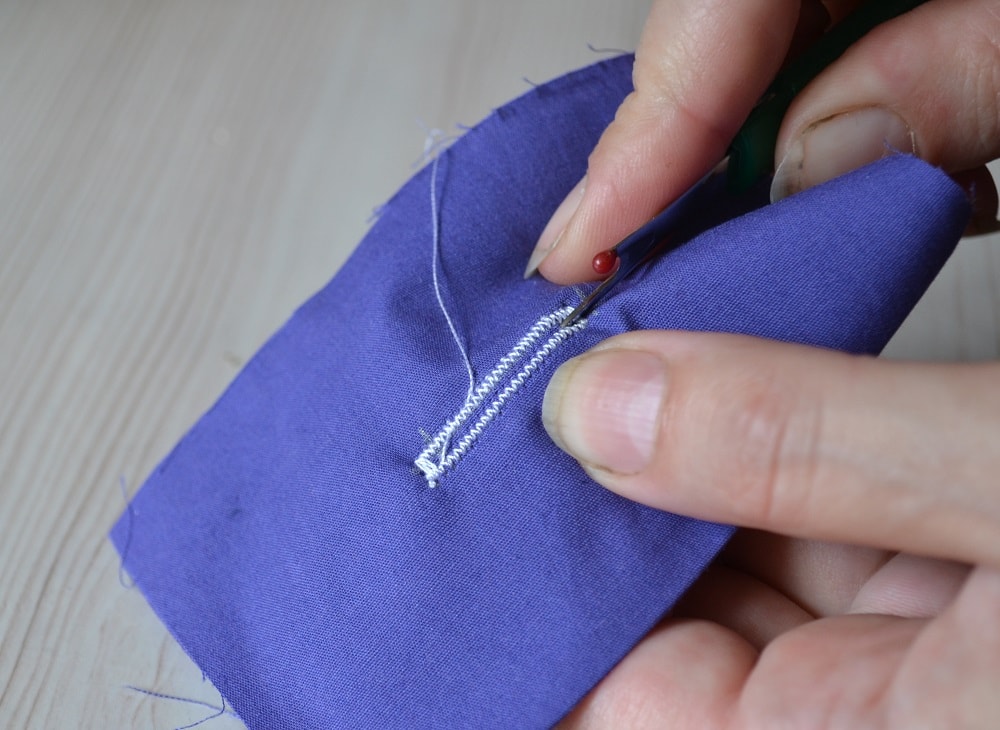
When one-step buttonhole is over, you'll need to cut the opening for a button, with using sharp seam ripper.
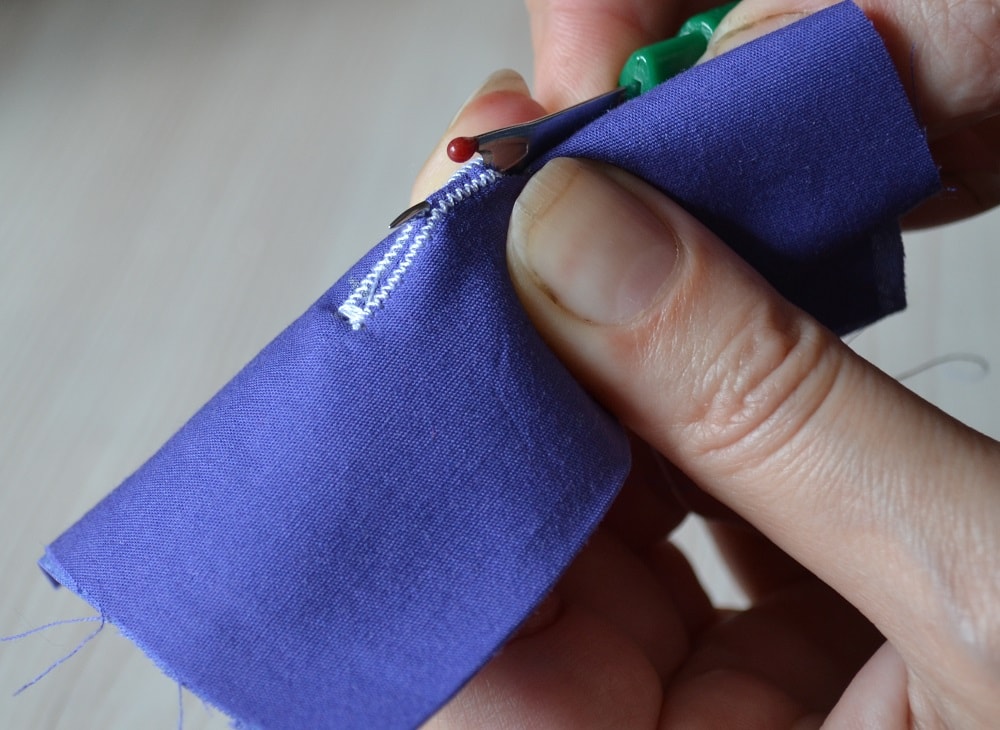
When trimming hole be careful. Make a cut from one edge to middle a slit. Expand the loop and cut second part of slit of buttonhole.
Tips: Make automatic buttonholes on test piece of fabric. Only after this is possible to make a buttonhole on garment.
How to Sew Four Step Buttonhole
All modern sewing machines come with the ability to do buttonholes. In this tutorial you learn how to do four-step buttonhole.
How to Draft a Pencil Skirt Pattern direct on fabric
In this lesson you will learn how to draft a pencil skirt pattern without paper. We will build a pattern skirt scheme directly on the fabric.
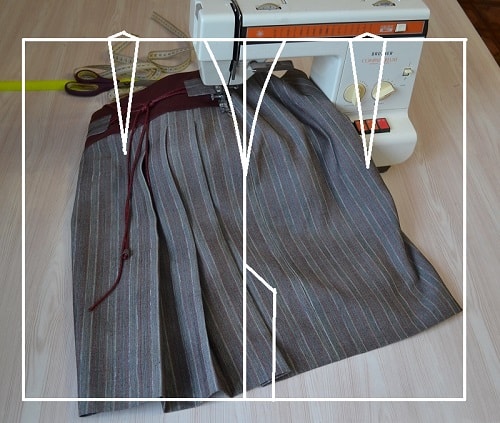
Free pattern drafting of a straight skirt
An experienced tailor will show you how to draft the pattern of the straight skirt. This free method is used to draft any size patterns of skirts.
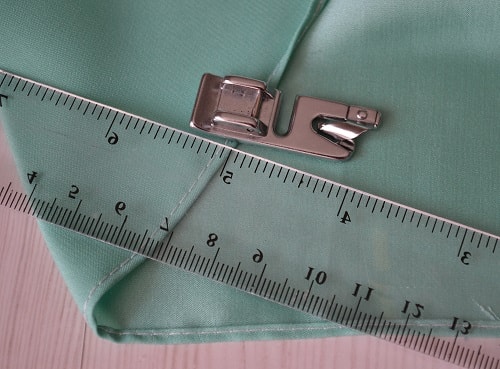
Rolled Hem Presser Foot Tutorial
Using the rolled hem presser foot you can hem thin fabrics. The tutorial has 10 photos with pro comments.
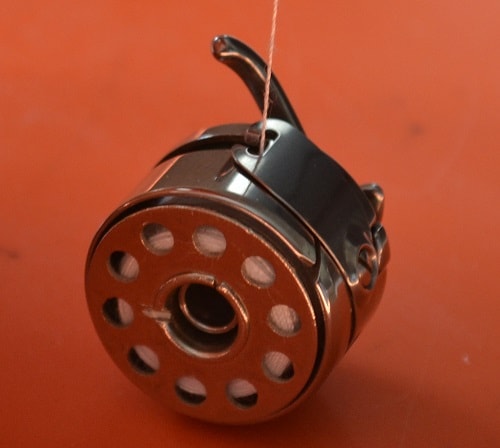
Bobbin Case Device and Troubleshooting
Bobbin case is an important part of the sewing machine. Here you find the device description and troubleshooting tips for problems of bobbin case.
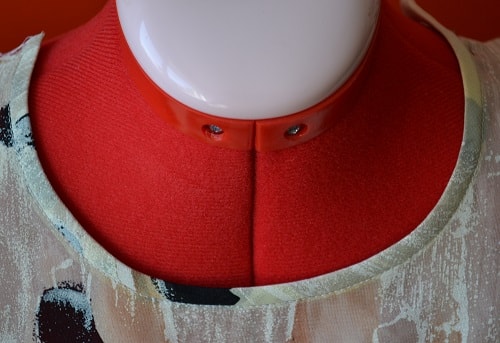
How to Make French Bias Binding along Neckline
This step by step guide helps you to sew bias tape around neckline a dress. Here are steps of French bias binding tutorial.
20 Sewing Tips and Tricks for Beginners
Want to learn the tricks of professional tailor? In this case you need to read this post containing 20 sewing tips and tricks for beginners.
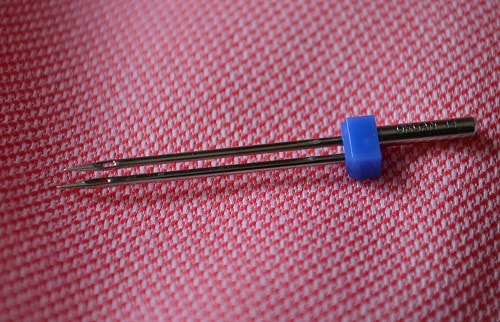
How To Use a Twin or Double Needle
Here's tutorial for how to use a twin or double needle. Using the double needle you can sew knit jersey fabric and some other decorative stitches.