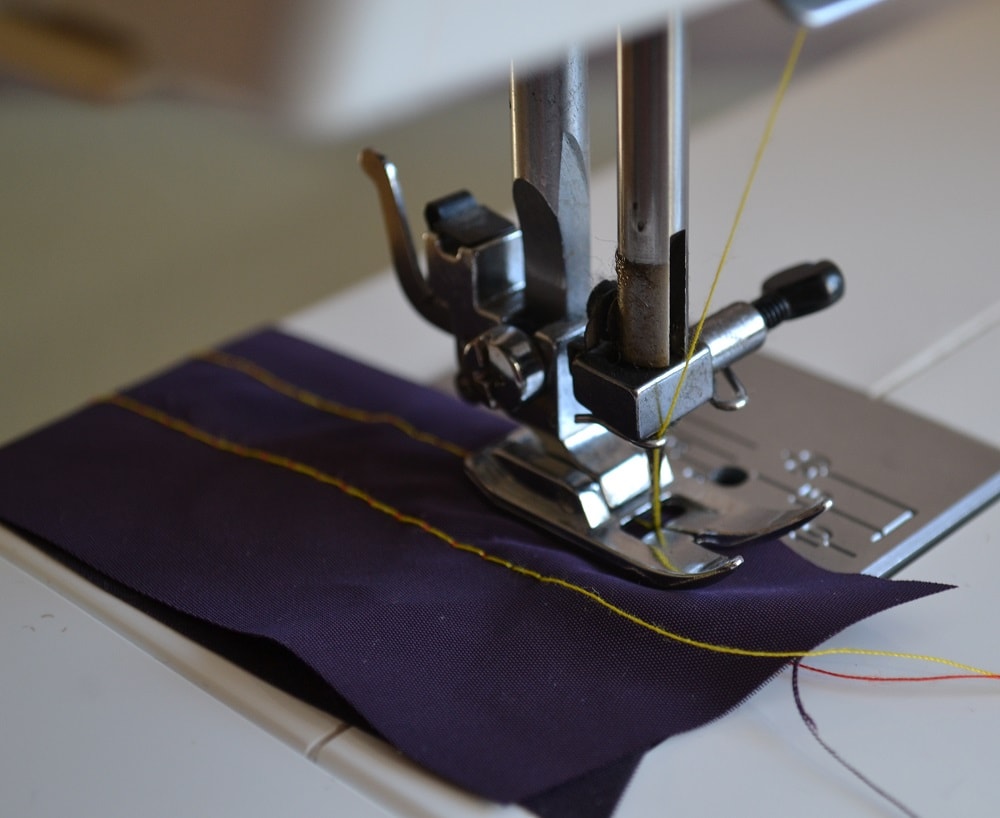
How to Sew a Straight Line with Sewing Machine

If you are a beginner read this getting started guide on sewing machine. Here you find some basic settings for sewing straight stitches on a sewing machine.
The straight stitch is used for top stitching and for stitching most fabrics together. Learn how to sew a straight line with household sewing machine corectly.
Starting sewing on sewing machine
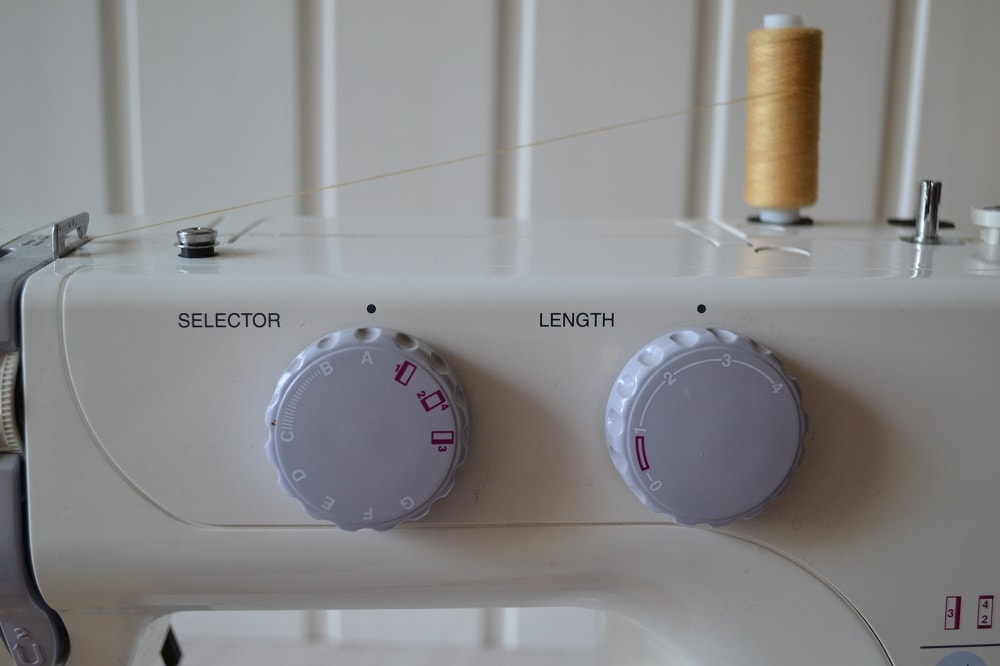
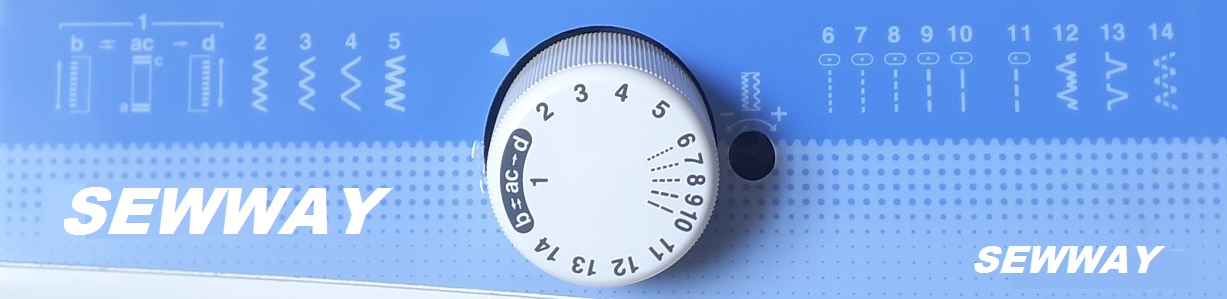
1. Set a pattern selection dial to an appropriate straight stitch.
Set desired stitch length also.

2. Raise needle to its highest position and lift presser foot lever.

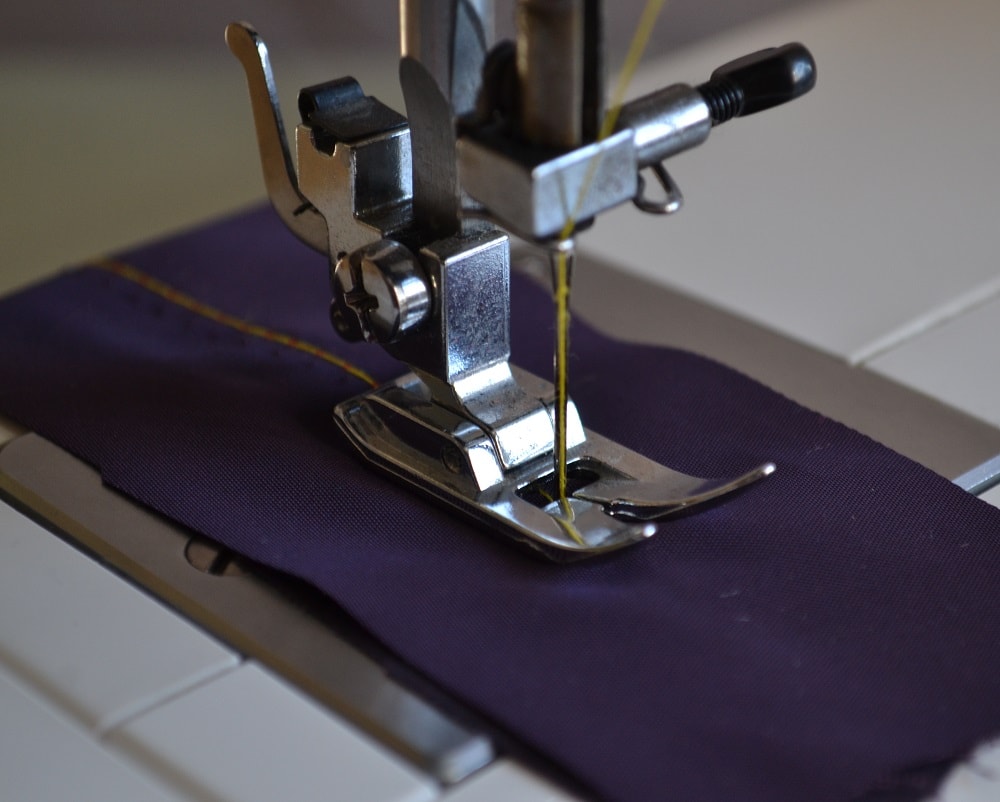
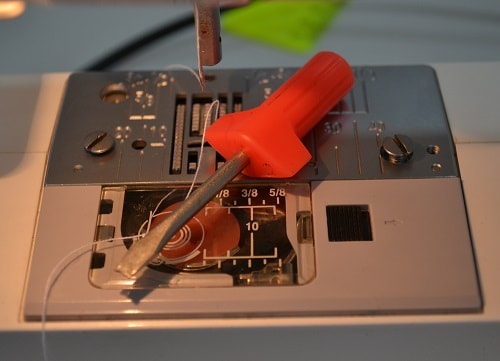
3. Pull out bobbin thread by turning a balance wheel toward you (counterclockwise) and place both (top and lower) threads under presser foot sole.

4. Place fabric under presser foot. The needle should be in raised position. 5. Lower the presser foot and make a few first stitches towards you.

6. To fasten the first stitches you need to do several back stitches.
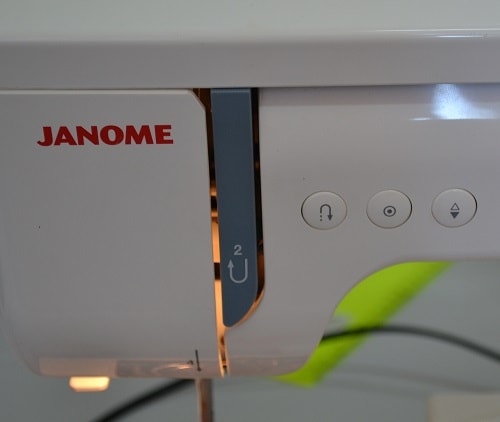
To back tack, press the reverse sewing lever down as far as possible and lightly touch a foot controller. Sew 3 to 5 stitches in reverse direction.

7. Release reverse sewing lever and start sewing in direction forwards you by applying pressure to foot controller.
Note: The back tack or reverse sewing is used for locking seams end and reinforcing stitches.
Changing sewing direction
1. Stop sewing machine in point where wish to change direction. The needle must be in the fabric. If needle tip is in up position, turn a balance wheel toward you (counterclockwise) until needle enters into fabric.

2. Raise presser foot and turn fabric using needle as a pivot point.

3. Lower the presser foot and start sewing in new direction.
Note: During sewing with twin needle is needed to raise a double needle for changing sewing direction.
How to finish sewing on sewing machine
Reverse stitches is used to lock threads ends in seam.
1. Stop sewing at end of stitch line.

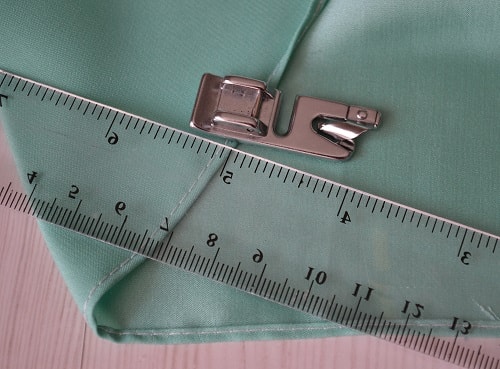
2. Press the reverse sewing lever down and lightly touch a foot controller to stitch backwards for 1 cm (3/8") from end of seam over already done stitches.
Removing fabric from sewing mashine

1. Stop sewing.
2. Turn a balance wheel toward you (counterclockwise) to bring a needle and thread take-up lever to their highest position.
3. Lift a presser foot and pull fabric out gently to left side.

4. Cut both threads ends using a thread cutter located on back side of a presser foot bar.

5. To prepare sewing machine for next stitching, pull out about 10 cm (4") of both threads from tensioner and from needle plate hole. Place them toward back of sewing machine. Upper thread should pass into slit of presser foot sole.
In this video you know how to change the presser foot on a sewing machine.
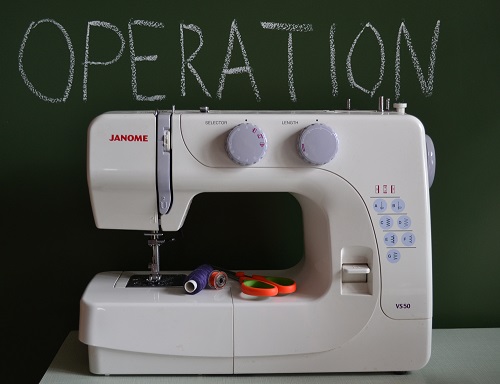
Operating Your Sewing Machine
If you are beginner you need learn this getting started guide of operating instructions and operation basics your sewing machine.
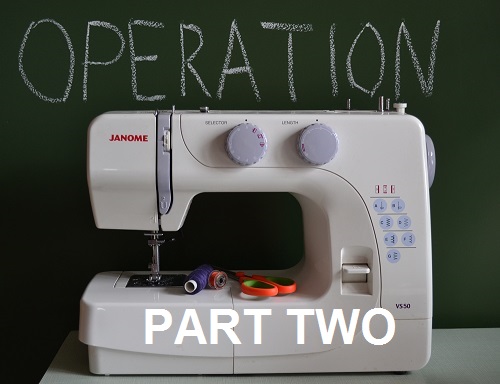
Operating Your Sewing Machine - Part Two
If you are beginner you need learn this getting started guide of operating instructions and operation basics your sewing machine. Here is part two (continuation).
How a Sewing Machine Works
Here is the tutorial how to construct and work home model of the zigzag sewing machine.
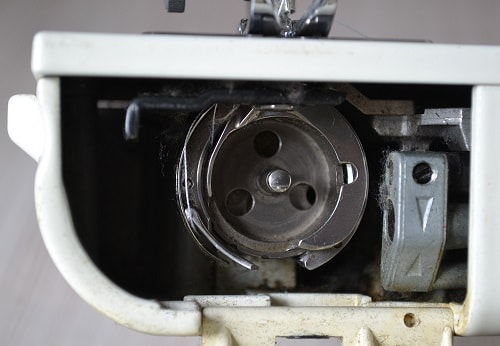
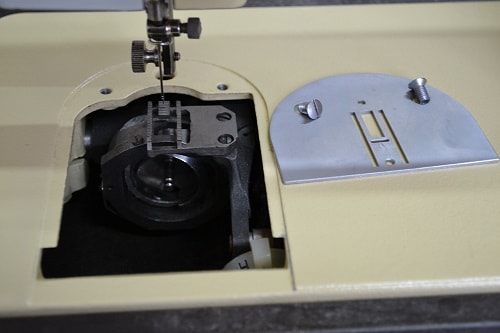
Vertical Rotary Shuttle Hook System
Sewing machines middle and upper classes have a rotary vertical or horizontal hook system. Here you can read how works vertical rotary hook and tips for repair it.
Tips For Choosing A Sewing Machine
A few key features of sewing machines that you need to know necessarily.
Rolled Hem Presser Foot Tutorial
Using the rolled hem presser foot you can hem thin fabric easily. The tutorial has 10 photos with pro comments.

Tips for Using a Serger
If you have an overlock sewing machine you need learn these tips on how to use your serger. All tips are from a professional tailor.
Tips for Using your Sewing Machine
If you need to learn tips from tailor read this post. Here you find top tips and tricks how to use your sewing machine.