Sewing with Serger: Tips for Using Overlocker
You do not know what a serger and how to use it? A serger (or an overlocker) is a special sewing machine that is used for finish off seam allowances or edges of fabrics your garments.
Sewing with a serger help you save a lot work time and make your sewing project professional looking, clean and tidy.
If you have an overlock sewing machine you need learn these impotant tips how to use a serger, how to clean and to oil it.
In this video you will learn what the overlock is used for. What is the difference between a serger and a sewing machine?
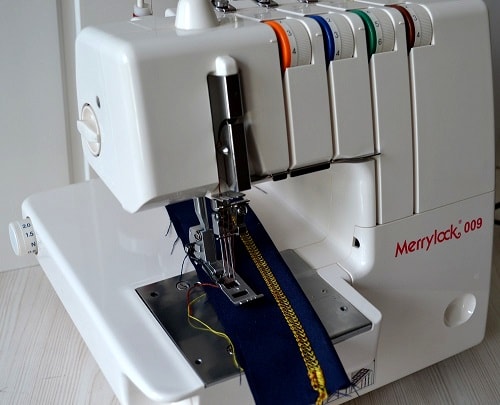
What threads are suitable for overlock sewing machine
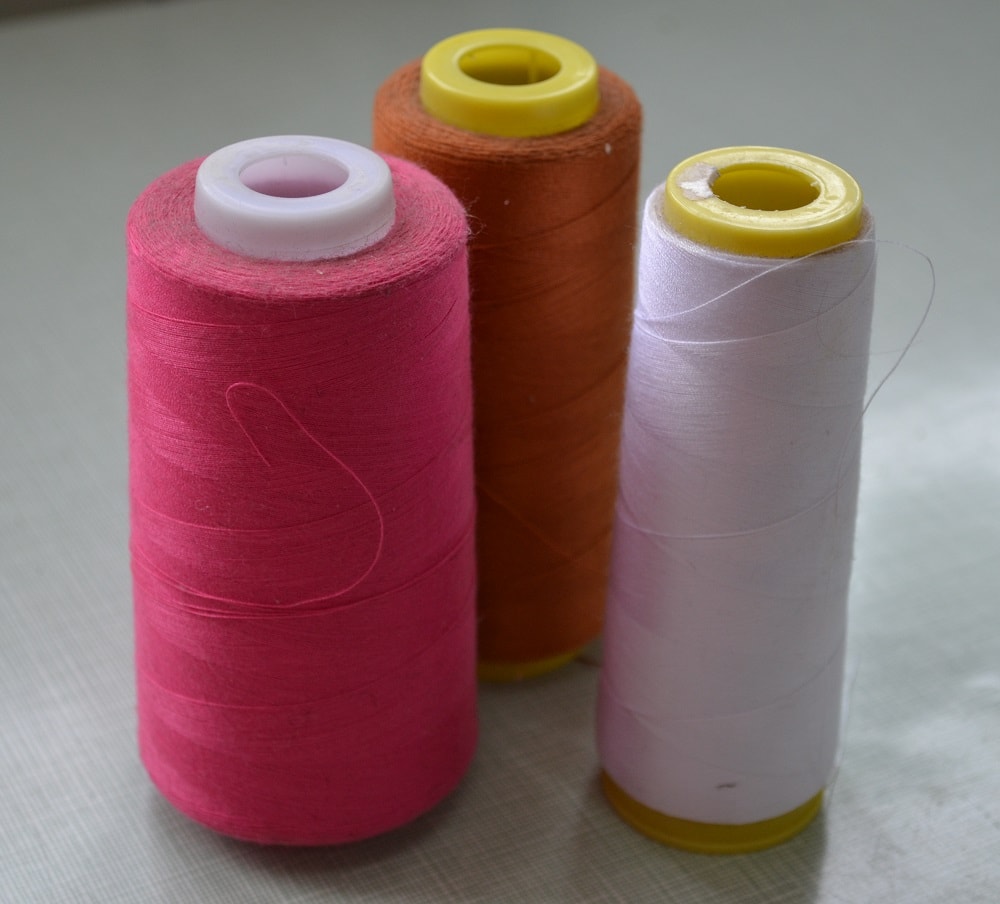
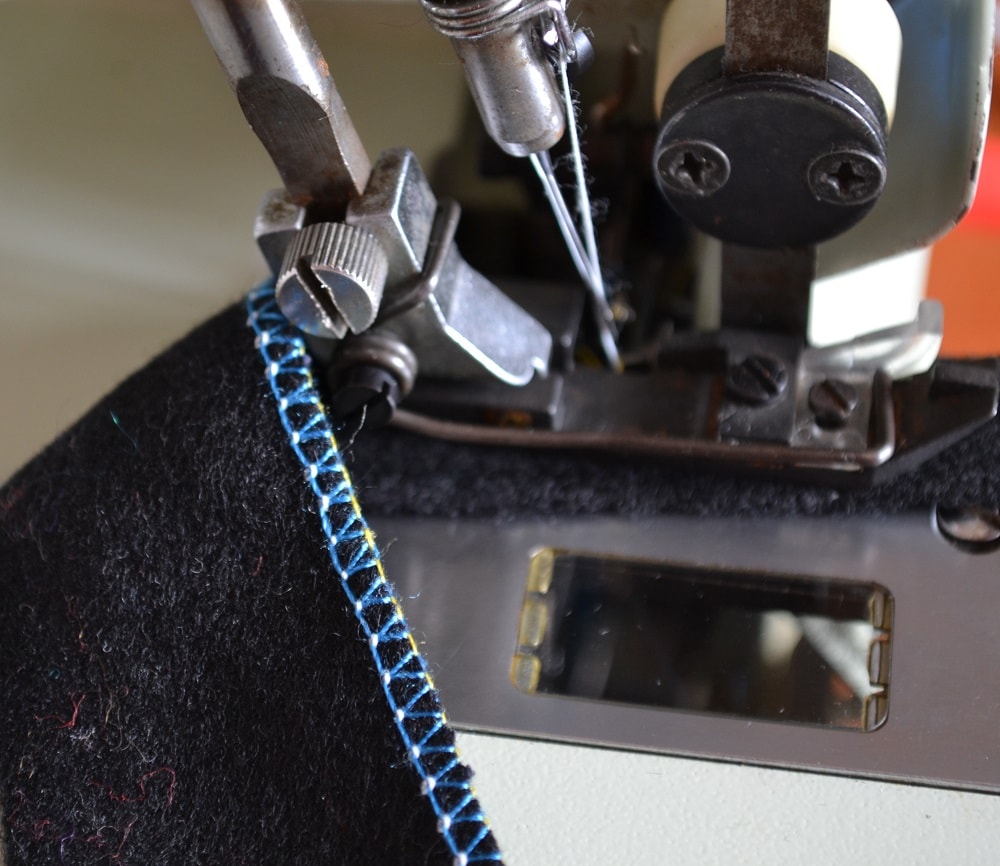
Threads is the most important factor for good work an overlocker. Threads on cone spools are ideal suitable for overlock sewing machines and for coverstitch machines also.
These sewing machines are spending a lot of threads. Using small coils is undesirable because they are barely enough for one project.
In addition, from conical shape coil thread turns go up more easily than from small coil. This condition ensures correct tension of overlock seam all time sewing.
Serger threads tension troubleshooting
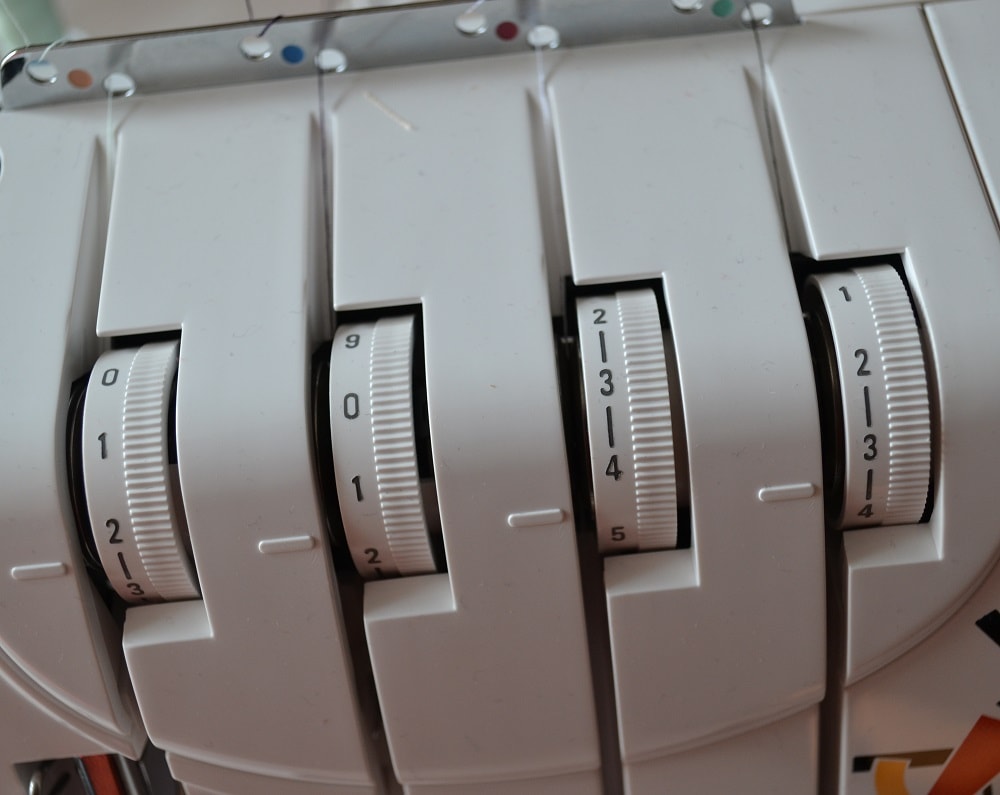
Threads tension of serger should not be too strong. Start to adjust a thread tension with minimum values (1-2) of tensioner dial.
Note: Too strong or thick threads (with big tension) can break looper!
Read more about serger thread tension here: How to thread a serger correctly.
Coils with different colors help configure overlock seam
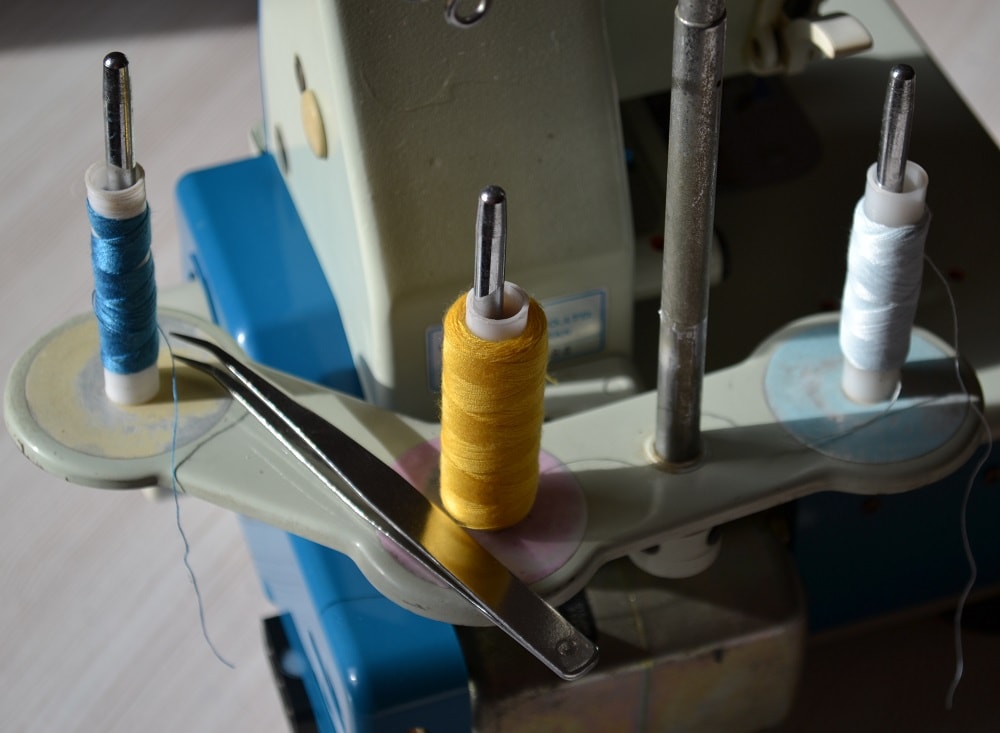
If you have little skill and you cannot correctly adjust thread tension of overlock seam use four different colors of threads.
Using this trick you can properly configure a serger stitch. Next change these coils on threads having same color.
Note: Never pull all thread ends out completely!
When is needed replace the threads, tie ends of both threads (new and old) together and then gently pull them.
Before inserting a thread in needle eye you need trim nodule.
Tips: To make going a thread along the entire path easier, you need to loosen thread tension.
The overlocker needs some regular cleaning and oiling. I recommend cleaning your overlocker after 24 hours of work in general. Oiling the overlock is recommended once a week if you use overlock every day.
For oiling overlocker use a medical syringe
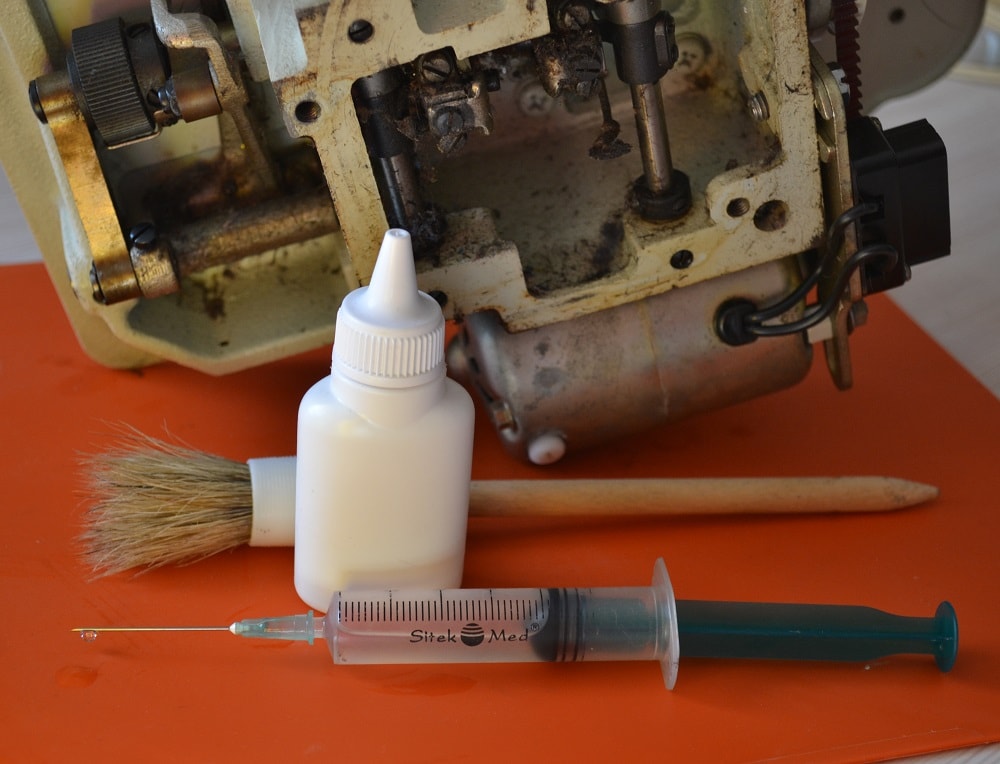
Every overlocker requires cleaning and oiling regularly. Before start oiling a serger you need to clean it from dust and linters. Unfortunately, without removing all protective covers from serger body is not always possible to grease all rubbing and rotating components and mechanisms of overlock.
Here are tips to cleaning and oiling your serger.
Tips: For oiling overlocker you can use usual plastic medical syringe.
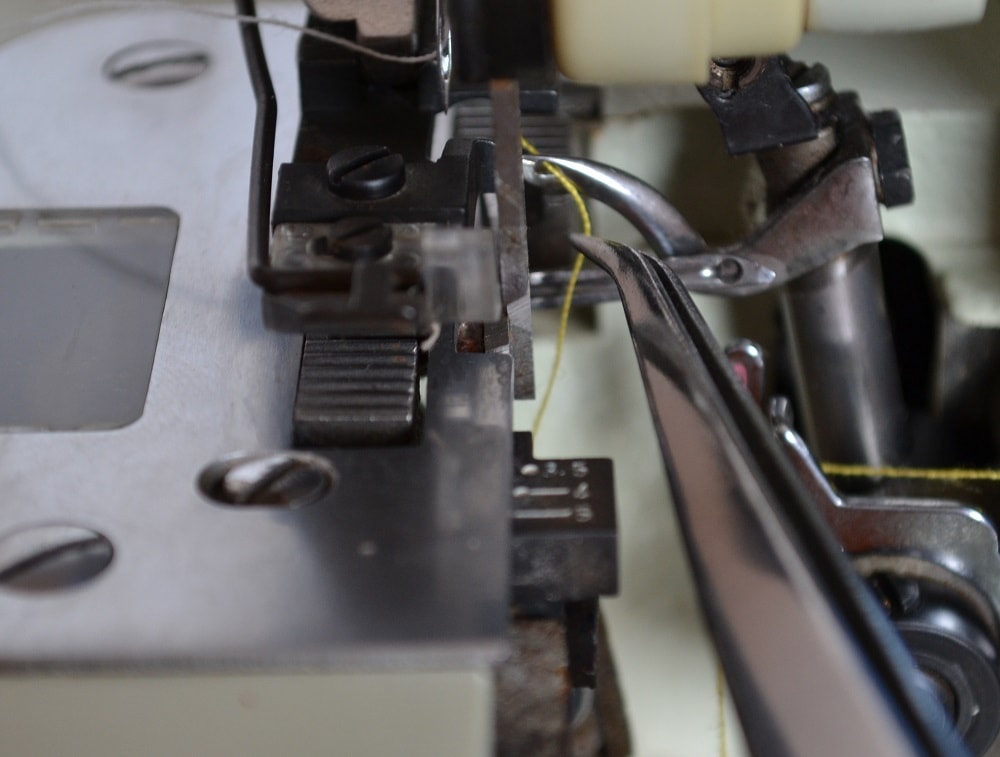
Serger has a threading scheme
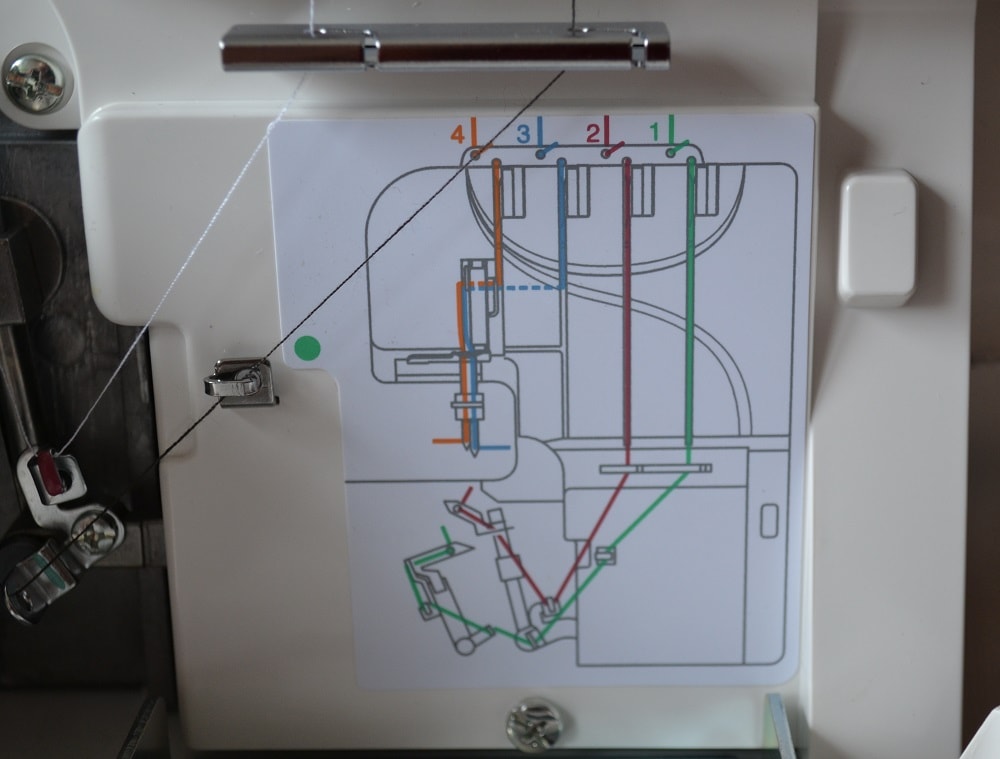
How to thread a serger is well illustrated in manual. But you must remember that each serger has threading diagram pasted on one of covers or sides of housing.
Replacing threads is produced by pulling them
Replacing all serger threads is produced by pulling all old threads together with new threads. Cut an old thread close to coil. Place a new spool and tie with knot ends of both threads. Pull the old thread (each individually) until the thread is out of eye of looper.
Needle thread needs to pull out when knot stop near needle eye! Through the needle eye a thread with a bundle will not go.
In this video you will learn how to thread an overlock sewing machine.
Do not trim threads chains near its edge
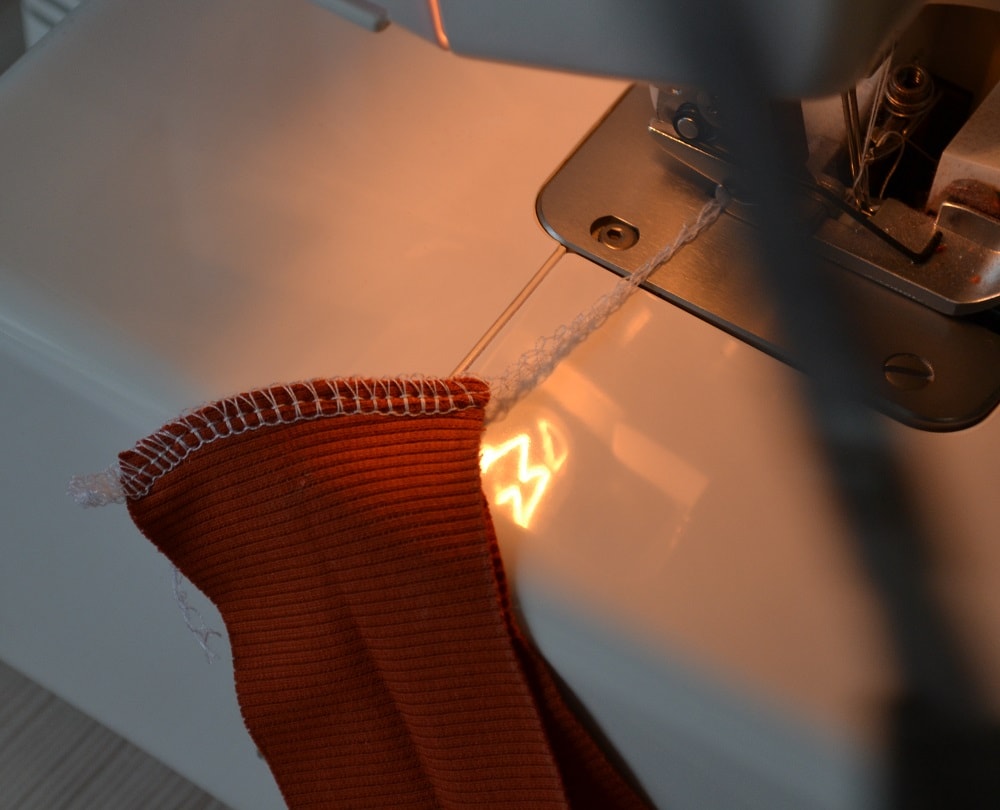
A serger can't do back stitches like a regular sewing machine and you need learn to fix thread edges of chains seam with different ways.
Do not cut the chains threads very close to edge of seam. You need to leave long "tail" and insert it into overlock seam back (best). This is easily done using a latch tool (that is used on knitting machine) or using other similar tools.
Do not use metal pins instead basting
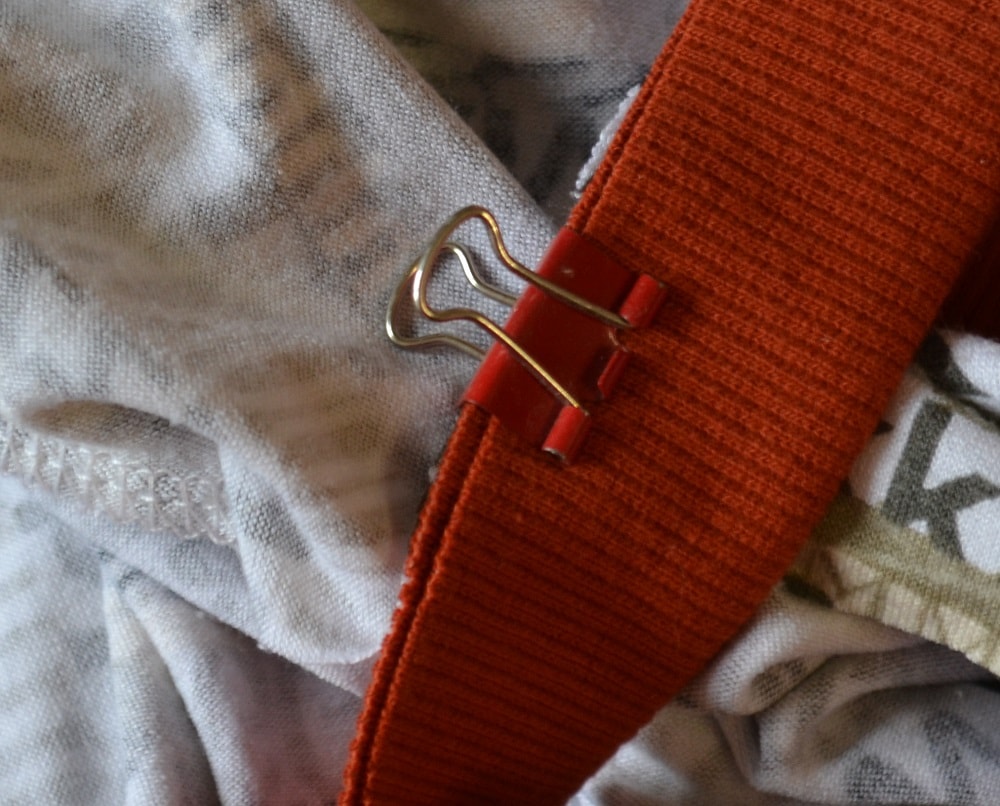
During overlocking do not use metal pins instead basting stitching. If you will use pins, don't forget pull out them far from knives of serger. If pins fall under blades it can to damage a serger. To avoid damaging of knives and loopers is better use binder clips instead pins.
Big cone bobbin you can rewind to 4 separate coils
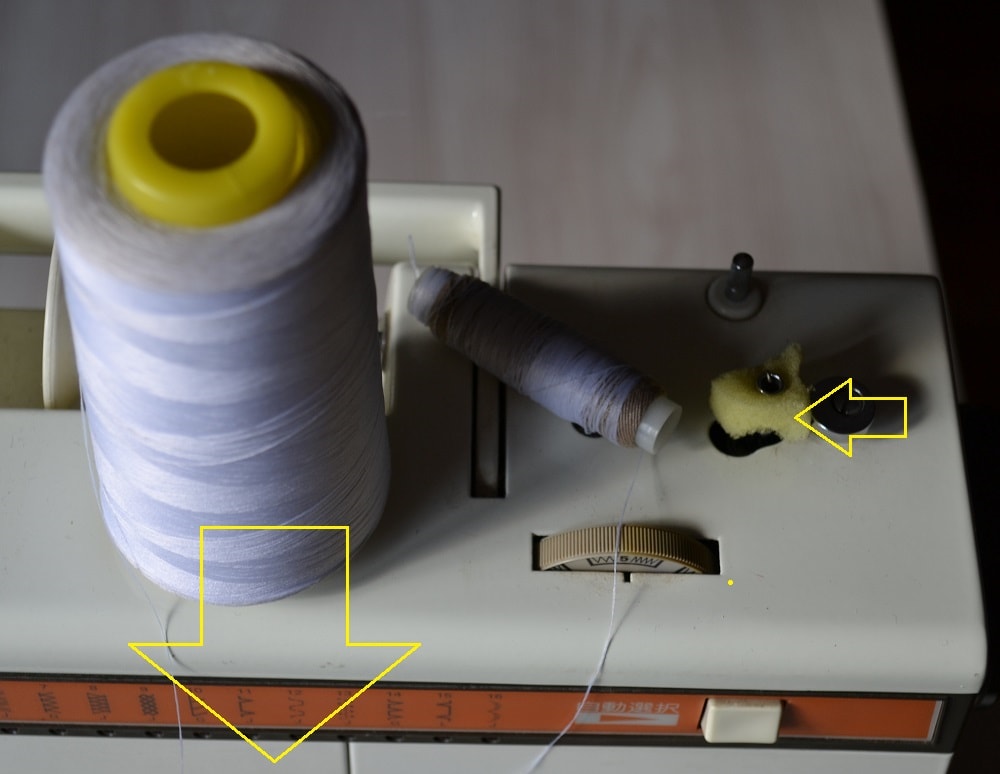
Thread that is wound on conical bobbin is best suited for threadung an overlock. But for serge you need buy four bobbin cones, minimum three.
Using this trick you can buy only one. Big bobbin cone you can rewind to 4 separate coils on sewing machine, as shown. To do it you need pull on a piece of foam rubber on winder spindle. The bobbin cone is needed to put on the table and keep the thread in his hand near coil.
Note: Winding thread should be at a low speed.
Do not to press strongly on foot controller
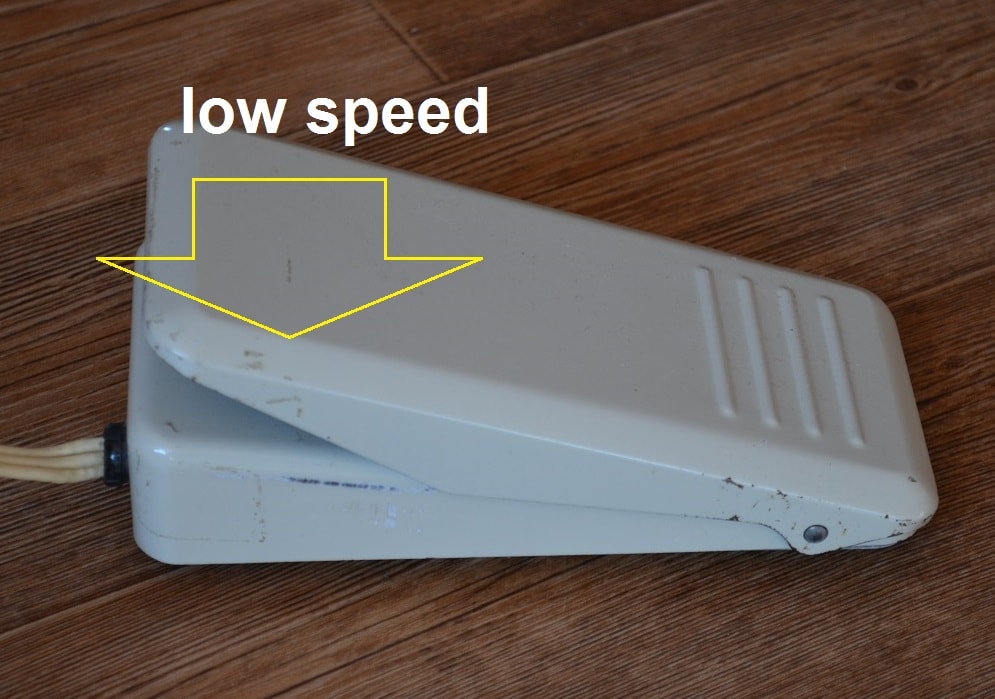
Be careful at start of sewing. Do not to press strongly on foot control pedal. Serger has two knives that at high speed can to cut a fabric more than is necessary.
The differential feed on a serger
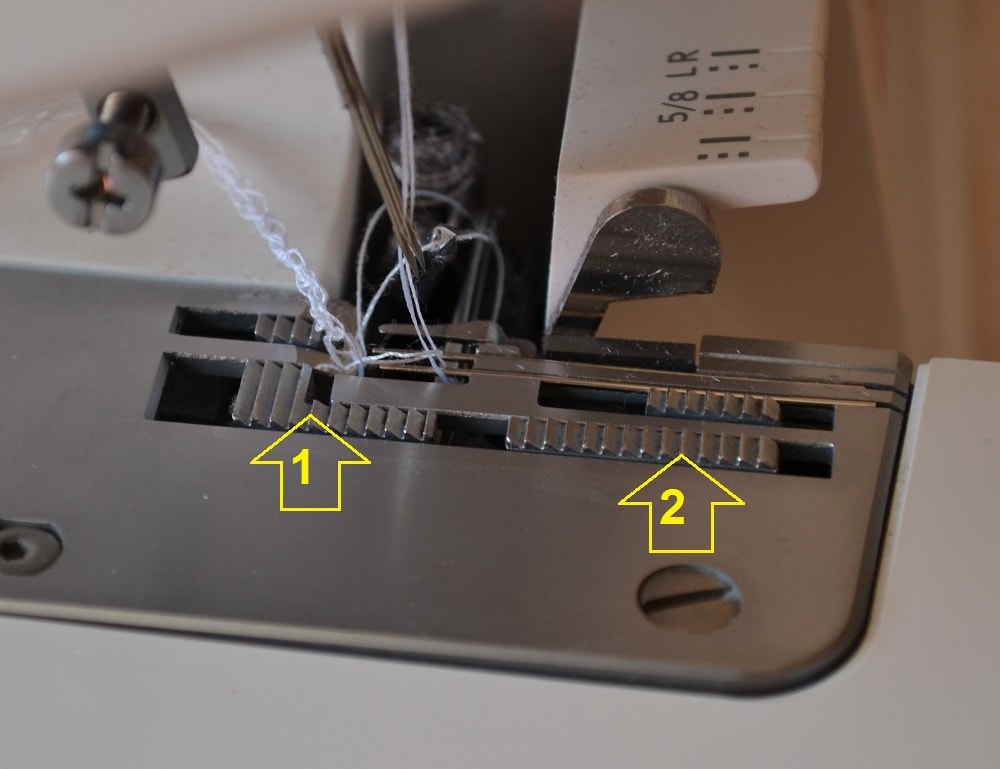
What is differential feed on a serger? This is main feature of modern home overlock sewing machine. The feed dog is divided into two parts. Each part operates autonomously. They can move at the same speed or at different speeds. This makes it possible to sew a qualitatively any fabrics including any knitted fabrics. Changing a ratio between two speeds you can make with knob or a switch from 0,5 to 2,5.
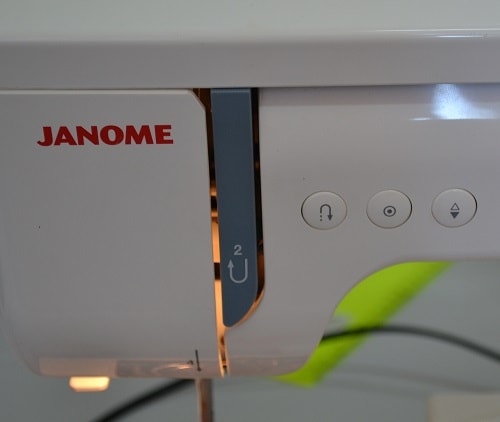
Replacement a drive belt of overlock.
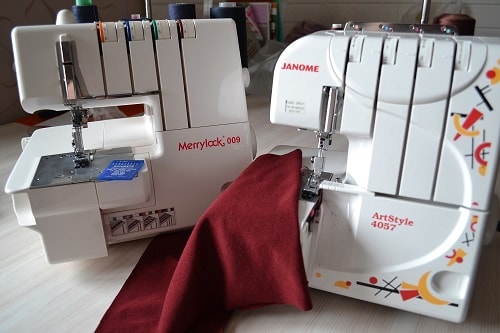
Serger vs Cover Stitch Machine
In this post examines in detail main differences between a serger and coverstitch machine. Serger vs cover stitch machine.
Tips for Using your Sewing Machine
If you need learn tips from tailor, read this post. Here you find top tips and tricks how to use your sewing machine.
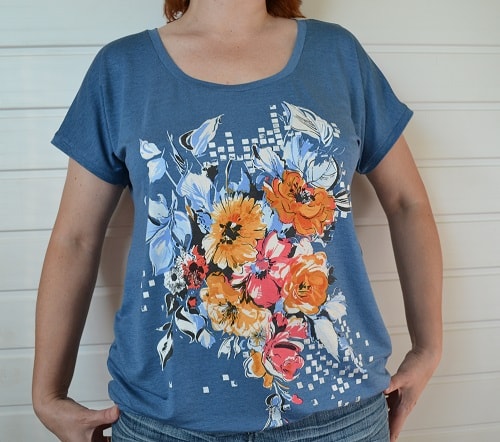
Womens Short Sleeve T-Shirt with Bias Tape
This women's t-shirt has a few features. This is tutorial on how to sew women's t-shirt with 20 photos.
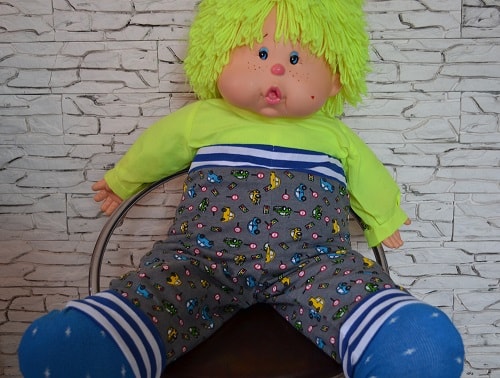
How to Make Children's Pants with Elastic Waist
Looking for knit pants for your toddler? Try sewing these knit pants with step by step tutorial that has more 20 photos and comments.
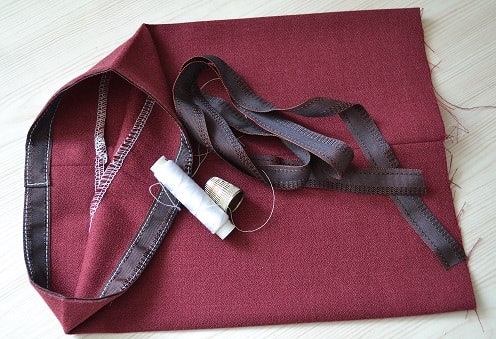
How Make Bias Tape and Sew to the Neckline
This tutorial will help you make a bias tape for facing a neckline. How make bias tape and sew it to the neckline your dress.
Learning how to hem your own pants and skirts
There are some ways how to sew up your hems. I offer you universal way that can use for hemming your pants and skirt or dress.
Cover Stitch Machine Tips and Techniques
Learn how to use coverstitch machine. Using the cover hem sewing machine is the best method to do hems on your knit fabrics.