Sewing Machine Motor Repair and Care

Here you will find a few tips for how to fix and clean the electric motor of your household sewing machine.
Parts of sewing machine motor
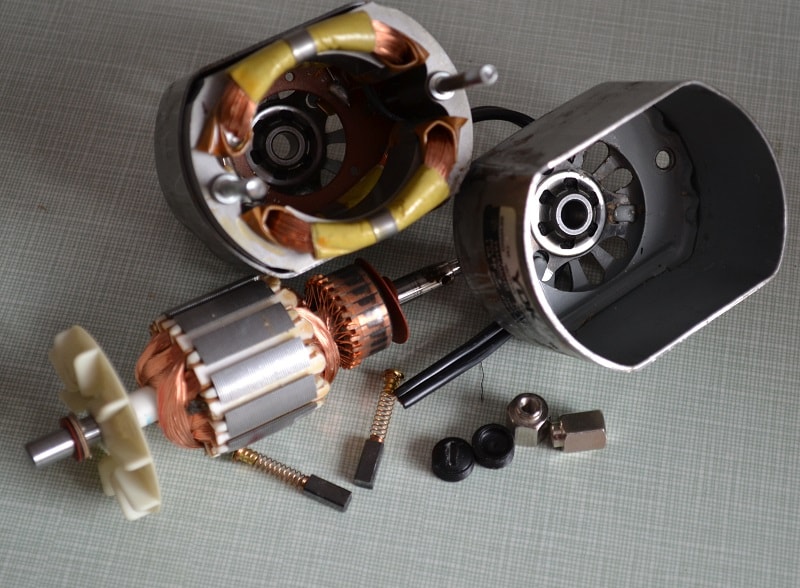
I have no doubt that you are able to disassemble and to repair such electric motor with your own hands correct, step by step, as shown on this photo. But please be aware that disassemble any electrical appliances should specialists only. Therefore, this article can be considered for ordinary readers as useful information only.
To demonstrate the motor device and its parts, I used two different samples of electric motors. These both motors are marked "Made in Japan" and they can installed in many models of household sewing machines.
They are similar in many respects but there are and differences. In the first place they have different mounting method to housing of machine.
Note: Industrial sewing machines have another type (completely different) of electric motor.
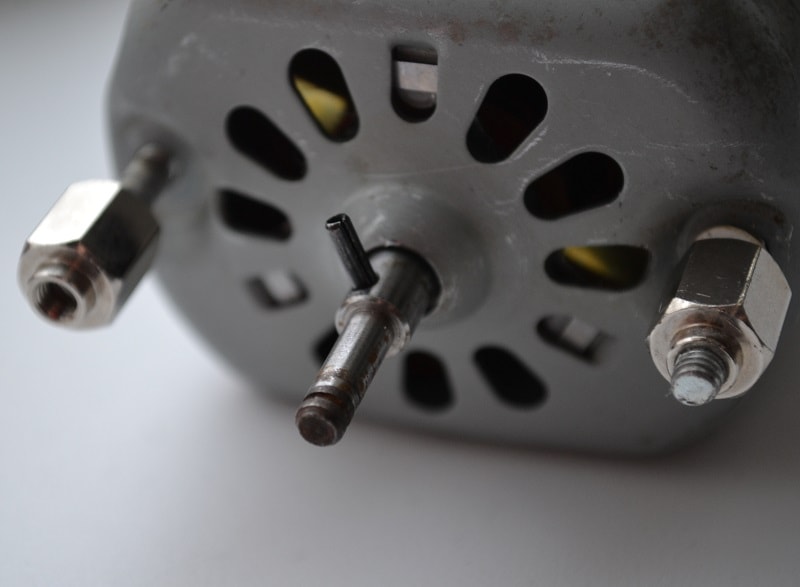
In the second place, method of attachment pulley to motor shaft may have a different.
All this differences must be taken into account in case of motor replacement.
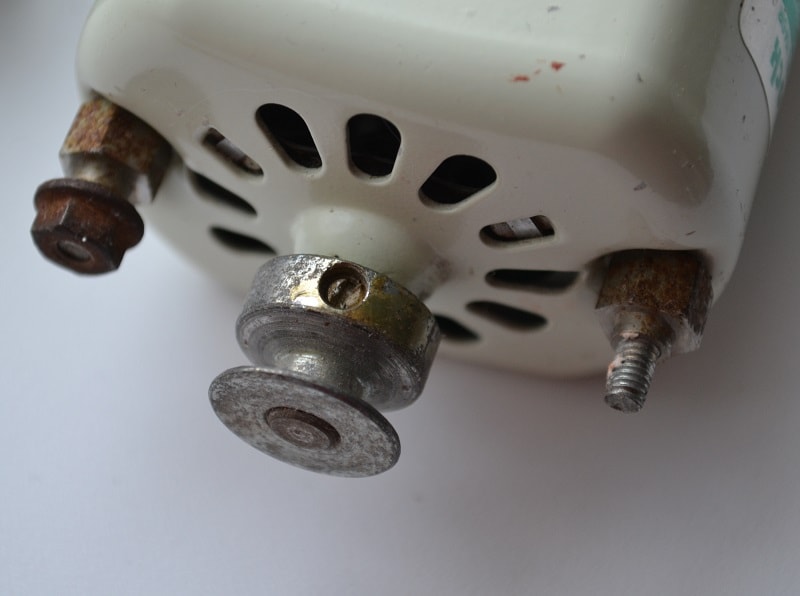
Electric brushes a motor
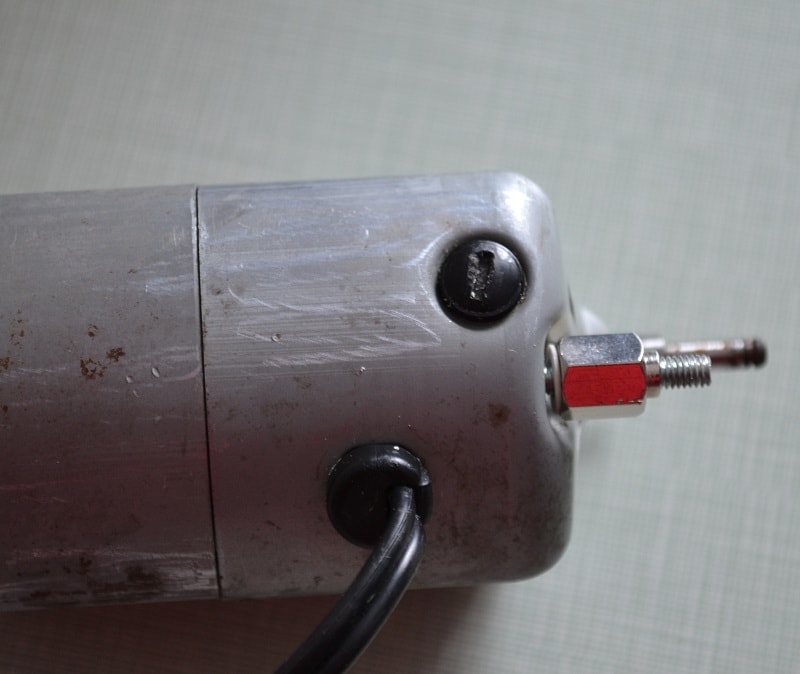
If you will remove this cap, using a flat screwdriver, you will find a motor brush.
By the way, this detail is often broken and it can be easily replaced with your own hands.
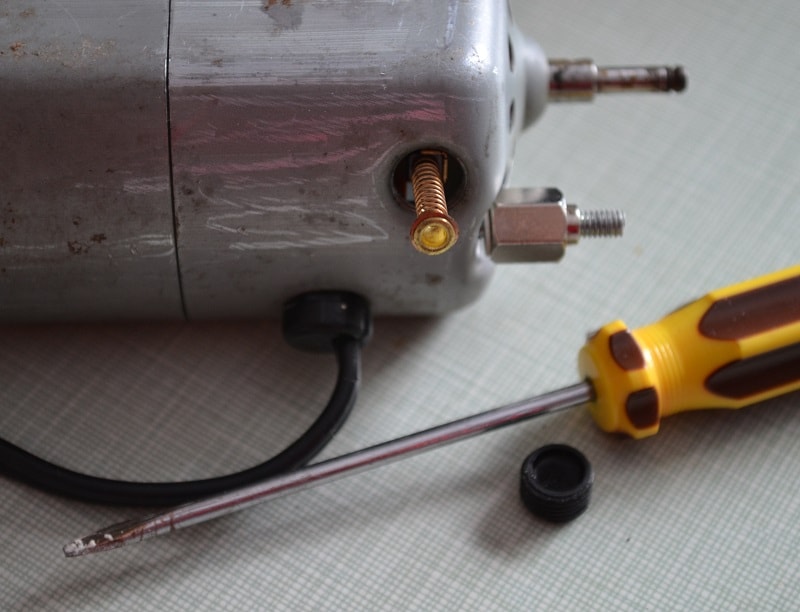
Every electric sewing motor (that is installed in household sewing machine) has two brushes.
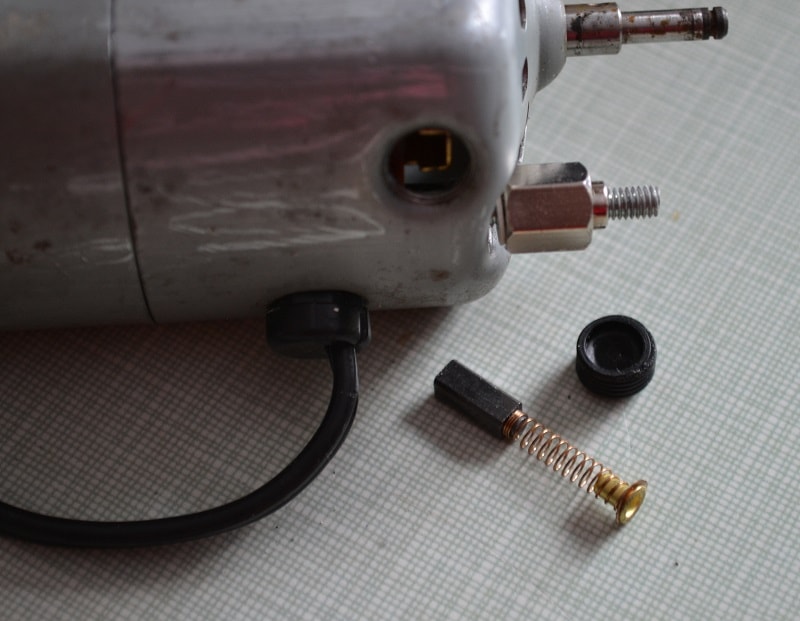
They're not brushes in conventional sense; they're little sticks of carbon.
Note: If the graphite rod is too small the brush should be changed to new.
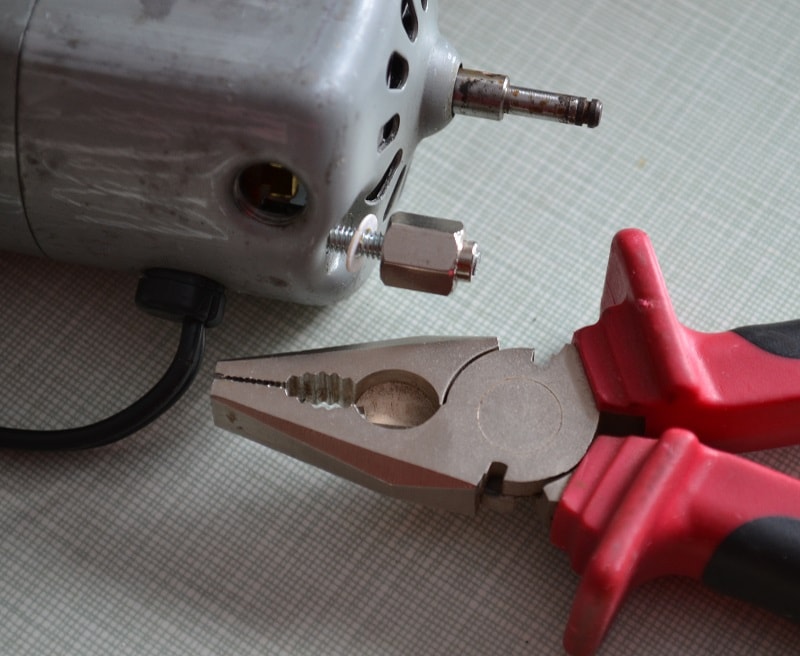
Separating two housing parts of motor
Now let's take a look inside an electric motor of your sewing machine and learn how it works.
To do it you need remove these screw-nuts.
To separate these two housing parts you can gently pull the half shell, as shown.
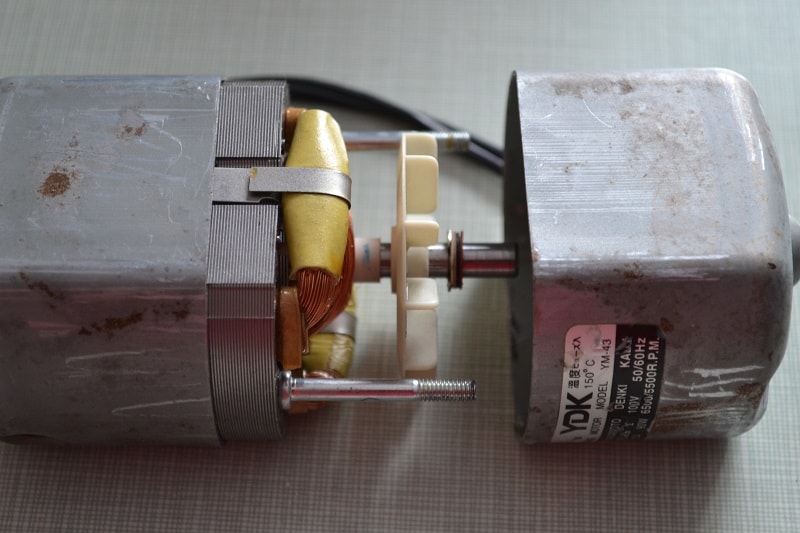
Look inside the shell. On bottom is installed a metal sleeve which must be greased with two or three drops of machine oil.
Checking inner parts of motor

Note: During removing any details you need pay attention to sequence and number of washers.
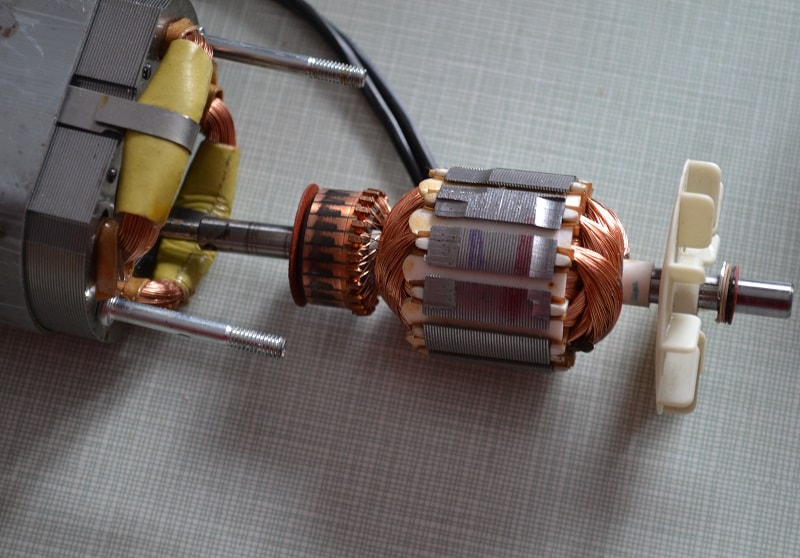
Now you can gently pull out rotor of electric motor and inspect it.
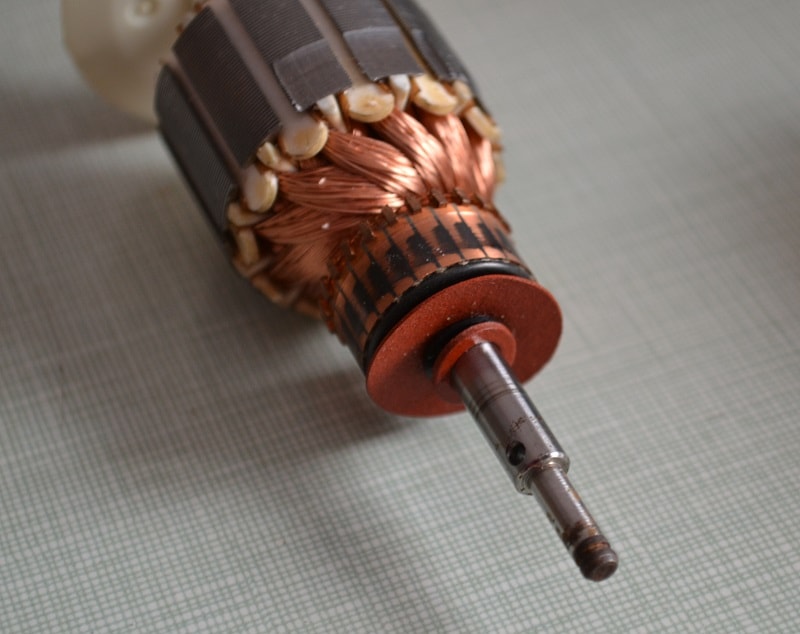
Lacquer covering of copper wire should have a light color without fused and darkened areas.
Surface of motor armature need be clean and smooth.
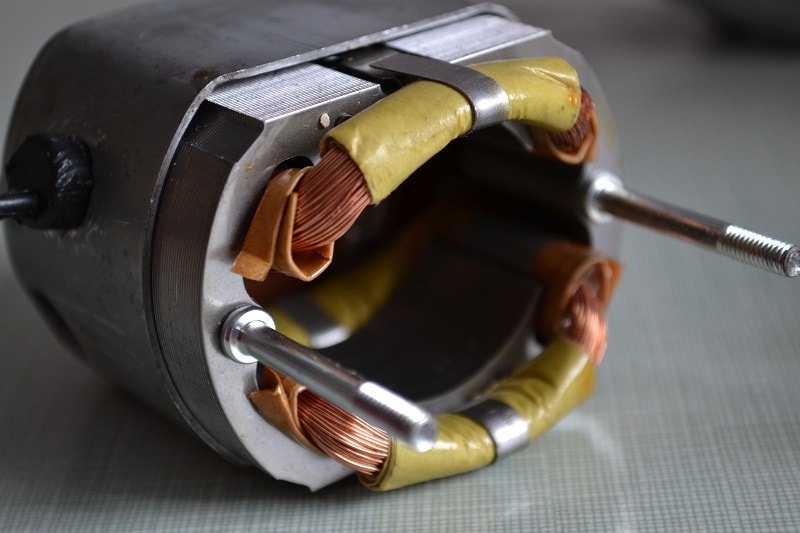
All coils of copper wire a stator should have a light color without fused and darkened areas also.

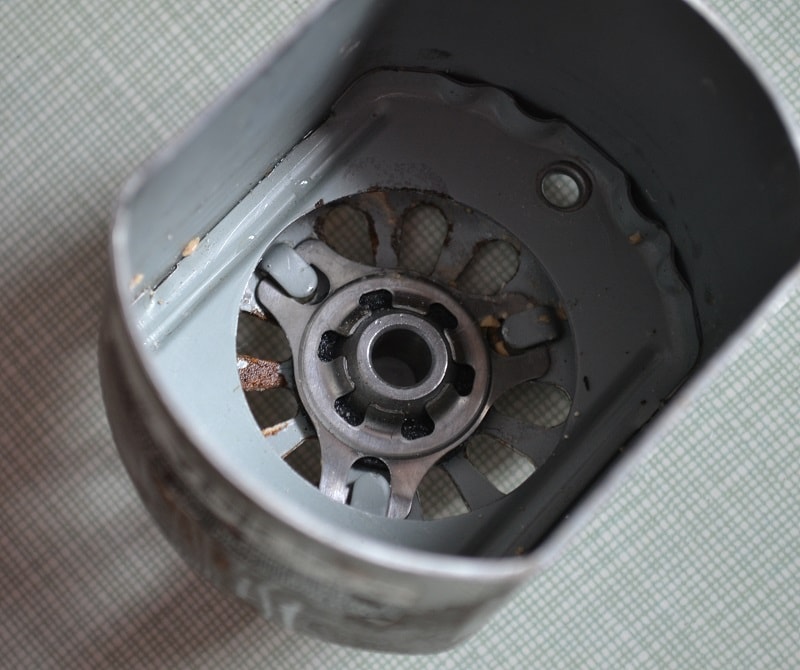
Don't forget to add two drops of oil to second metal sleeve of the motor that is installed on another part of shell.
Cleaning of surface of motor armature

You can clean the surface of motor armature with piece of paper or using for it the pencil eraser. This surface must be free from dirty or scratched areas.
Electrical connections and wiring
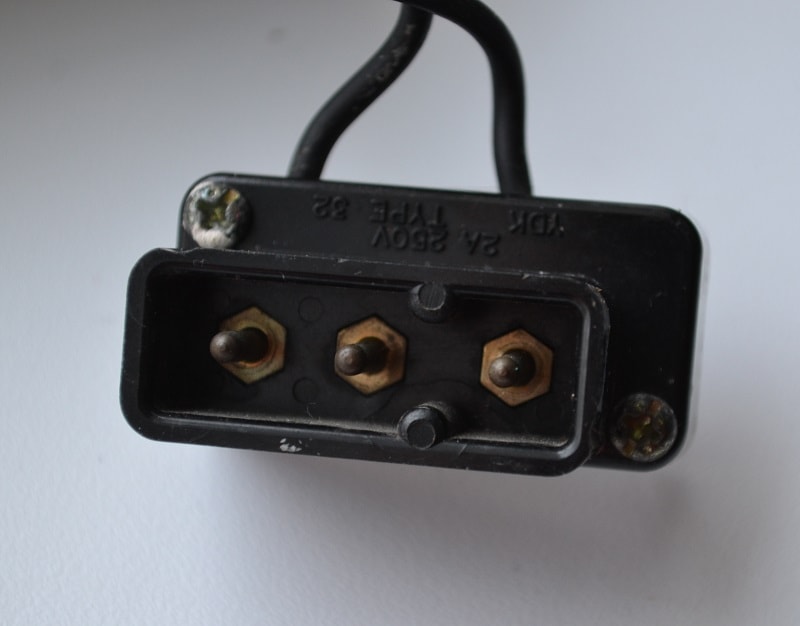
Surfaces of all metal contacts where an electric current passes should not have oxidized, or rusted areas.
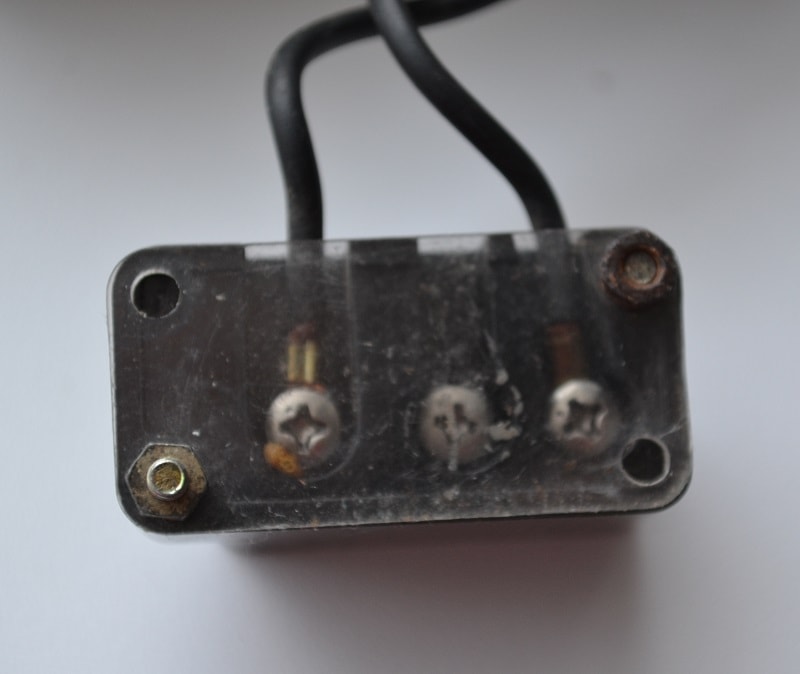
Inspect all electrical connections and wiring. Bad electrical contacts and damaged wiring can cause of motor to stop working.
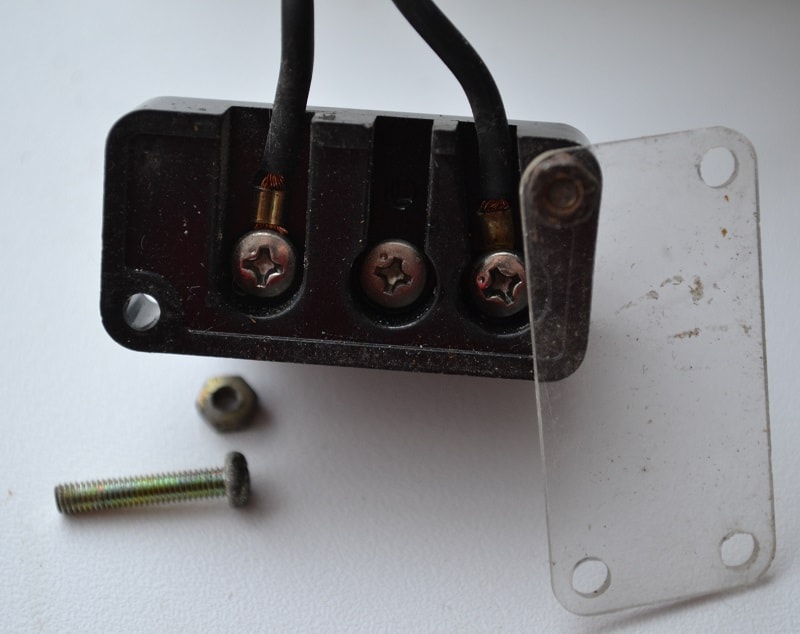
All connections must be tightened well and wires not bared and be intact.
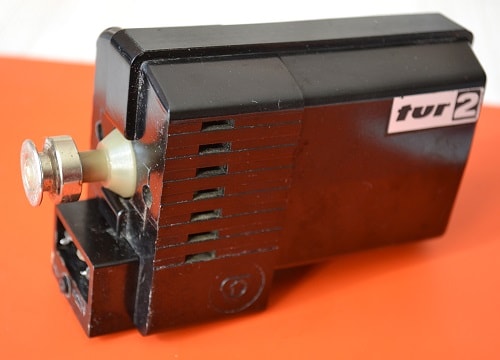
What's inside Sewing Electric Motor and Repair Tips
Look what is inside the sewing electric motor. These photos help you understand how to clean and fix an electric motor of home sewing machine.
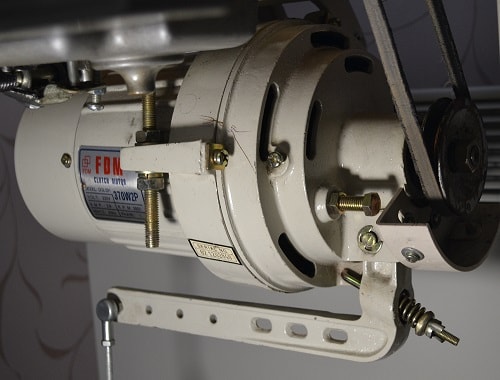
Clutch Motor of Industrial Sewing Machine
The industrial sewing machines have the special clutch motor. Using such motor the machine is able to work 24 hours a day without interruption and at a high speed.
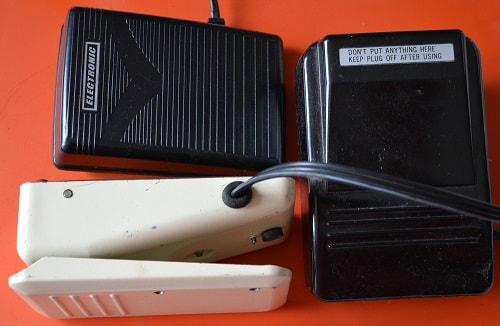
Sewing Machine Foot Control Pedal
Look what is inside the sewing machine foot control. These photos help you understand how to repair a foot control pedal.
How a Sewing Machine Works
Here is the tutorial how works the home model of the zigzag sewing machine.
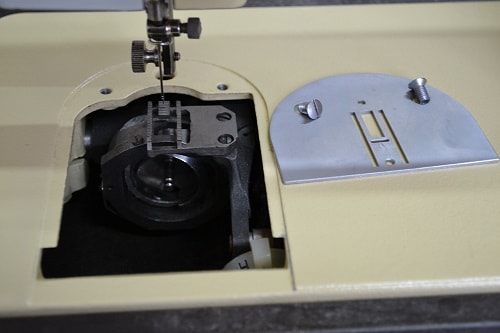
Vertical Rotary Shuttle Hook System
Sewing machines middle and upper classes have a rotary vertical or horizontal shuttle hook systems. Here you can read how works vertical rotary hook and tips for repair it.
Tips For Choosing A Sewing Machine
A few key features of sewing machines that you need to know necessarily.
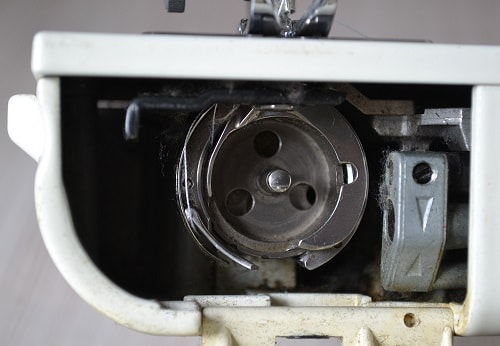
Bobbin and Top Thread Problems
If your sewing machine keeps breaking top or bobbins thread this tutorial help you troubleshoot these problems.
Rolled Hem Presser Foot
Using the rolled hem presser foot you can to hem thin fabric easily. The tutorial has 10 photos with pro comments.