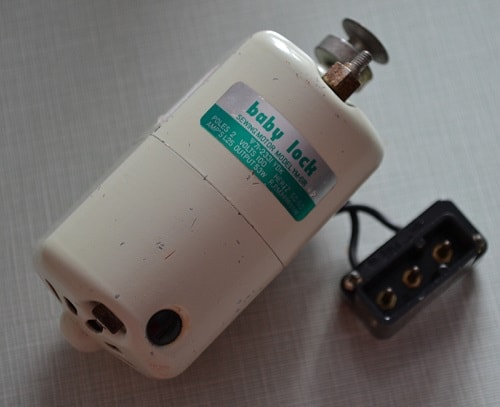
Foot Speed Controller Troubleshooting

What to do when you press the foot control pedal but the sewing machine does not work?
One of the reasons could be a foot speed controller failure.
If you learn how works the foot control pedal your sewing machine you can find out about its possible breakdowns.
But first I must to warn you that it's not recommended to disassemble the pedal yourself. It's dangerous and only the specialist can do it. But if you look inside the foot pedal on photos you can best understand how woks it and to troubleshoot many problems.

Note: Before removing the bottom cover of foot controller, it is necessary to disconnect the pedal from the network.
What is inside the foot speed controller

The screws holding this cover are located under the gaskets which are glued to the bottom of the cover.
Note: Never open the electrical appliances themselves!

Now let's see what is inside the foot speed controller of the sewing machine.
The rheostat having ceramic housing

On this phot you see rheostat having ceramic housing. When you press the pedal this plate pressed to both graphite pins. Graphite plates laying into rheostat are compressed.
As a result, the electrical circuit closes and the electric motor of sewing machine starts to work.
The more pedal is pressed then denser depressed the graphite plates together. As a result, the rheostat passes more the electric current and sewing machine beginn to run quicker.

The surface of the copper plate contacting the graphite bushing must be clean. It should not have any burned-out areas or oxides.

If you need a great effort to make the sewing mashina works, check the gap size between the plate and graphite bushings.
Note: The copper plate must not touch the graphite bushings in a loose fit (without depressing the pedal). In addition to this, it should evenly toach both bushings and evenly pressing them.

The gap size between the metal plate and graphite bushings can be changed by loosening these screws. Then slide the rheostat case in the desired direction.

On this photo shows one part of the foot speed controller that does not affect the operation of the pedal. This is an electric capacitor. But this detail is necessary to eliminate an interference from electrical impulses.

Now let's consider the case when the sewing machine does not can to regulate its speed correctly. The case when the sewing machine starts to work if you press the pedal to the end only, and at the highest speed.
Look at this photo. When you press the pedal to the end these contacts are closed with metal pin having wide washer. This copper bushing (pointer with arrow) goes down to the petals and closes the electric circuit "to the straight line" (without resistor). The sewing machine motor starts to rotate at maximum speed.

Now let's see what is inside the ceramic case. If you remove these cooper plates, be prepared to find a lot of thin graphite washers (see the photo below).
If the sewing machine has become slower to work, or works with jerks. One of the reasons for this is that the speed controller is faulty.
The graphite washers

Never do this (do not disassemble it) because graphite washers are very fragile and can easily break.
Tips: If you are sure that the cause of the malfunction is inside this enclosure, it is better to buy a new pedal.
After years of work the surfaces of these plates are burned out or covered by a touch, which prevents good contact between them. In some circumstances you can repair the pedal if you can remove these carbon deposits.
Foot controller troubleshooting

The above reasons of breaking a pedal do not happen often and they can not be fixed at home not specialists. You will need to contact the service center to troubelshoot them.
But there are problems of controller that are easy to avoid if you know about them in advance.
Often the cause of the malfunction of the foot control pedal is electrical wiring. Inspect carefully all the contacts, starting from the resistor and to the plug located on the body of the sewing machine.

Note: The wire in the twisted and twisted sections of the wiring may break off.
Make sure that you do not have such segments on the wiring.
In addition, check that there are no with bare wires.

Occasionally, the wiring is disconnected from the electric outlet or from the plug on the body of the sewing machine.

If the wiring in this plug constantly moves and folded, a breakdown may occur into it also. A sign of such a breakdown: the electric motor of the sewing machine works intermittently.

The surfaces of the metal parts of the electrical socket and plugs must be clean. They should not have rusty and oxidized areas.

Now you know how works the foot speed controller. But you should know, that there are other types of foot control pedals, having a different working principle.
In this video I open up the case of electronic speed controller of sewing machine and show what's inside an electronic foot pedal.
How a Sewing Machine Works
Learn how works a sewing machine. It helps you fix your sewing machine yourself.
Fixing the Sewing Machine Electric Motor
Here you find tips for fixing and cleaning the electric motor your household sewing machine.
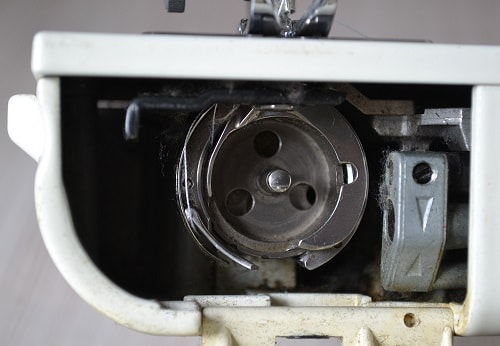
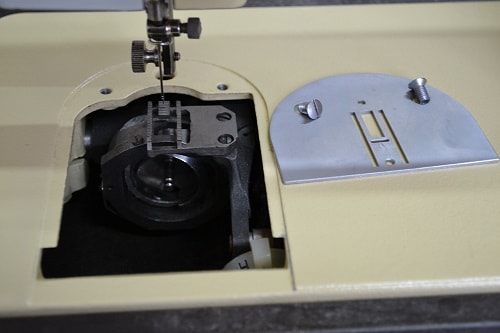
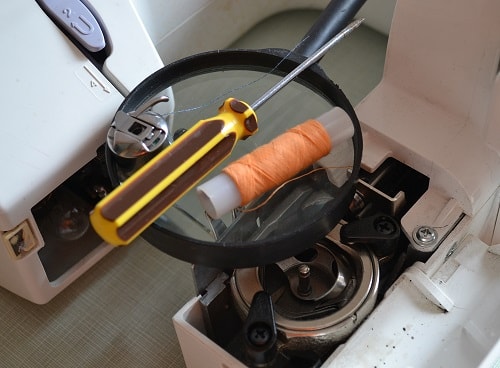
Vertical Rotary Shuttle Hook System
Many sewing machines (middle and upper classes) have a rotary vertical or horizontal hook systems. Here you can read how works vertical rotary hook and tips for repair.
Tips for Choosing a Sewing Machine
How to choose your first sewing machine? A few key features of sewing machines you need to know necessarily.
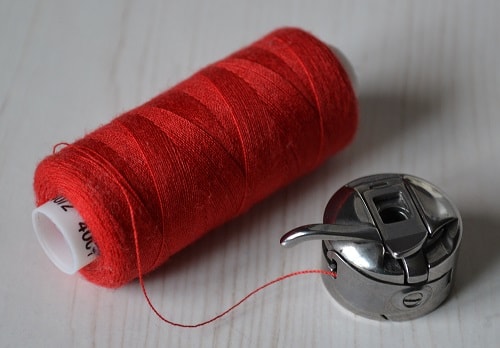
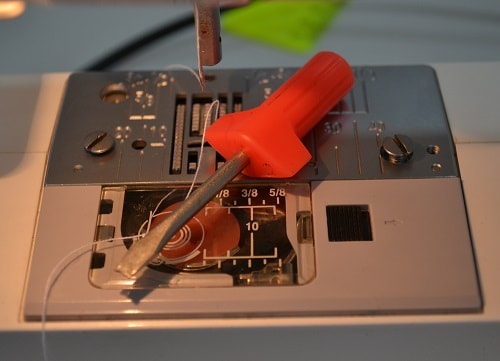
Bobbin and Top Thread Problems
Learn this tutorial if your sewing machine keeps breaking top or bobbins threads.
Sewing Machine Problems and How to Fix Them
Each sewing machine has some problems periodically: bunching thread, breaking needles or skipping stitches. Learn how to fix sewing machine at home by himself.
20 Sewing Tips and Tricks for Beginners
Want to learn the secrets of professional tailor? In this case you need to read this post containing 20 sewing tips and tricks for beginners.