How to Draft Dress Pattern for Basic Bodice
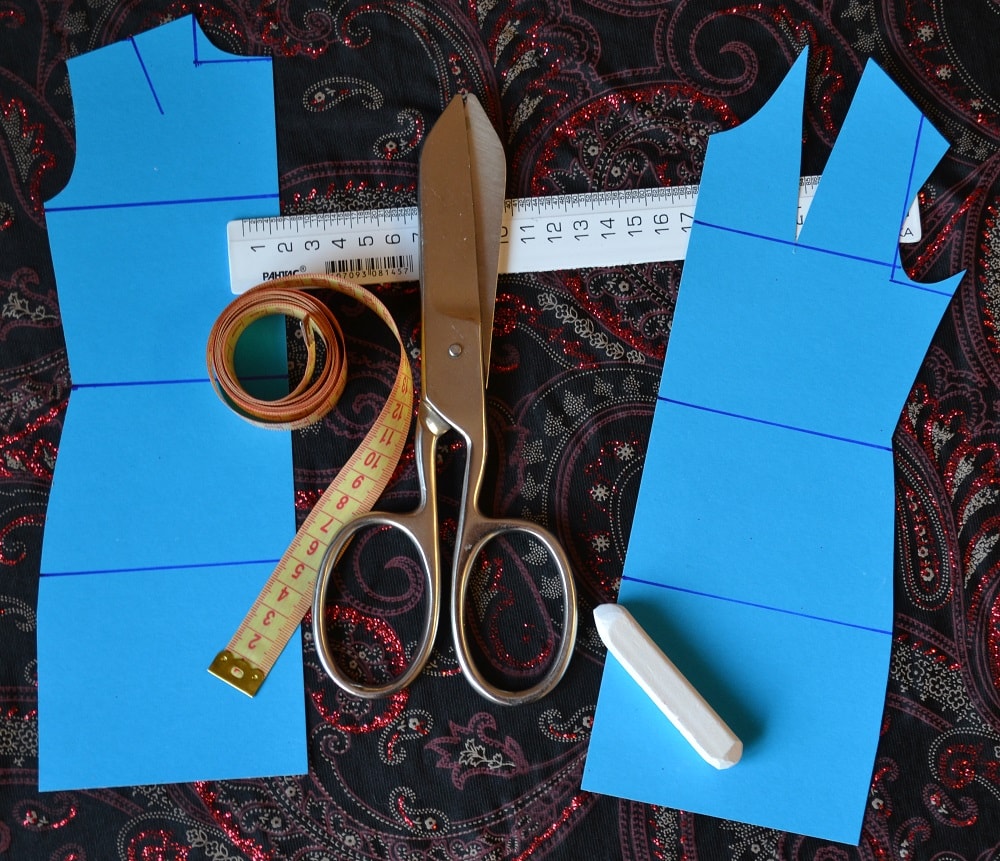
If you want to draft your own dress pattern you can to use this tutorial. Make this basic dress sloper and you can to build the patterns of any other dresses models.
Note: The dress pattern can be made by yourself correctly under two conditions. If you do not have any body deviations of figure and for dresses having sizes 42 to 46, max size 48 (10).
If your size of dresses is larger may be some inconsistencies in some patterns elements. These inaccuracies of pattern can to correct only by an experienced tailor, during the fittings dresses.
How Take Measurements for Making Dress Pattern
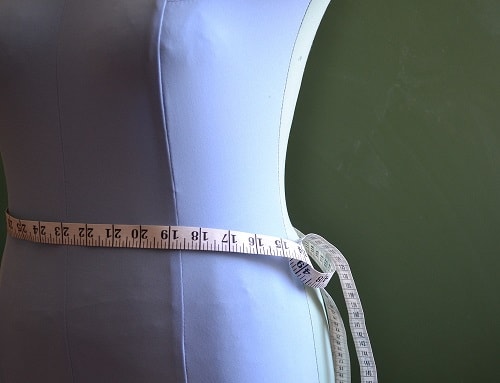
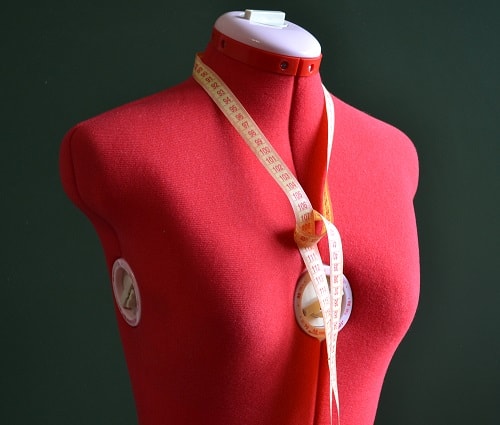
Correct measurements of your body are the main conditions for drafting an accurate pattern.
Learn how to take your body measurements before making dress pattern.
Note: For best results you need use a flexible measuring tape, not a metal one.
To build a drawing of this pattern, the following measures were used:
1. 1/2 Neck Circumference Measurement.

2. 1/2 Bust/Chest Circumference I (Over the breast nipple).
3. 1/2 Bust/Chest Circumference II (Along the breast nipple).
4. 1/2 Waist Circumference Measurement.
5. 1/2 Hips Circumference Measurement.
6. 5. Back Length (from center of back neck to lower edge of waist elastic).
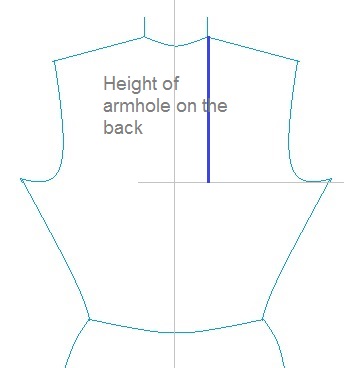
7. Height of Armhole on the Back.

8. Bust Span (distance between bust apexes).

9. Height of Front Part to Waist (from neck over bust apex to front waist).

10. Shoulder Height (along oblique line).
11. Half of Back Width.
12. Half of Breast Width.
13. Height of Bust.
14. Shoulder Length (from neck to shoulder tip).
15. Skirt Length (from waist elastic to hem).
Add ease to the measurements of the subject according to the list below.
Note: When proceeding, always use measurements where ease has been added.
Ease in cm:
1. Bust - 4cm
2. Back width - 0.5 cm
3. Waist - 3 cm
4. Hip - 2 cm
5. Back Length - 0.5 cm
6. Length of front part to waist - 0.5 cm
7. Armscye height (on back part) - 0.5 cm
8. Neck Measurement - 0.5 cm
9. Half of breast width - 0.5 cm
After having taken all the measurements, take these measurements once again.
Note: Not add ease to your body measurements. Add ease is needed during making a pattern.
Note: Do not tighten the measurement tape during taking the circumference measurements.
Fabric Consumption of Basic Shift and Fitted Dresses

If you already want a sloper that is a dress you can make two different silhouettes: the fitted dress sloper, and then the shift dress sloper. The fabric consumption is the same regardless of the dresses silhouette.
The fabric consumption for a straight dress fits into "one length" (from neck to hem line). If you want to sew dress with long sleeves, you need add a length the length of the sleeve also.
Note: If in your dress are provided some deep creases or additional finishing details, such as a turndown collar, the consumption of fabric will be increased.
More fabric is needed in case when the measurement "Circument of hips" exceeds 130 cm and more. In this case you need to buy "two lengths" of fabric.
When calculating doesn't forget add to full consumption of fabric 10 - 15 cm (allowances, hem).
Basic Frame for Dress Pattern

Starts draft the dress pattern (sloper) with building the frame.
Starts draft the dress pattern (sloper) with drawing the mainframe. First point which you need to draw be letter A (at left top corner).
Next, set second point to the right - letter A1. Use this calculation: 1/2 Bust Circumference II + 4 cm.
Now you will to draw a waistline from point A. To find the point W from point A you need add 0.5 cm to the "Back Length" measurement.
From point (W) you need lay down a segment about 21-22 cm and mark it with letter H (Hips).
With letter L you need mark the hemline of dress. From the (W)to add the "Skirt Length" measurement.
Now it's time to draft last point - B. Line segment AB = Height of Armhole on the Back + 0.5 cm.
Next, draft vertical line downwards from A1 to the hemline.
At the same time draw 5 horizontal lines (to the right), from points: A, B, W, H, L. At the intersection with the vertical line mark the points: A1, B1, W1, H1, L1.
Now the frame for drafting dress pattern is ready.
BB2 = Half of Back Width + 0.5 cm.
From B2 draw up a perpendicular line and mark the point A2.
B1B3 = (Half of Breast Width + 4 cm) + (Bust Circumference II - Bust Circumference I).
From B3 draw up a perpendicular line and mark the point A3.
AA4 = (1/2 Neck Circumference Measurement should be divided into 3) + 0.5 cm.
AA5 = AA4 should be divided into 3 also.
Note: Making the darts on the back is not necessary. This is an obsolete pattern element.
Now take a compass and from point A4 draft an arc with radius of shoulder length measurement.
At the same time you need draft an arc from point (W) before crossing with the previous arc. This radius = Shoulder height (along oblique line) + 0.5 cm.
Mark the point A6 at the intersection of these arcs.
Now you need to draw a horizontal line from the point A6 to left. At the intersection of this line with the segment A2B2, put a point A7.
Using this point (A7) you can to find the point B5. B2B5 = (segment B2A7 should be divided to 3) + 2 cm.
The last point: segment B2B3 should be split into two equal parts. In the center mark the point B4.
Note: Your patterns scheme (depending on your individual body measurements) can visually not coincide with this drawing.
Drafting the Front Part of Dress PatternFirst you need to find the point A8 using this calculation: B1A8 = "Length of front part to waist" + 0.5 cm.
From the point A8 (left) mark the point A9 using this rule: A8A9 = AA4.
At the same time mark the point A10. Segment A8A10 = 9 - 10 cm.
B1B8 = 1/2 Bust Span (distance between bust apexes) + 0.5 cm. Mark the point B8.
From the point B8 (down) draw short parallel line (along vertical line A1L1).
Now take a divider to mark the arc from point A9 to previously drawn short parallel line. Mark the point B9.
At the same time using compass you need make second arc from new point B9 towards line AA1 (to left from A9).
In both cases, the distance between the legs of the compass is equal to the measurement "Height of Bust".
Now you need to perform a more complex calculation by the formula :
(2 x (1/2 Bust Circumference II - 1/2 Bust Circumference I)) + 2 cm.
The result obtained is the distance between the legs of the compass to making an arc from point A9 towards previous arc. At the intersection of these both arcs, mark a point A11.
Mark the segment B3A12 = B2A7 (from back part) - 1 cm.
Now take a compass to make an arc from point B3 towards shoulder line. The distance between the legs of the compass is equal segment B3A12.
At the same time put the leg of compass in the point A11 and make an arc A11A13. The distance between the legs of the compass is equal "Shoulder Length" measurement. Mark the end of shoulder with point A13.
The segment B3A12 needs to divide on 3 parts and mark the point B10. From the point B10 draw a straight line to point A13. Draw curve of armhole, as shown.
How to Draft the Darts

Mark the point W2. Left and right of it, mark two points with distance (from W2) about 1 cm.
The segment W2d = 12 - 13 cm.
B9d1 = 4 - 5 cm.
Now you can to connect the dart's marks with straight lines, as shown.
In this stage we will to draft the dart on back.
BB6 = B6B2 = BB2 / 2.
W3d2 = 15 - 16 cm.
B6B7 = 3 - 4 cm.
Mark the point W3. Left and right of it, mark two points with distance (from W3) about 2 cm.
Now you can to connect back darts points with straight lines, as shown.
See also: Tutorial how to mark and sew darts.
Side Seams of Straight Fitted Dress

HH2 = (1/2 Hips Circumference Measurement / 2) + 1 cm.
From point H2 draw down the straight line (to hem line) and mark the point L2.
Now you need to perform a more complex calculation by the formula :
X = HH1 - (1/2 Waist Circumference Measurement + 3)
Now you need to insert this result (X) in this calculation :
Y = X - (2 + 4); 2 - front dart; 4 - back dart.
Now you need to divide Y on 2. This result you need use to mark two points W3 and W6 (W4W5 = W4W6).
Note: The points W5 and W6 can shift in your calculation, and your own pattern will visually look different than my dress pattern. The main thing is that segment W5W6 will be constant.
It's time to make last steps of drafting the side seams.
H1H3 = (1/2 Hips Circumference Measurement + 2) - HH2.
From point H3 draw down the straight line (to hem line) and mark the point L3.
Now you can to connect side seams points with straight lines, as shown.
Ways of Placing the Front Darts

In this dress pattern is used the classic version of front dart. But there are another options for placing the darts on front dress part.
Such drafting of the darts already refers to the modeling of women's clothing and requires a certain skill.
Note: After drafting pants pattern do not forget to add seam allowances!
Taking Women's Body Measurements
For sewing women's garments, you need to take a few additional measurements. Learn how to take women's body measurements correctly.
Drafting Women's Pants Patterns (Basic)
If you will draft this pattern of women's pants you will have a basic pattern which can be used for drafting any models trousers, including the jeans and other.
Pencil Skirt Pattern and Tutorial pdf
In step-by-step photo tutorial you find simple and understandable steps that will help you to build a pencil skirt pattern correctly and easily.
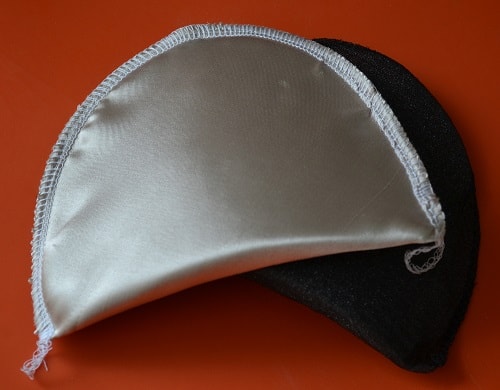
How to Cover the Shoulder Pads with Fabric
Shoulders pads help hide some disadvantages of female figures. Learn how to cover the foam shoulder pads with fabric.
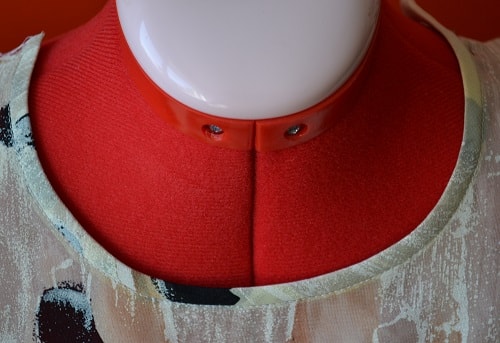
How to Make French Bias Binding
This step by step guide helps you to decorate a neckline of dress with bias tape. The steps of French bias binding tutorial.
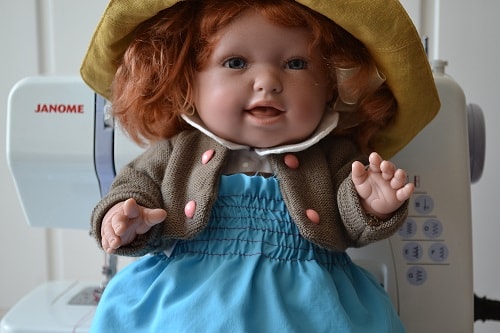
Steps to Shirring with Elastic Thread
Shirring technique is often used for decoration of dresses or skirts. In this tutorial you learn how to make shirring and to sew with elastic thread.
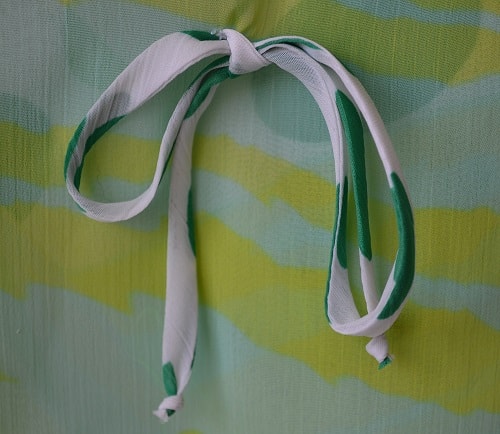
How to Make Womens Spaghetti Straps Dress
The narrow spaghetti straps are needed not only for a dress. Ten steps how to make chiffon spaghetti straps.
How to Make Pockets to a Dress or Skirt
Learn how to add inner pockets to side seam a dress. Using this sewing tutorial you will learn how to make pocket for dress or skirt correctly and easily.
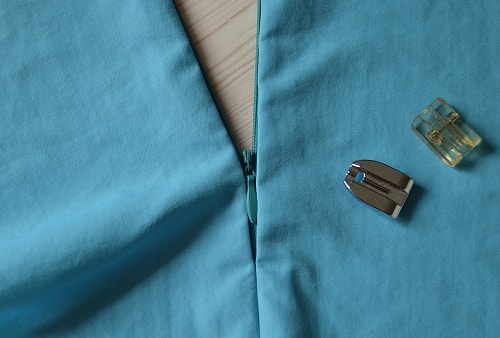
How to Install an Invisible Zipper
Learn how to sew an invisible zipper. Here are steps of installing a zipper with 30 photos and tailor's comments.