Pencil Skirt Pattern with Sewing Tutorial
Do you want to get a free pattern of skirt with sewing tutorial? Do you want sew a skirt that fits your figure?
Try to do it using my free pattern with sewing tutorials in other articles!
Using this tutorial you can draft a pencil skirt sloper very easily and quickly. To the skirt pattern I offer download a pdf tutorial with steps of sewing a skirt or read free tutorials (in following posts).
Let's get started!
In this video you will learn how to draft pencil skirt with back vent.
How to take measurements
For drafting your skirt pattern you need to make only three own measurements. How to take a pencil skirt measurements? It's very easy but you need follow two rules:
1. Do not need to tighten strongly a measuring tape around your waist and hips .
2. Take your measurements with a fabric tape measure only.
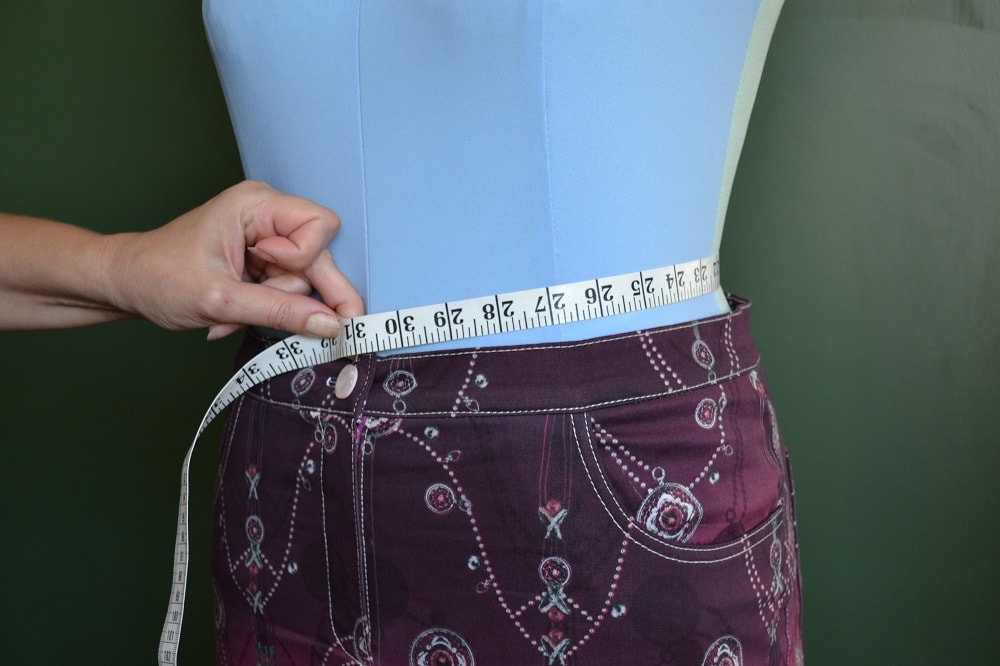
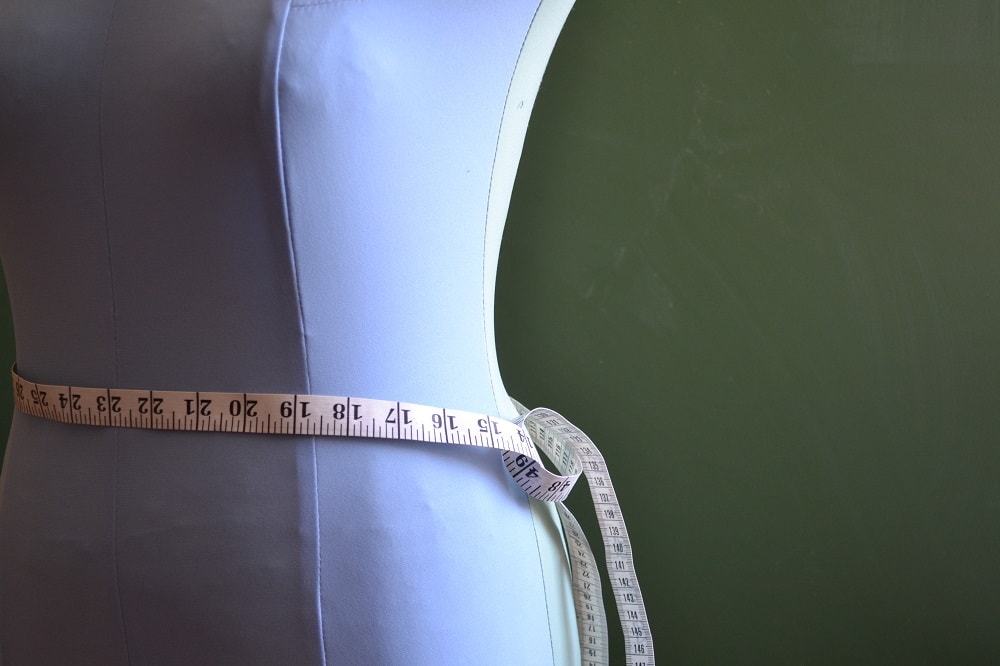
Waist - wrap a waist with tape as shown on this photo and take a measure of full waist circumference. Note: For calculations is used half of this result.
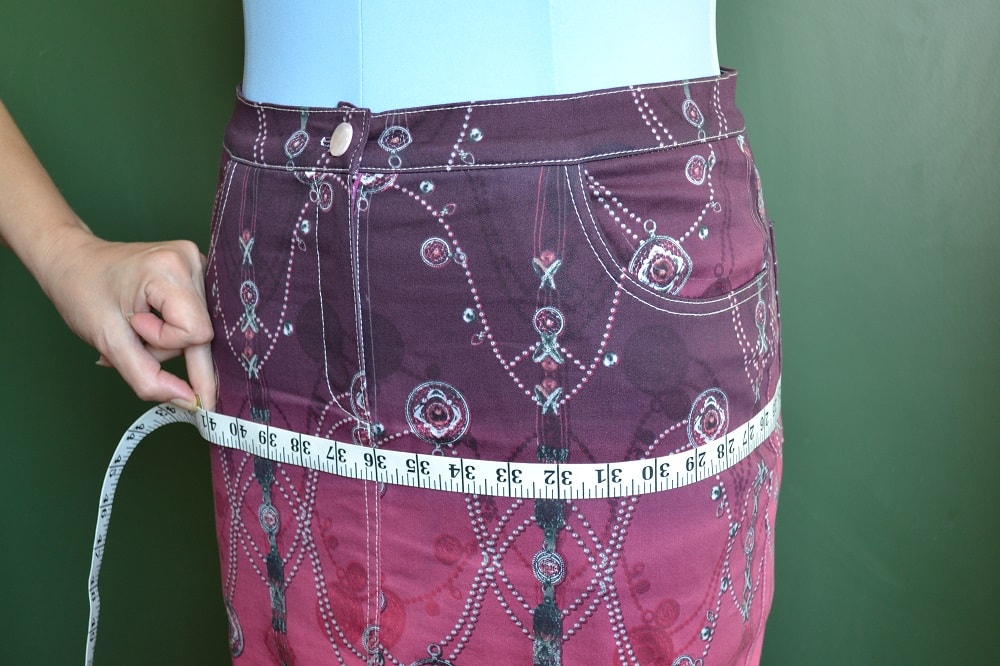
Now take measurement at widest part of body - Hips.
Note: Note: Tape around hips does not need to tighten strongly. If the circumference is less, your skirt will be tight and vice versa.
For taking your measurements, required when drawing any sewing patterns, is better to use special measuring tape (scale in centimeters or inches) that is used by tailors.
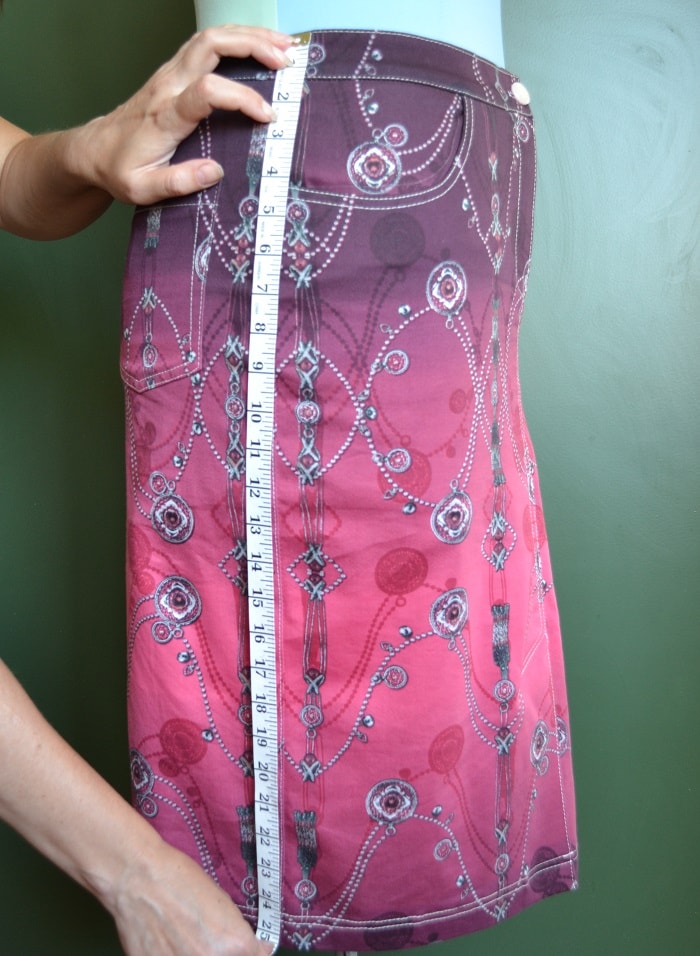
Now you can measure a length of skirt from waist to kneeline (hemline). Have someone to take this measurement - Skirt length.
Note: The measuring tape should be located exactly along the side of your body.
During a drafting the pattern skirt we will use marking: W - waistline; H - hips line; L - hem line of skirt.
How to draft a skirt pattern
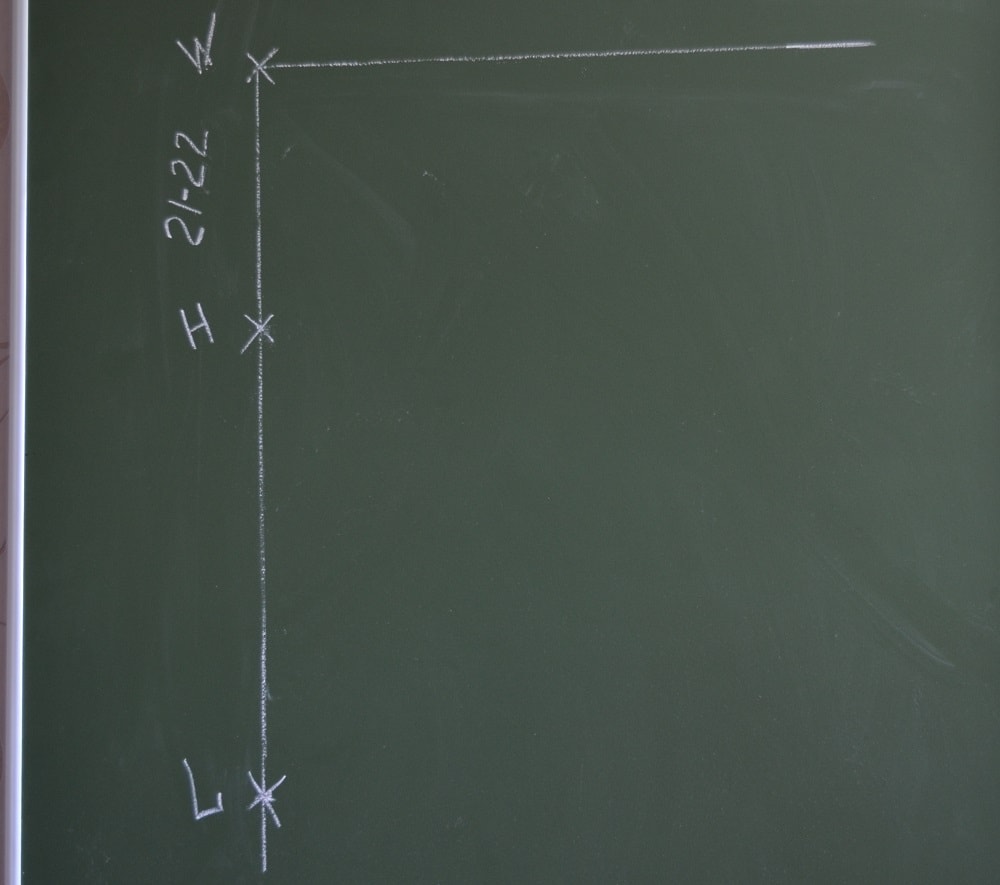
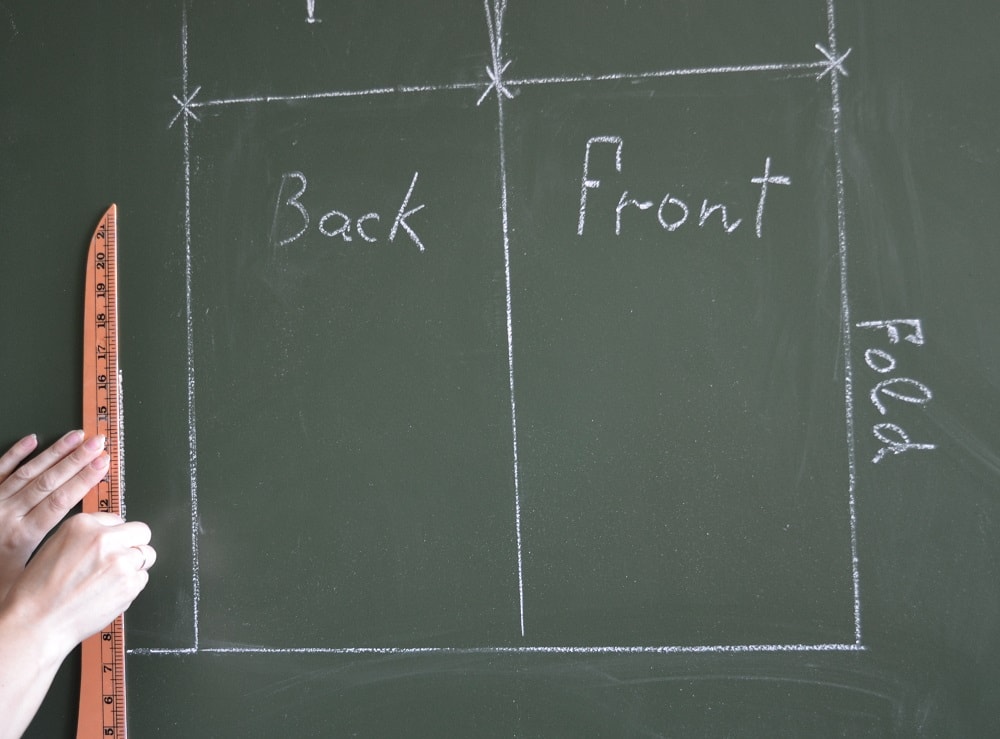
To build a pattern you need to draw a frame first. Take plotting graph paper having length of your skirt plus 20 cm, and with width of half of your widest measurement.
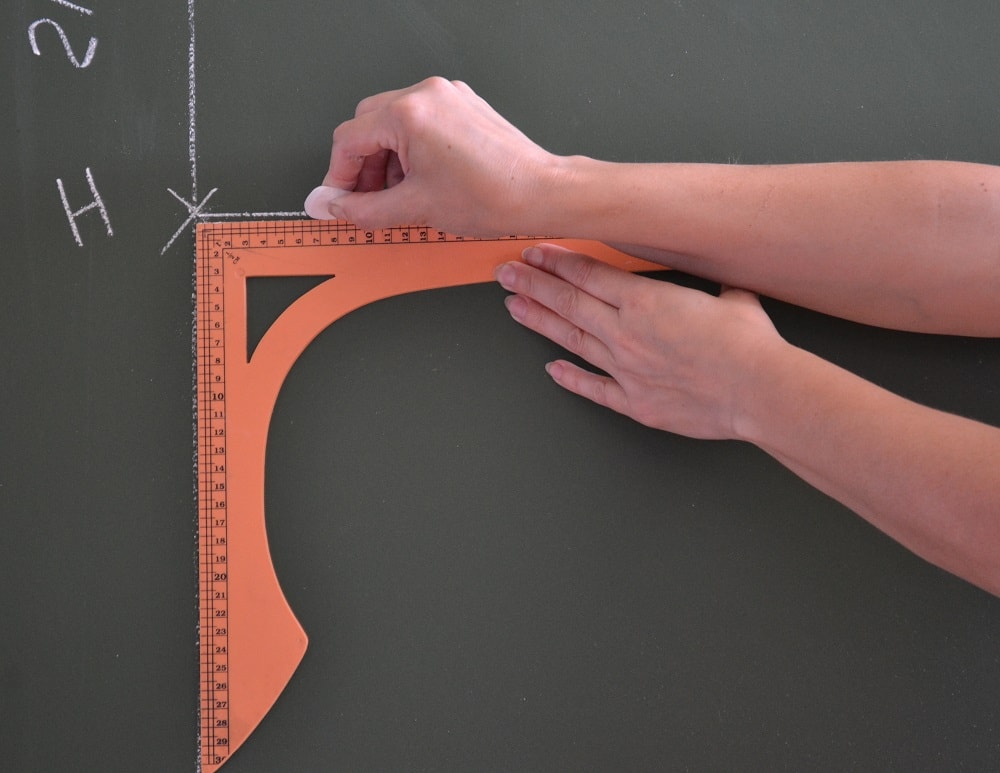
Now draw the right angle in left part of plotting graph paper where you will draft a skirt pattern.
First mark the point W and draw long line to the right.
From point W you need back down about 21 - 22 cm. Across this point will be go the hips line (H).
Mark last point L (skirt length) that not requires special comments.
From this point H you need to draw a long line to the right end of frame.

From point L draw a line to the right edge of skirt pattern.
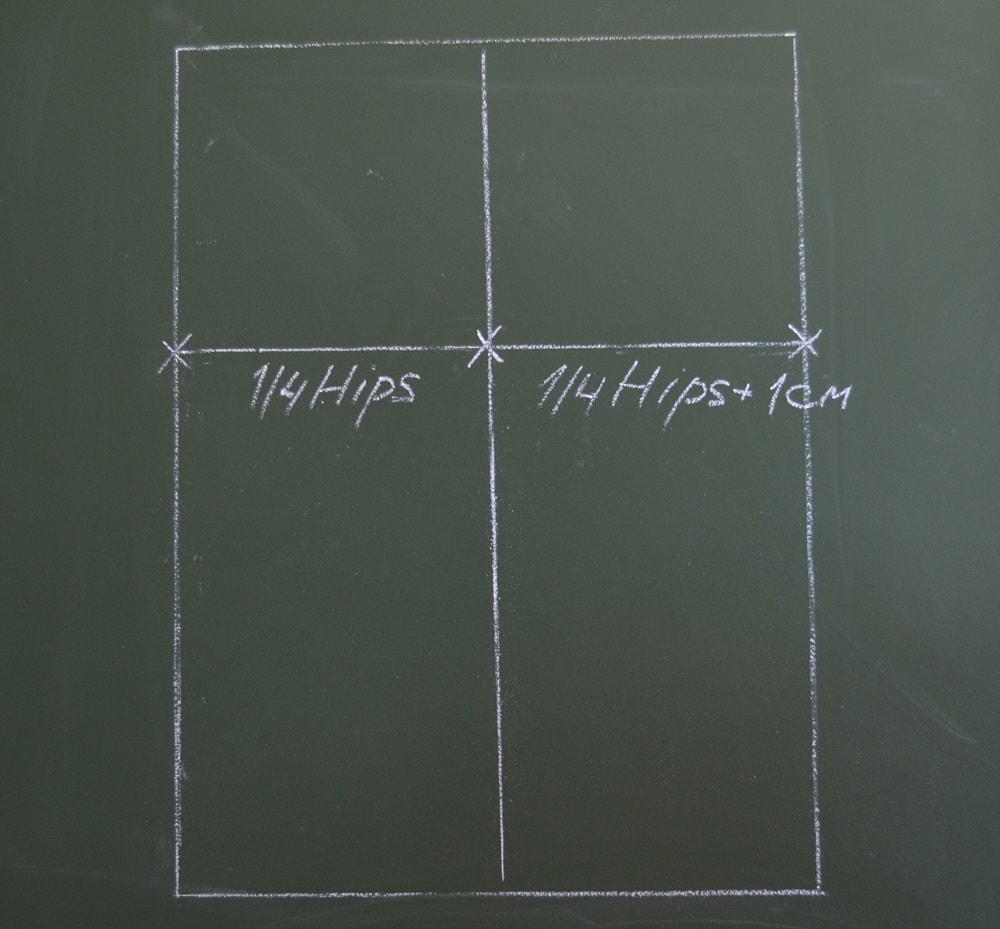
In this step of drafting a pencil skirt pattern you need to devide the rectangle into two parts of skirt (back and front).
Using these simple calculation draw a vertical center line. Now to 1|4 hips measurement add 1 cm and draw right vertical line of frame a pattern.
Difference between circumference measures of hips and waist
Your basic pattern a skirt sloper will be finished very soon. But in this step we need to do some calculations.
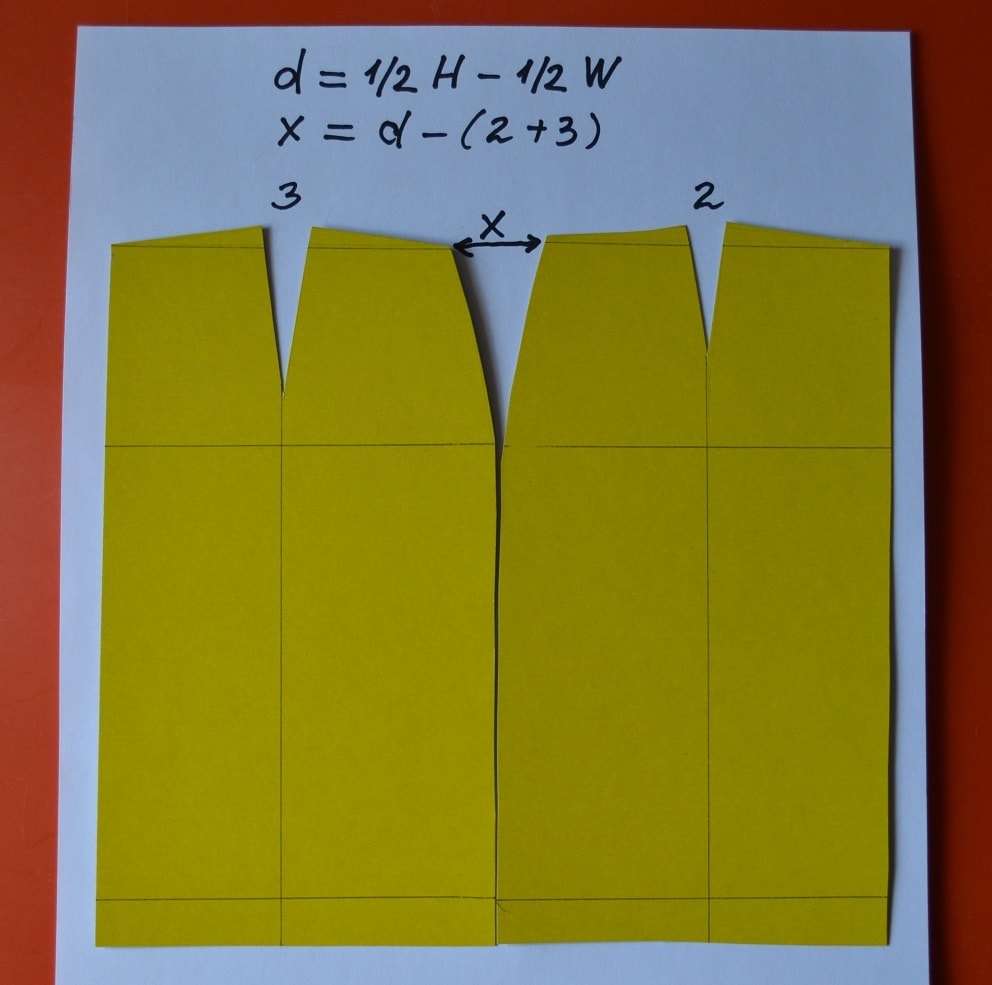
Look carefully at these formulas. They are very simple in fact, but you must to understand them before moving on. Using them we will count the difference between your hip circumference and your waist circumference. This is needed for drafting any skirt sloper pattern.
The resulting value (X) needs to divide in half (to two identical segments).
This is the hardest part of drafting your pattern of pencil skirt. The following steps of drafting will be easy and fun.
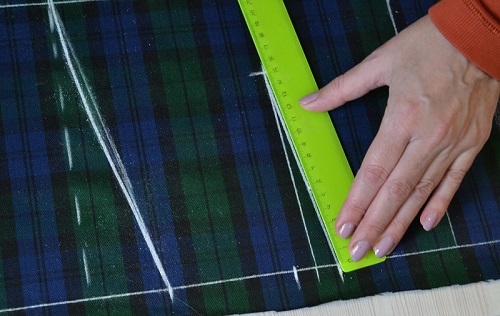
Next steps of drafting a pencil skirt
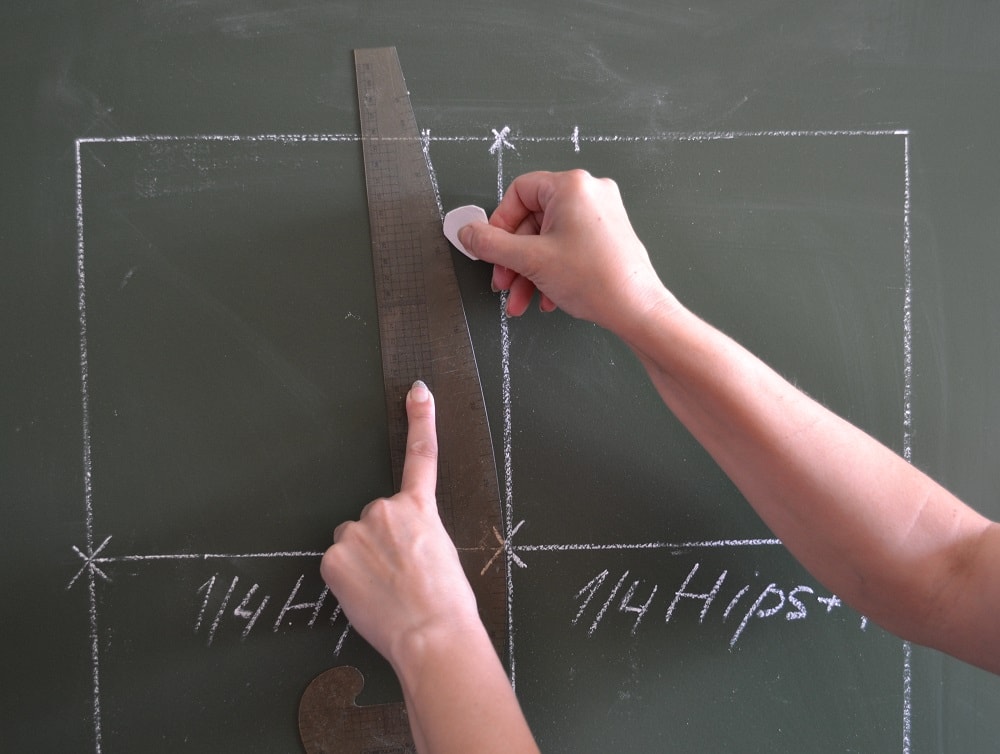
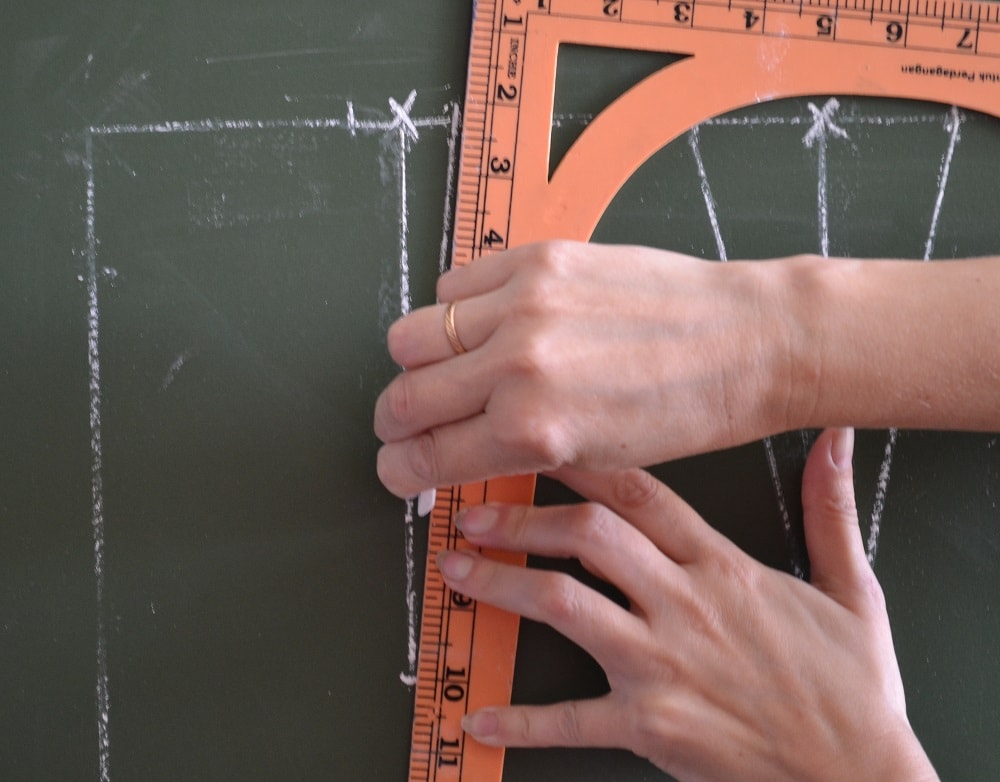
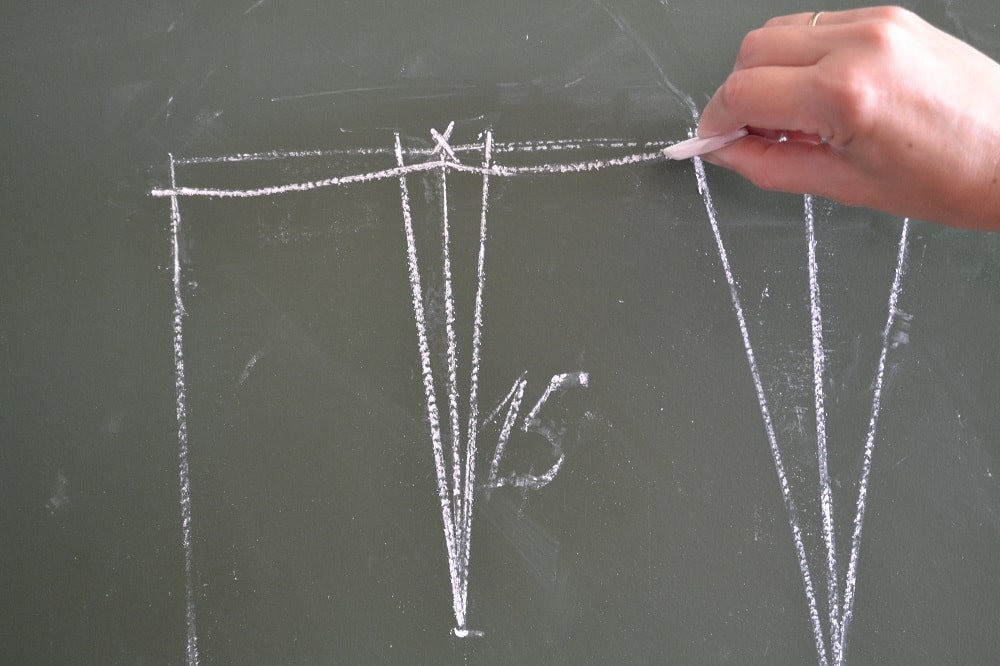
If you do not have such special tool, draw this line with a slight curvature by hand, as shown in the photo.
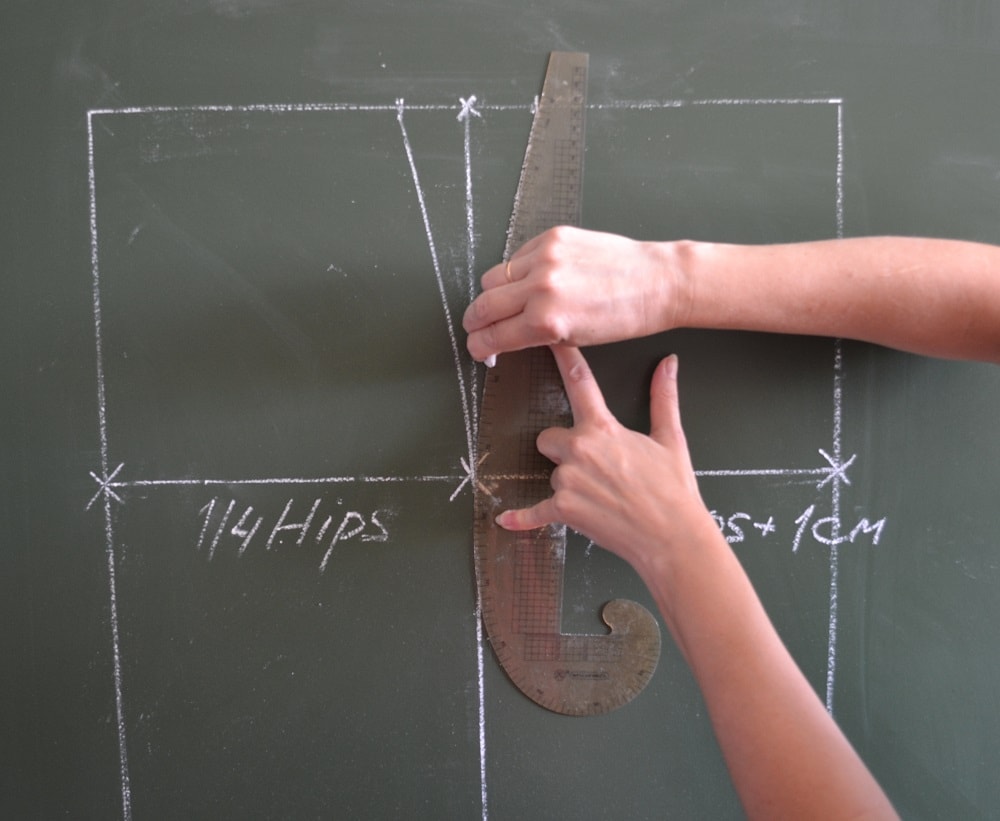
Draw this curved side line on both parts a skirt pattern.

At this stage your pattern has professional look and you need to do a few last steps.
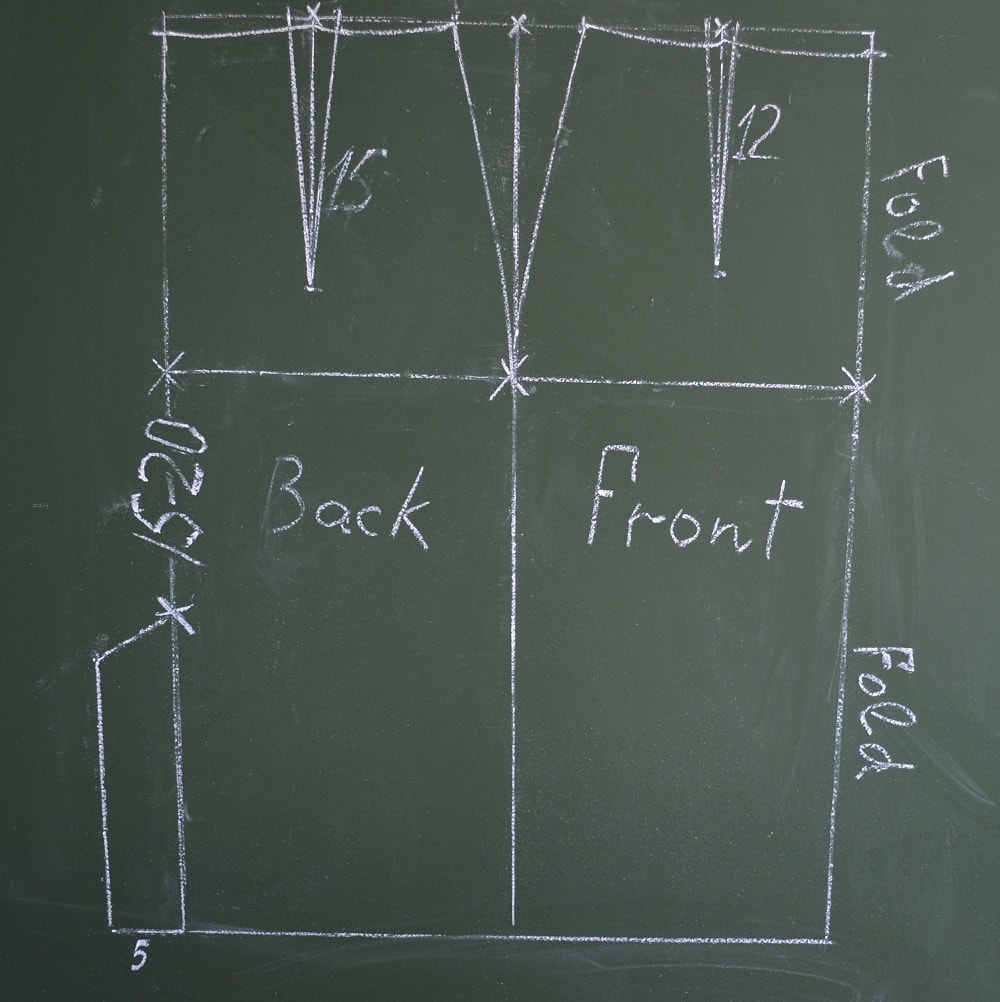
Calculation for back and front darts

But first you need to understand a simple thing. You need to understand how to mark four darts on the pattern.
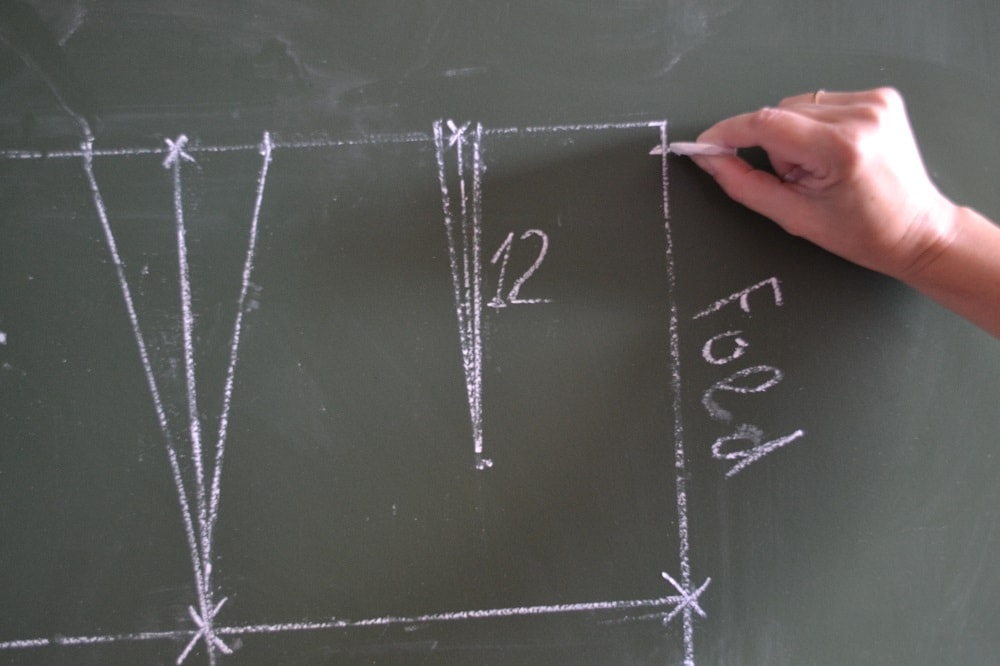
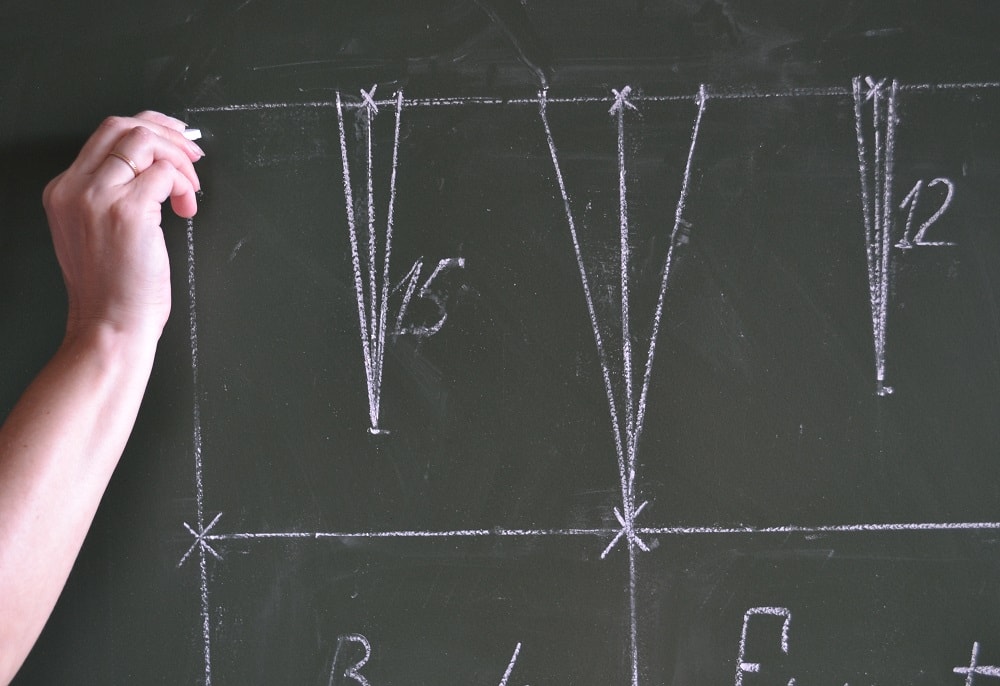
It is a simple matter, just look at this photo with scheme.
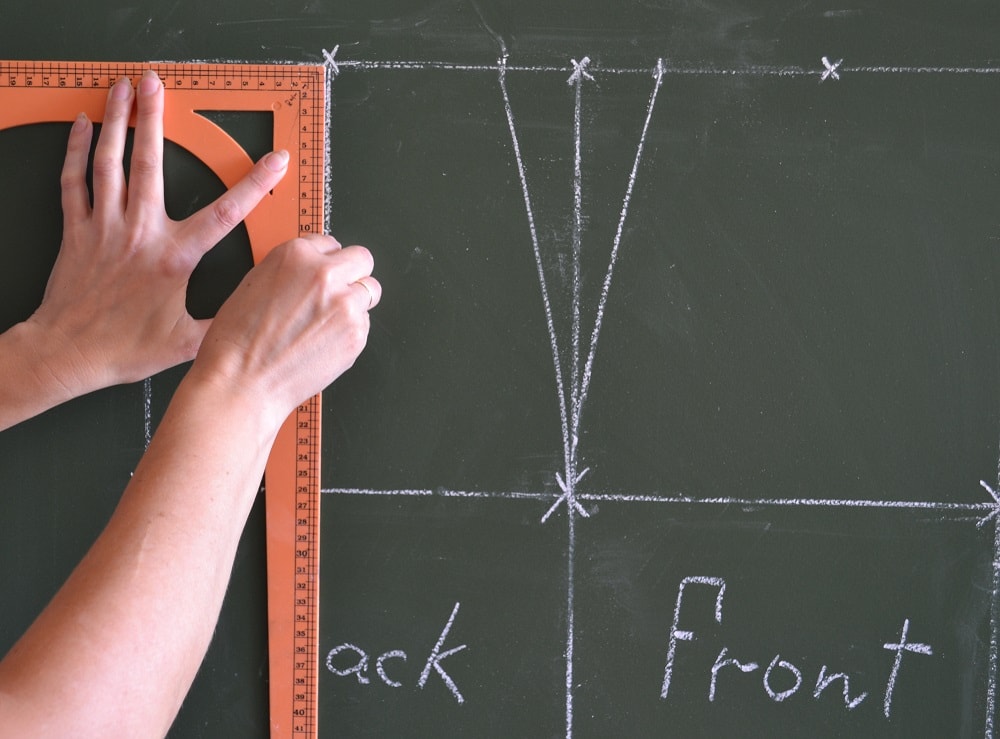
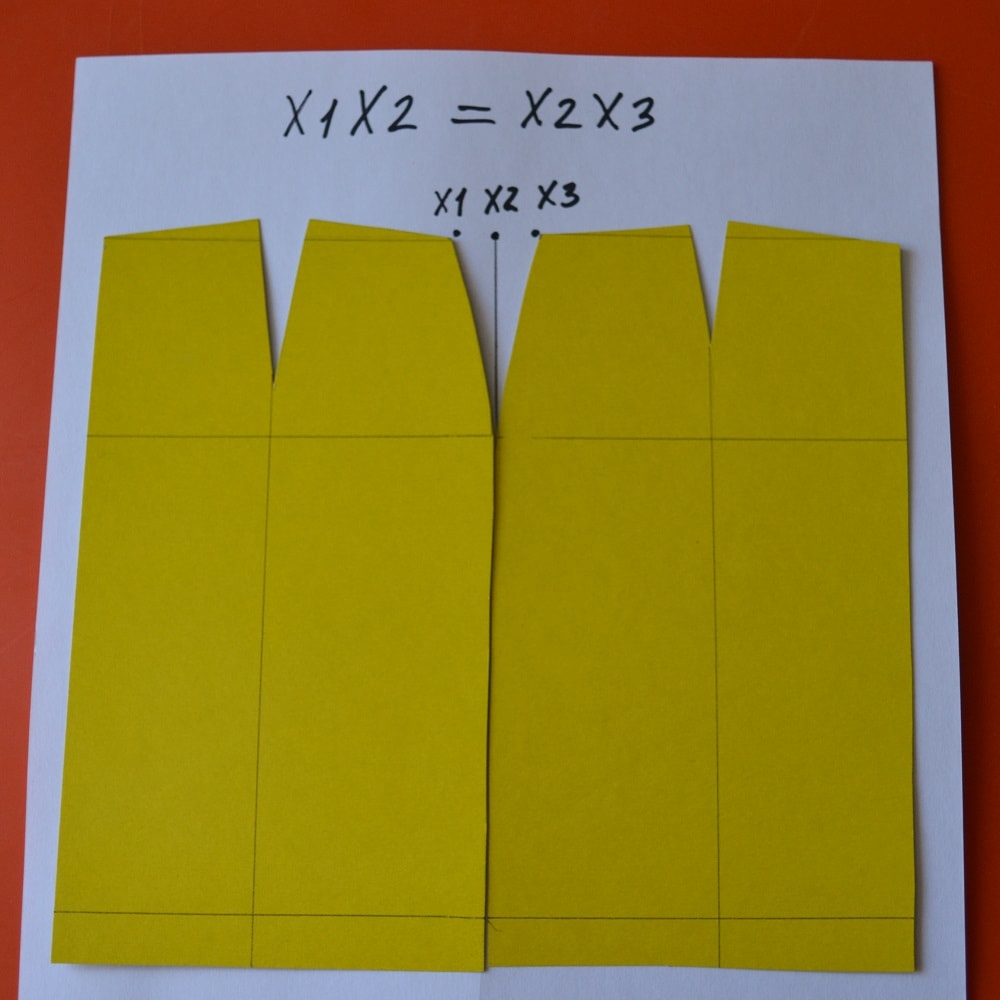
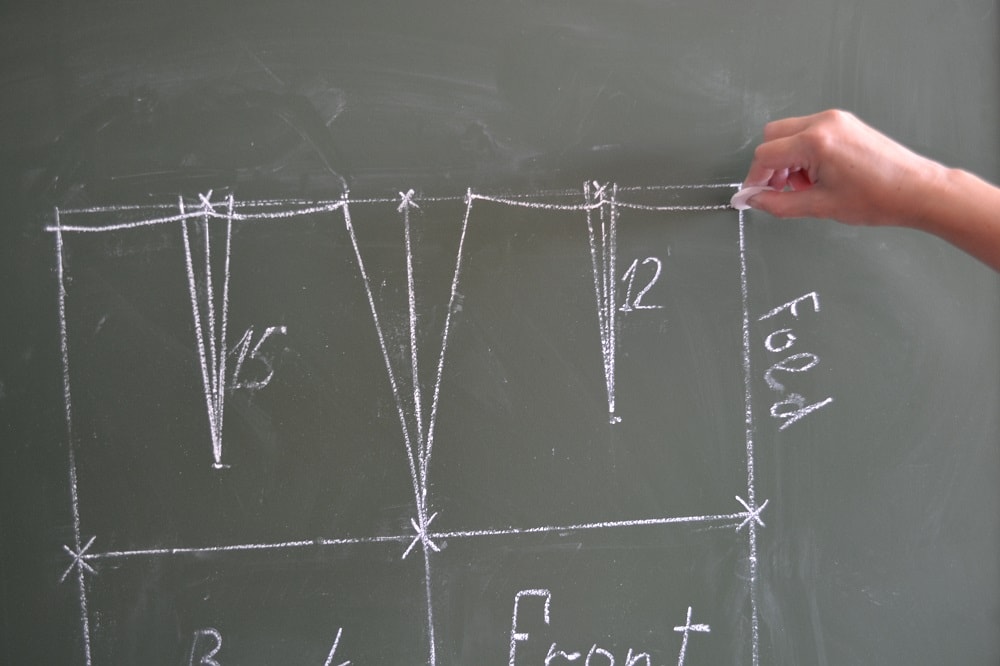
Mark two point from scheme on your pattern. From the mid-point of each dart lowers down the vertical line. First do it on back part a skirt. Depth of these darts is different. The back dart has 15 cm length, front dart - 12 cm.
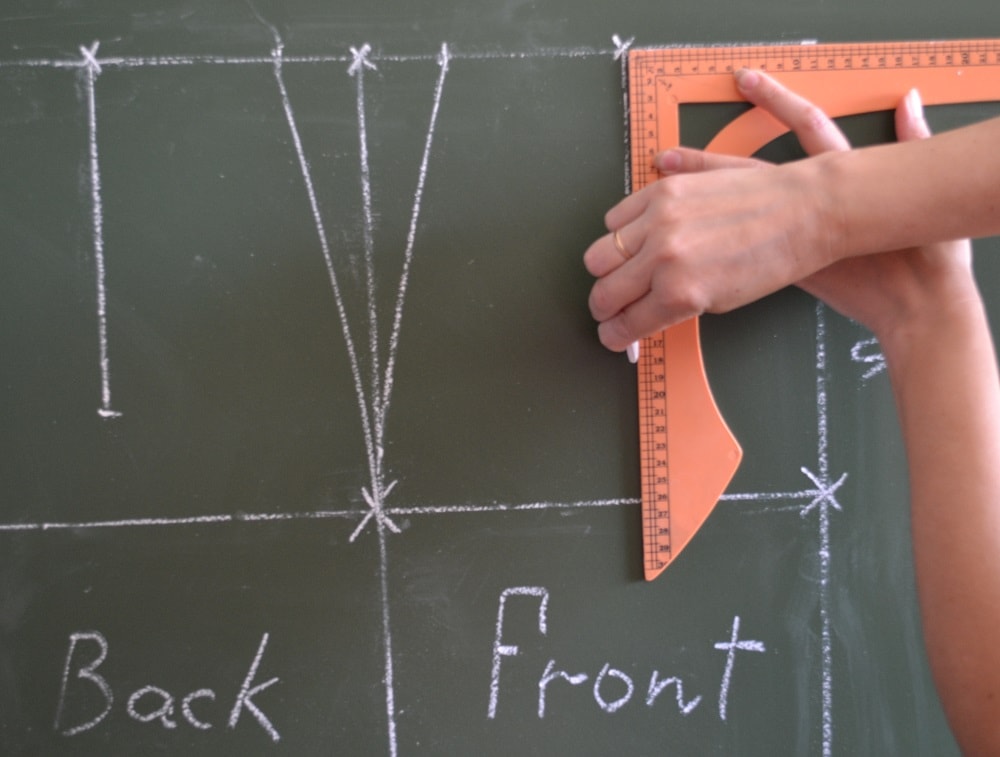
And now draw such line on front part of skirt pattern.
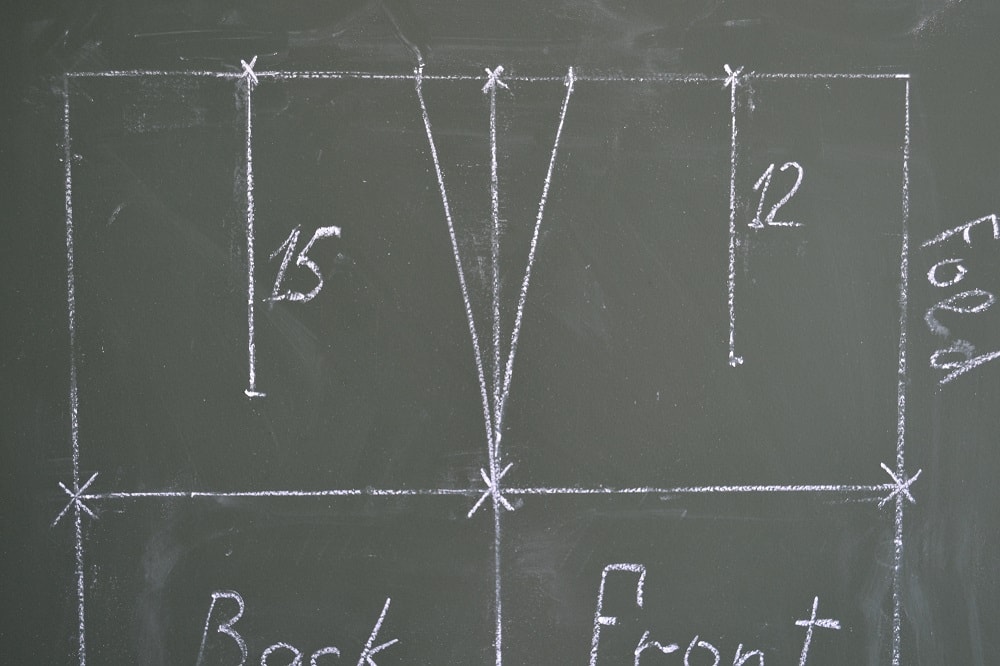
Depth of these darts is different. The back dart has 15 cm length, front dart - 12 cm.
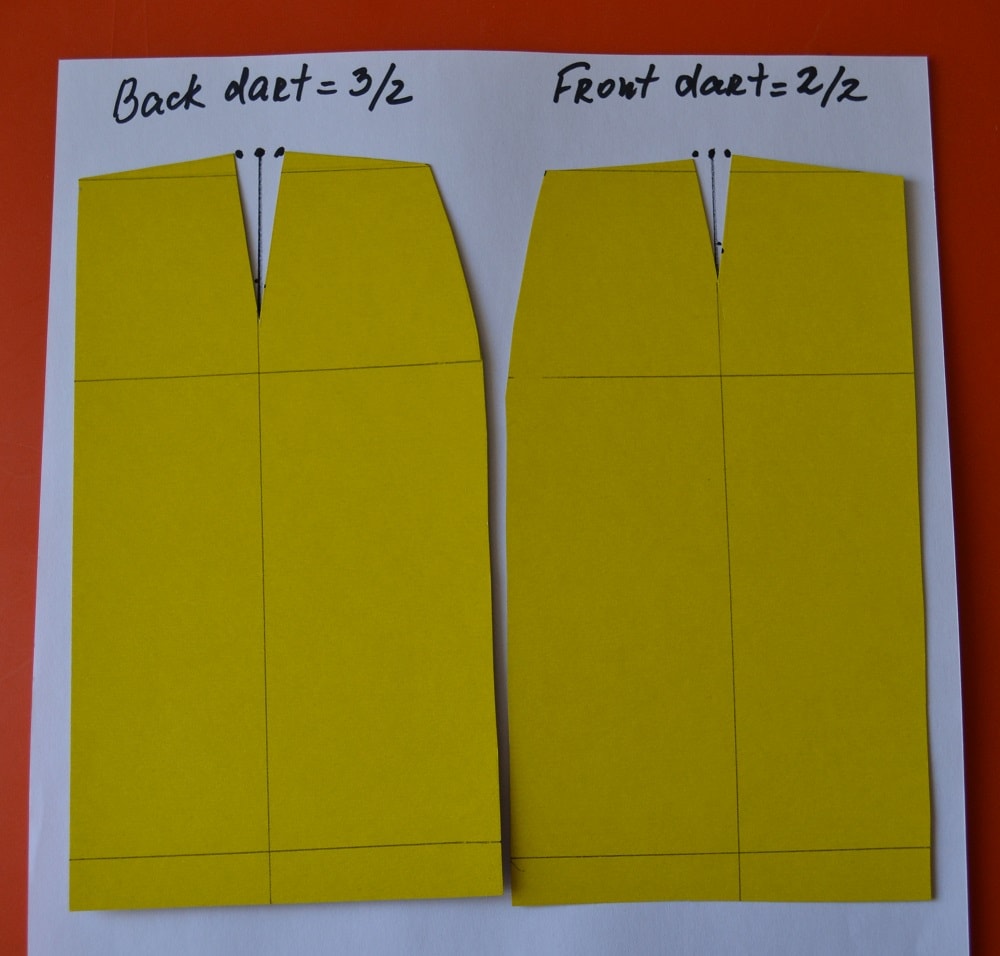
Every width of the both darts you need divide in half.
Width of back dart has 3 cm, width of front dart - 2 cm.
Considering these values obtained you need to draw the darts lines on the pattern.
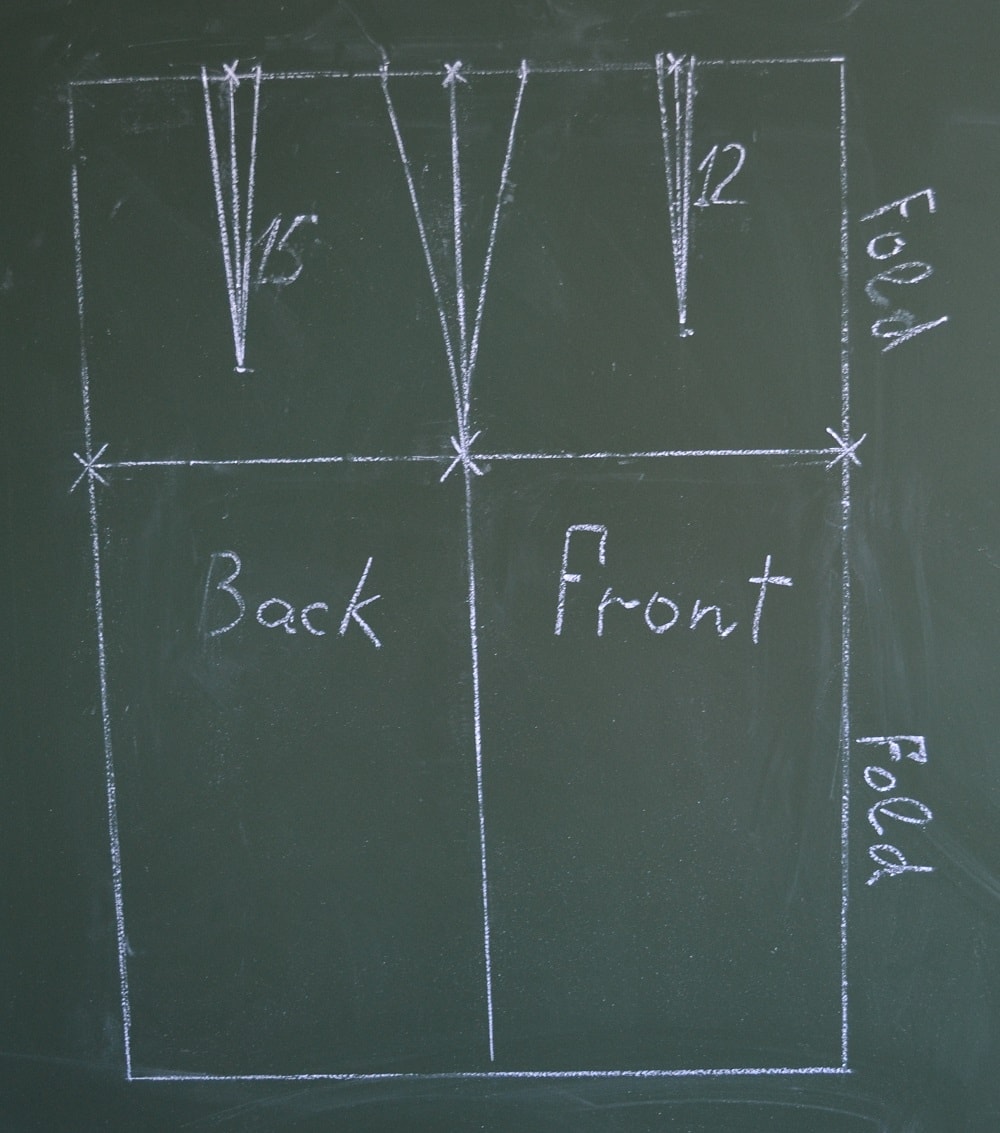
At this stage the darts marking of pattern are completed. See also: How to mark and sew darts.
In this video you will learn how to mark and sew darts on a skirt or pants.
Correction a waistline on both parts of pattern
To finish the drafting a pattern full it is necessary to correct a little the waistline on both parts of skirt.
A little more and soon you start to sew a skirt on sewing machine.
Now back down to 1 cm from old waistline at both edges of pattern, as shown in these photos.
Now you need to draw a new waistline by hand.
Draw such curved waistline on both parts of skirt pattern.
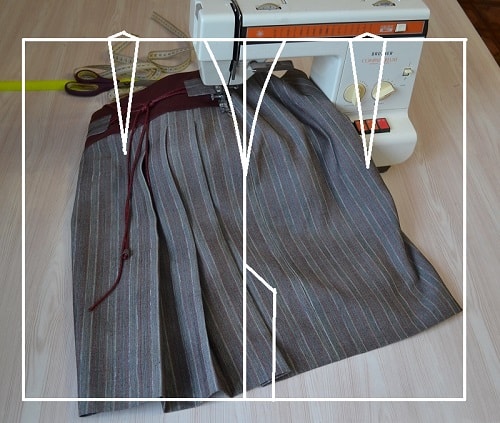
How to add a vent to pencil skirt
Last element of my pattern is the vent in bottom a skirt. The vent you can make on back or front part a pencil skirt.
If you are going to sew a straight skirt with a vent (kick pleat) you can use these simple calculations.
See also how to sew a vent.
Helpful tips to drafting a skirt
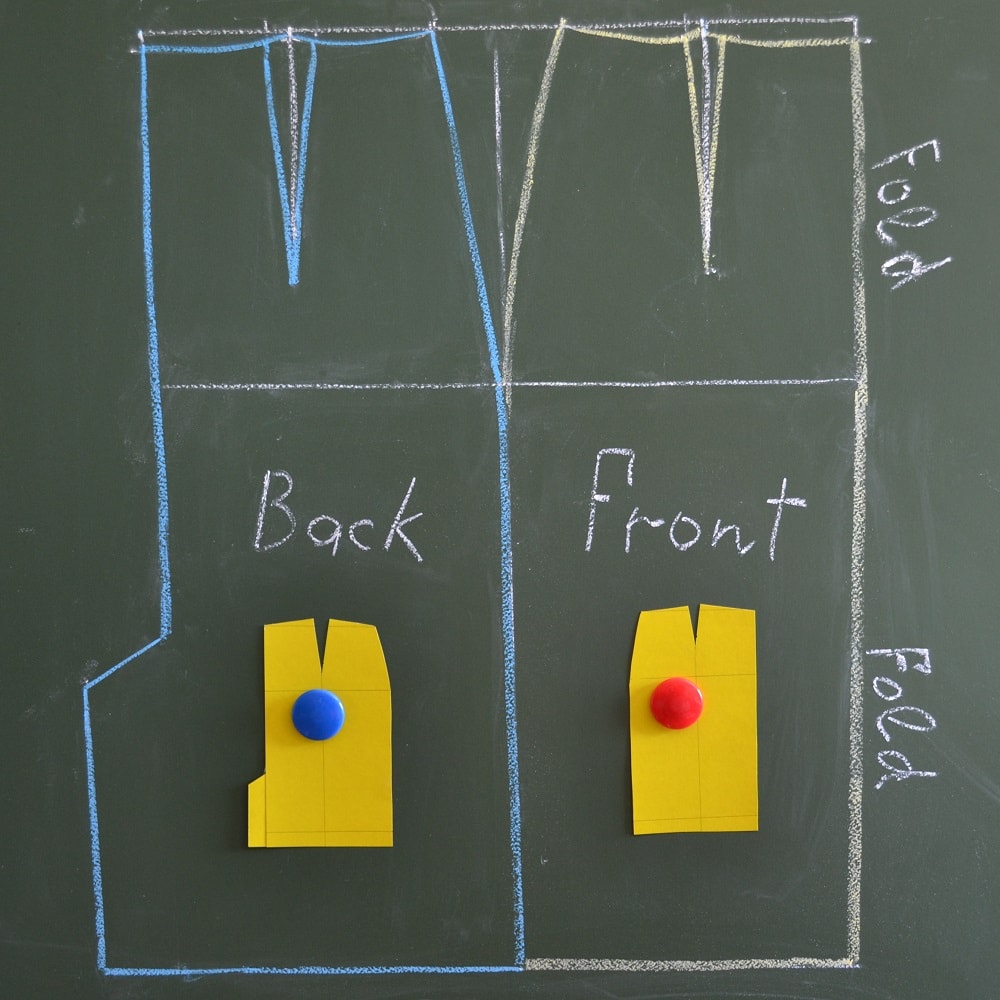
After drafting a pattern is necessary to make patterns of any other details of skirt and a belt. They will help you to accurately calculate fabric consumption.
The front part of skirt has no connecting seam. Therefore, before cutting this detail you need fold fabricin half. Fold the fabric face down. Along this fold line place center line of front part of skirt pattern.
The back a skirt has two parts. They are easy to cut from remaining parts of the fabric.
On back side of pencil skirts usually is done a vent and install an invisible zipper.
The seam allowances: along back middle seam and waist - 1.5 cm: along two side seam - 2 - 2.5 cm; around hem line you need add about 3 - 4 cm.
Test any new patterns before cutting your good fabrics. I recommend first sew a straight skirt from an inexpensive fabric. Make an "experienced" sample. After fitting it with correcting you can cut a fabric you bought.
Do not forget that any patterns of skirts from online resource can not take into account individual characteristics of women's figure. For a more precise fit skirt on your figure it is imperative to do improvements of the pattern. Only after these steps your skirt will be perfect to sit on your figure.
How to cut parts of skirts pattern
If you not have a table with wide and long smooth surface use any other surfaces. The fabric can be decomposed on floor in hall etc.
Tip for beginners: Pin edges of folded fabric.
How much you need fabric for sewing a skirt sloper ?
The pencil skirt fits into "one length" plus 10-15 cm if your measurement "Hip" less 130 cm. In other cases require "two lengths" of fabric plus 10-15 cm.
In this post you find step-by-step tutorial on how to sew a pencil skirt.
If you need detailed description of this tailoring process of straight skirt send e-mail to me. I can send you the full version (more 100 photos and comments) for a small fee.
How to draft a pencil skirt pattern direct on fabric
In this lesson you will learn how to draft a pencil skirt pattern without paper. We will build a pattern of skirt sloper directly on fabric.
Free pattern drafting of straight skirt
An experienced tailor will teach you to draft a pattern of straight skirt. This free method is used to draft any size patterns of skirts.
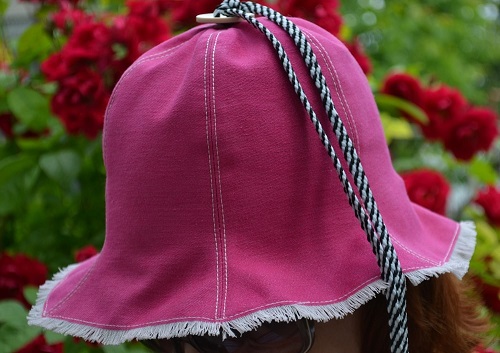
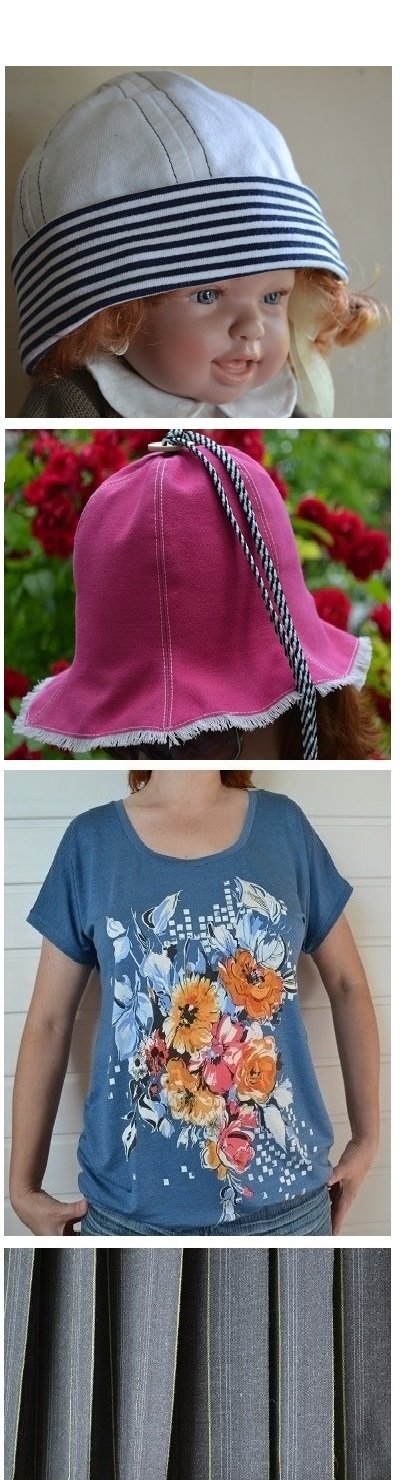
How to make womens reversible bucket hat
Try to do this womens bucket hat yourself. It is a super easy and free way. You learn how to sew fine and nice sun hat for yourself or your kids.
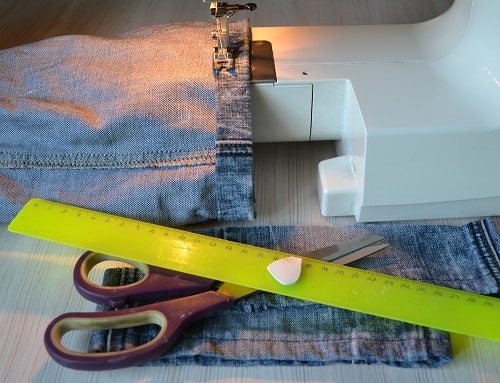
How to cut bottom of jeans
How to restore bottom edge of your old jeans. In this post you will learn two ways how to cut bottom of jeans at home.
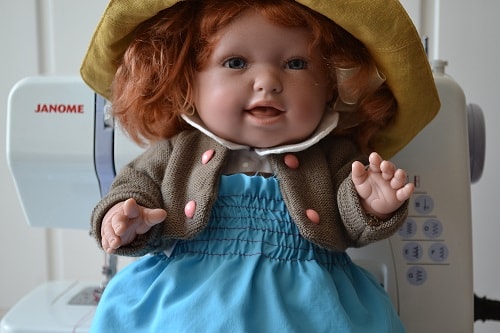
Steps to shirring with elastic thread
Shirring technique is often used for decoration of dresses or skirts around waistline. In this tutorial you learn how to sew with elastic thread.