DIY: How to Fix a Broken Sewing Machine
Do you want to save money on repairing your sewing machine? Fix your sewing machine problems yourself by using these instructions and tips.
Tools for repairing your sewing machine
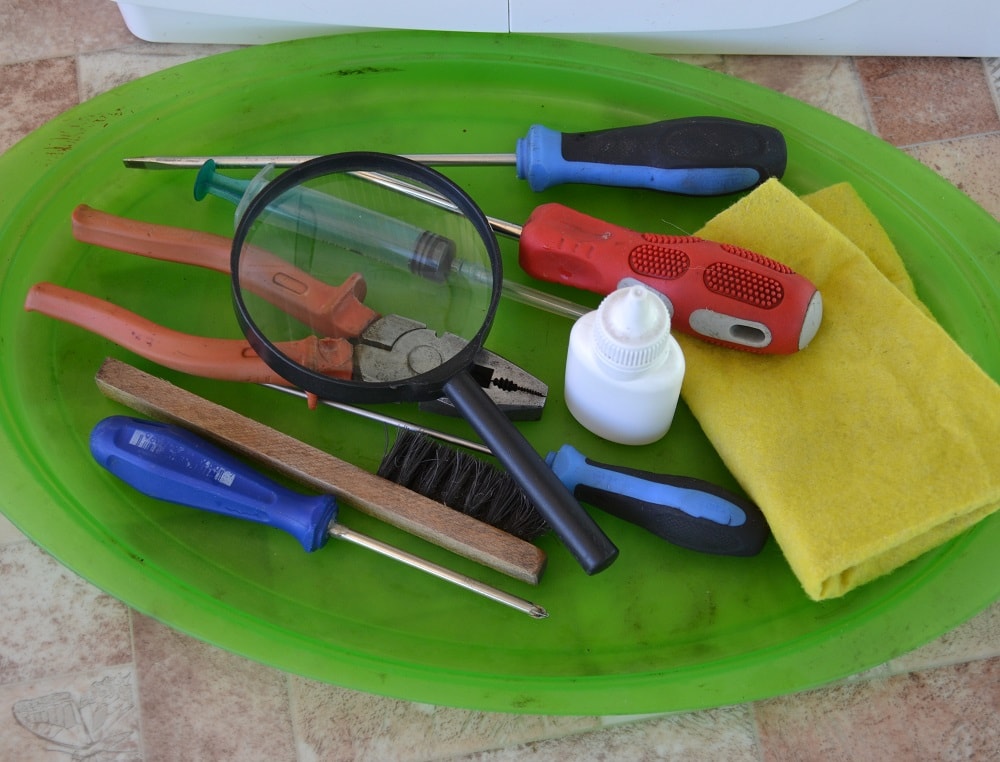
To find a malfunction and fix it, is needed often have to disassemble a case and to remove some covers from sewing machine. To do it you need have some tools: at least two types of screwdrivers (phillips screwdriver and flat).
For this article, I used an ordinary entry-level sewing machine with an oscillating shuttle hook and removable table.
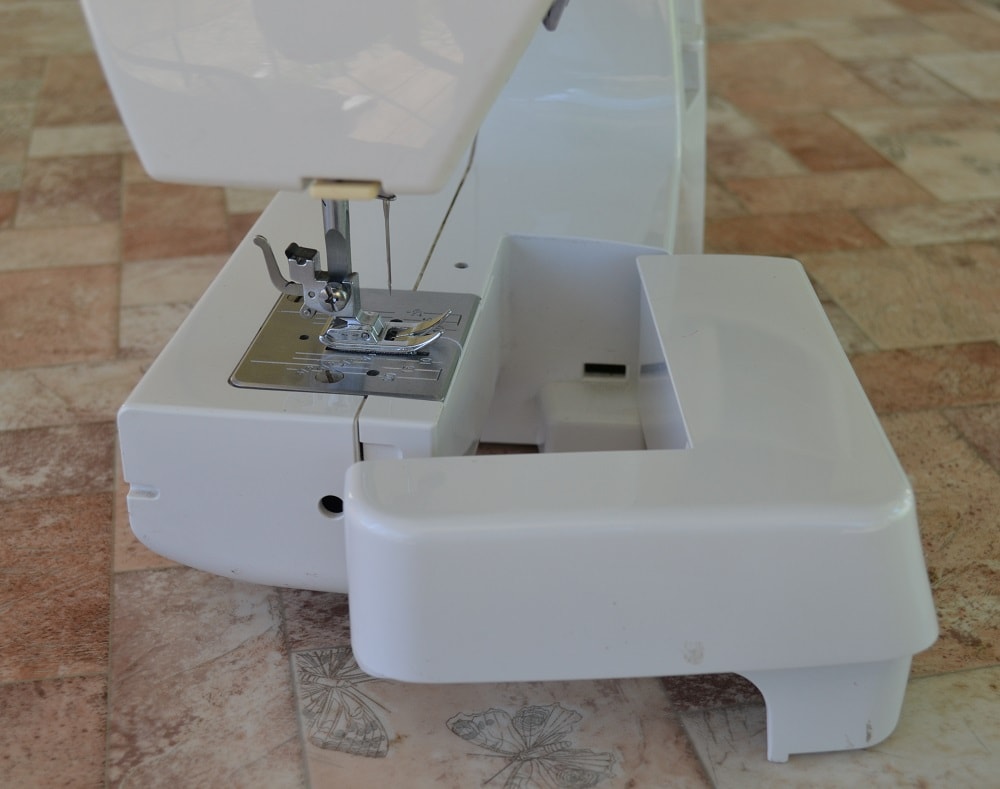
How to disassemble a front cover
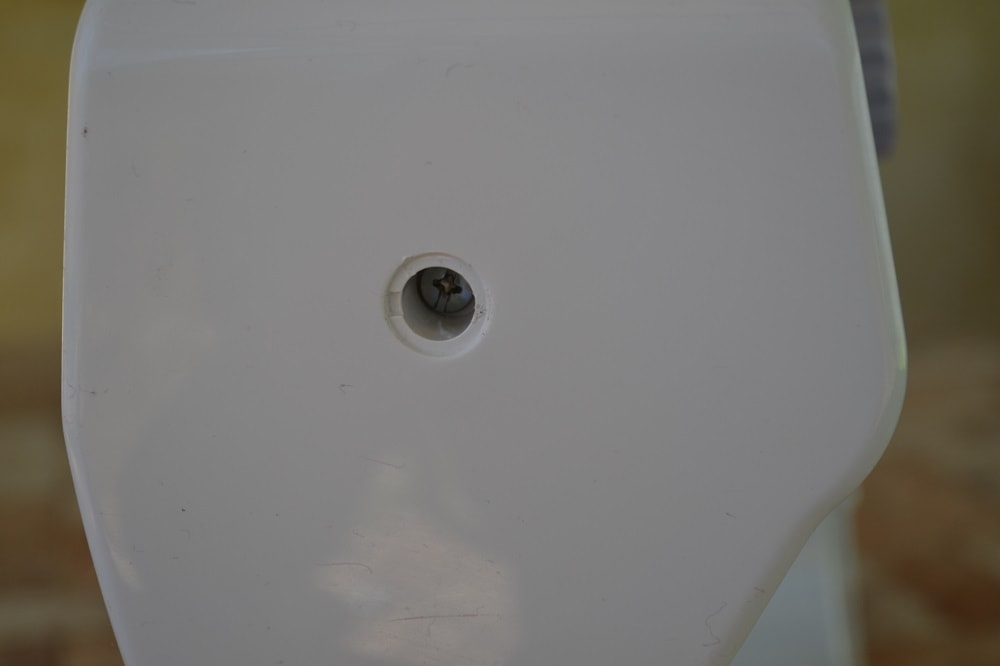
At first you need to unscrew the screw with a flat screwdriver and remove the front cover.
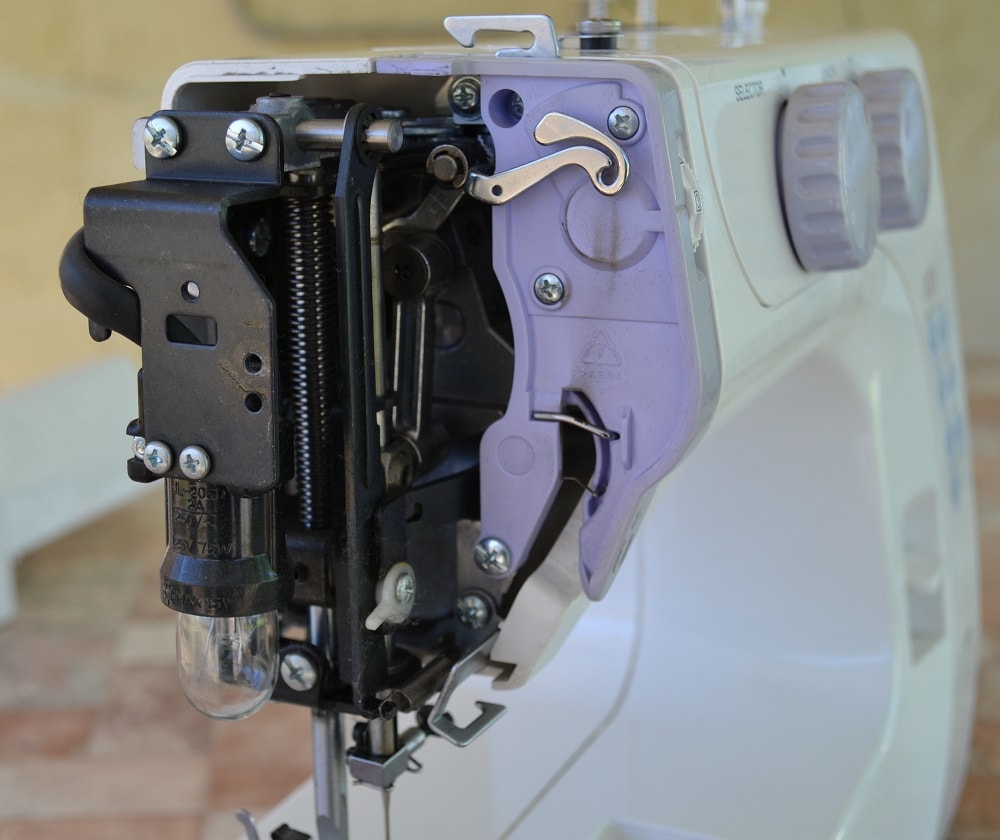
In this compartment there are mechanisms of needle bar and presser foot. All these knots are made from metal and therefore are reliable.
Most often this cover is removed for replacing a light bulb or to oiling the bushings and the needle bar.
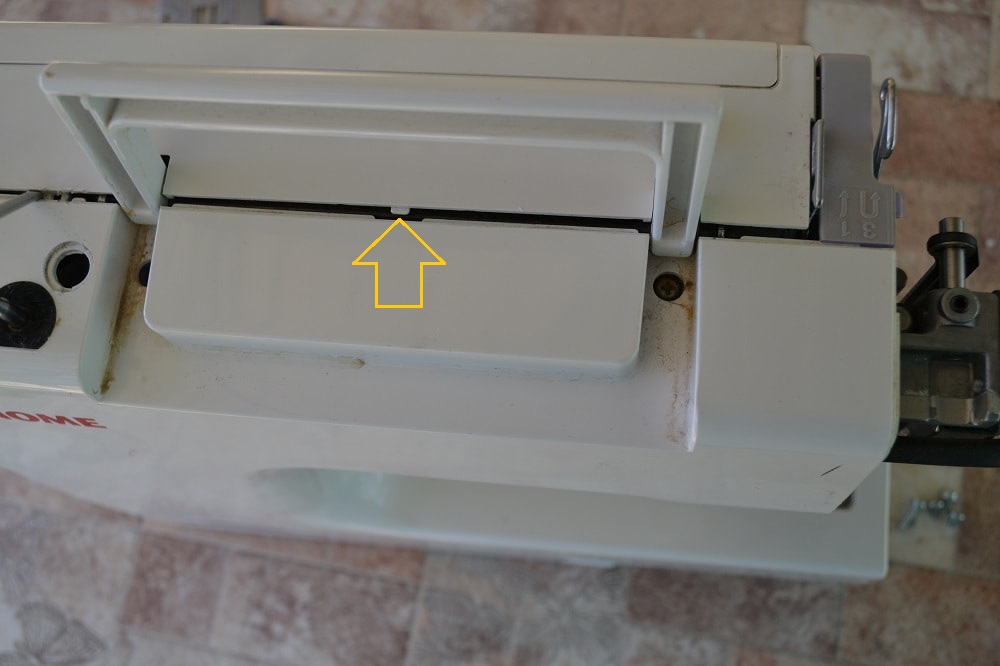
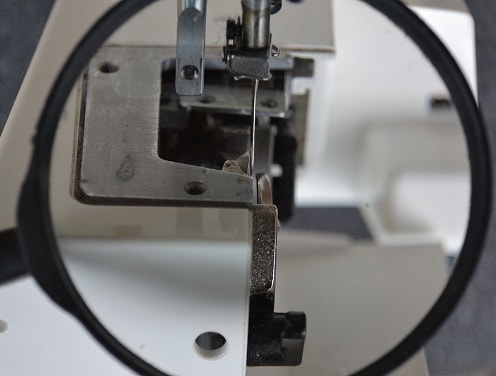
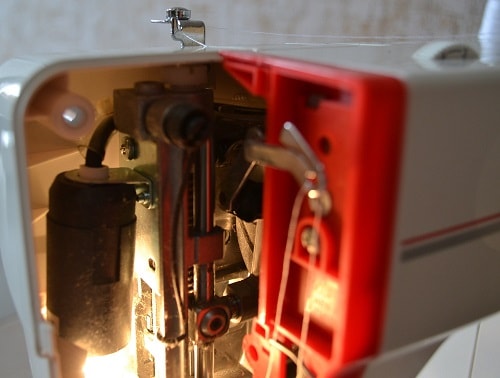
Needle bars mechanism
There is and other cause when you need to remove the front cover. Adjusting the needle position.
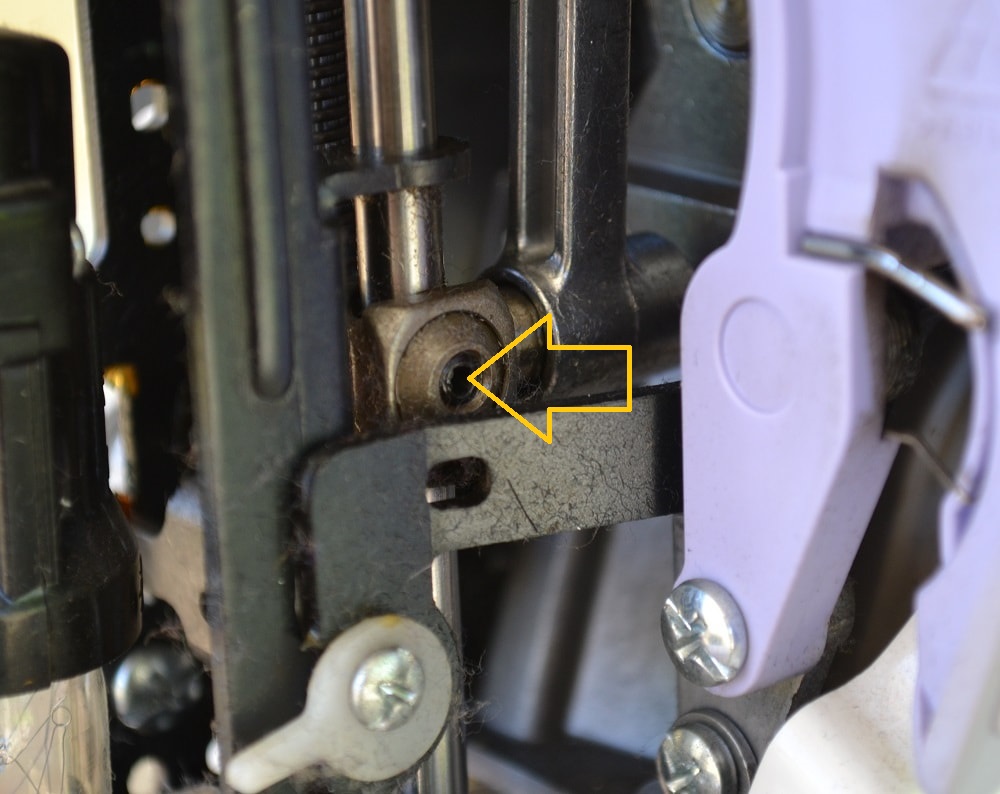
The arrow on the photo indicates the screw holding the needle bar.
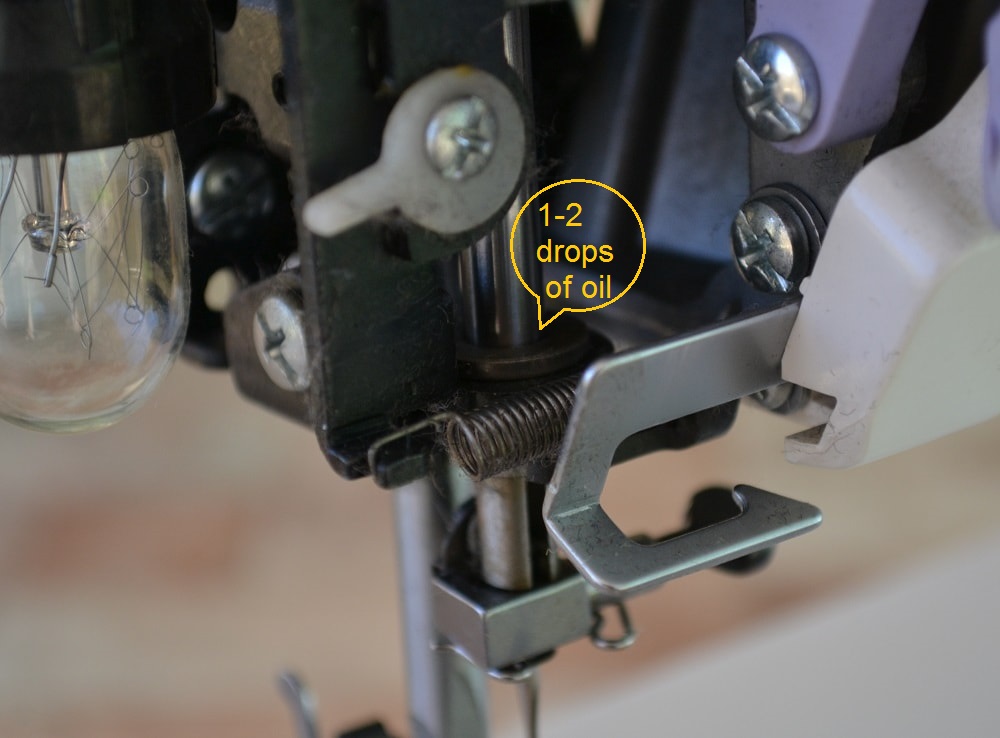
To oil the needle bar is needed 1-2 drops of oil, no more.
Note: The oil in this place can get on the fabric during sewing and spoil it.

Note that some bushings have special oil holes.
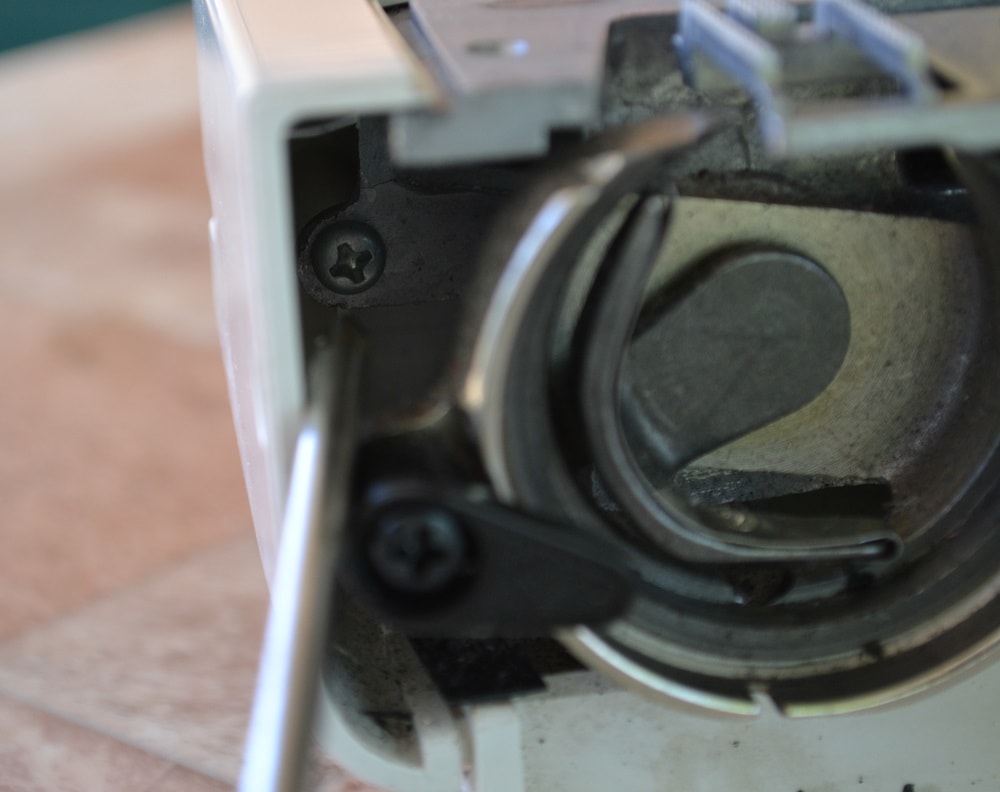
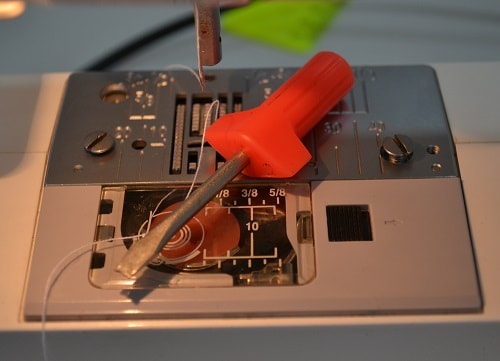
Sewing machine shuttle hook
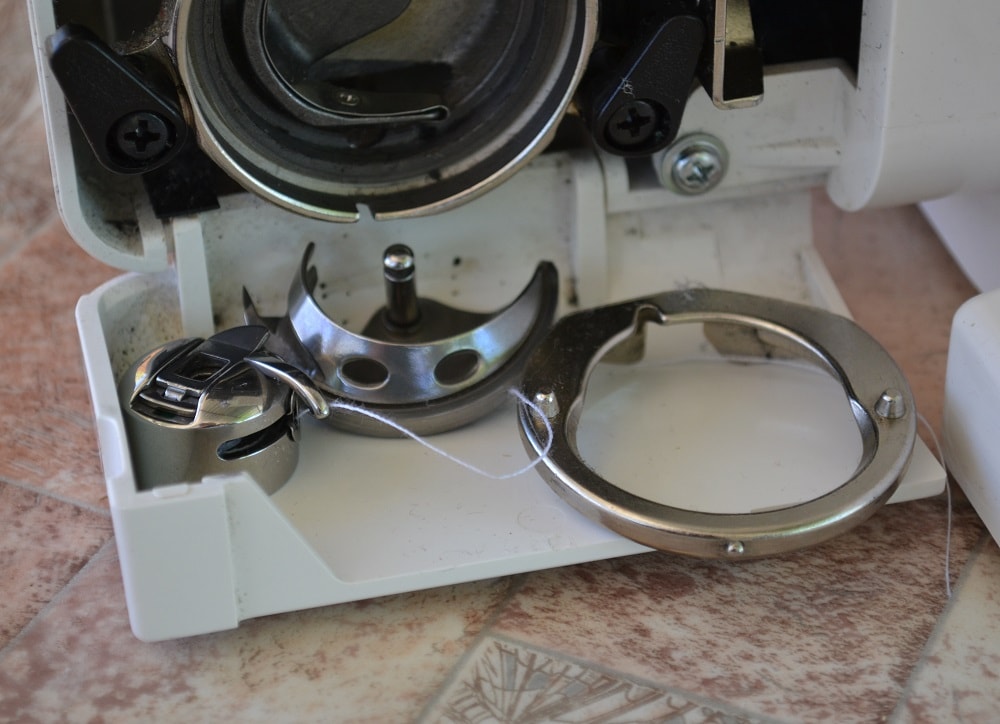
All parts of the shuttle hook device must be always clean and smooth. Rusty or dirty places may be cause of defects such a bobbin thread bunching, looping and tangling and others.
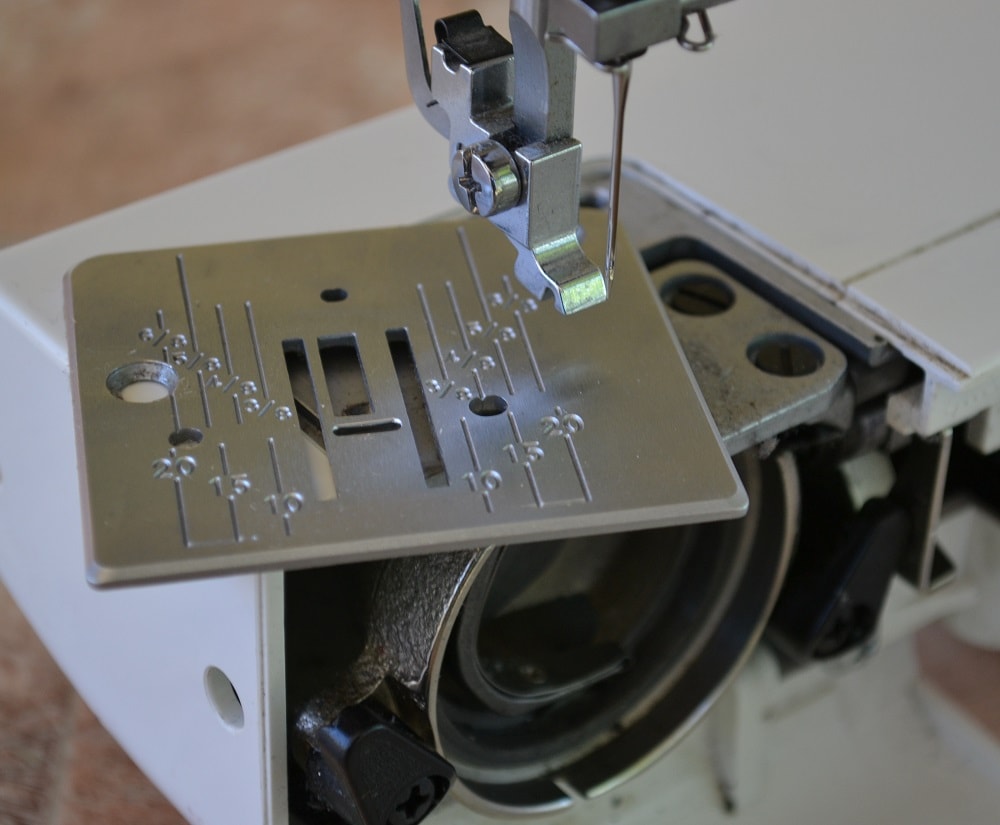
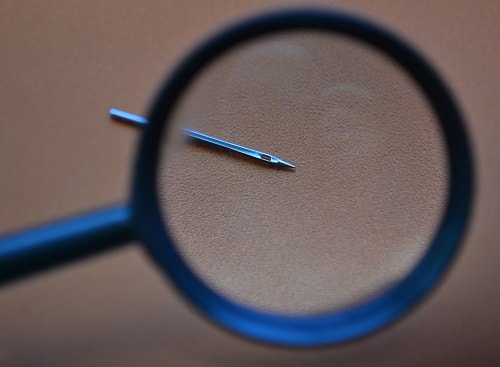
The needle plate must also be in perfect condition, especially a slit hole. Metal notches appearing from needle strikes will lead to the thread breaking.
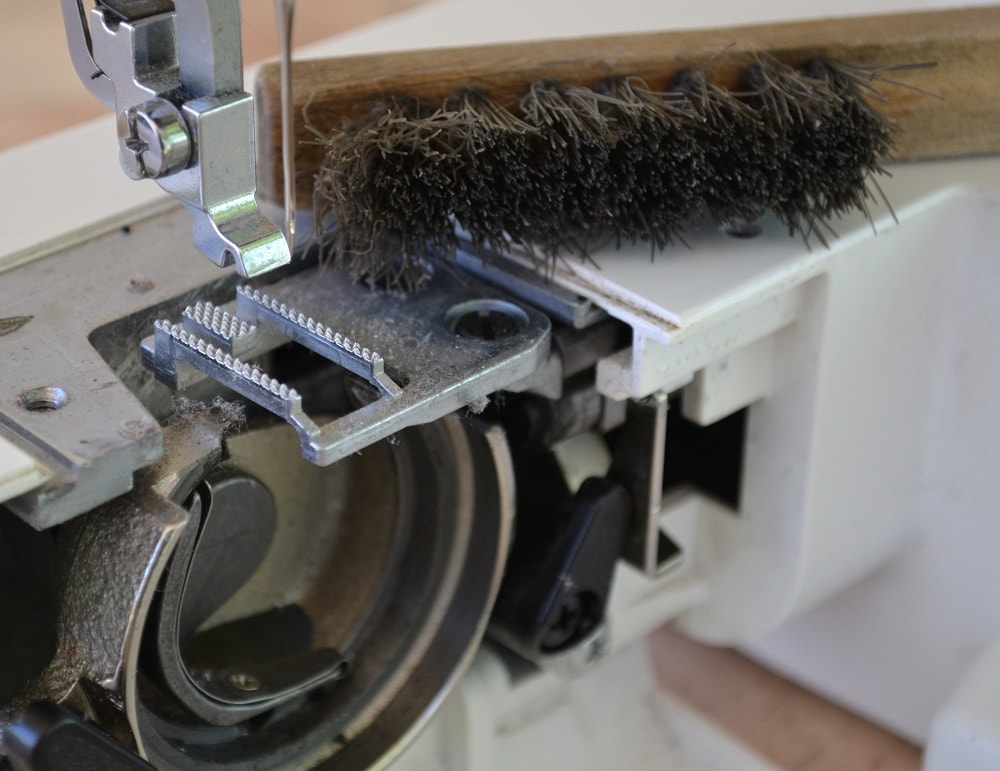
Periodically remove the needle plate and clean the shuttle compartment with a stiff brush.
How to disassemble the body of a sewing machine
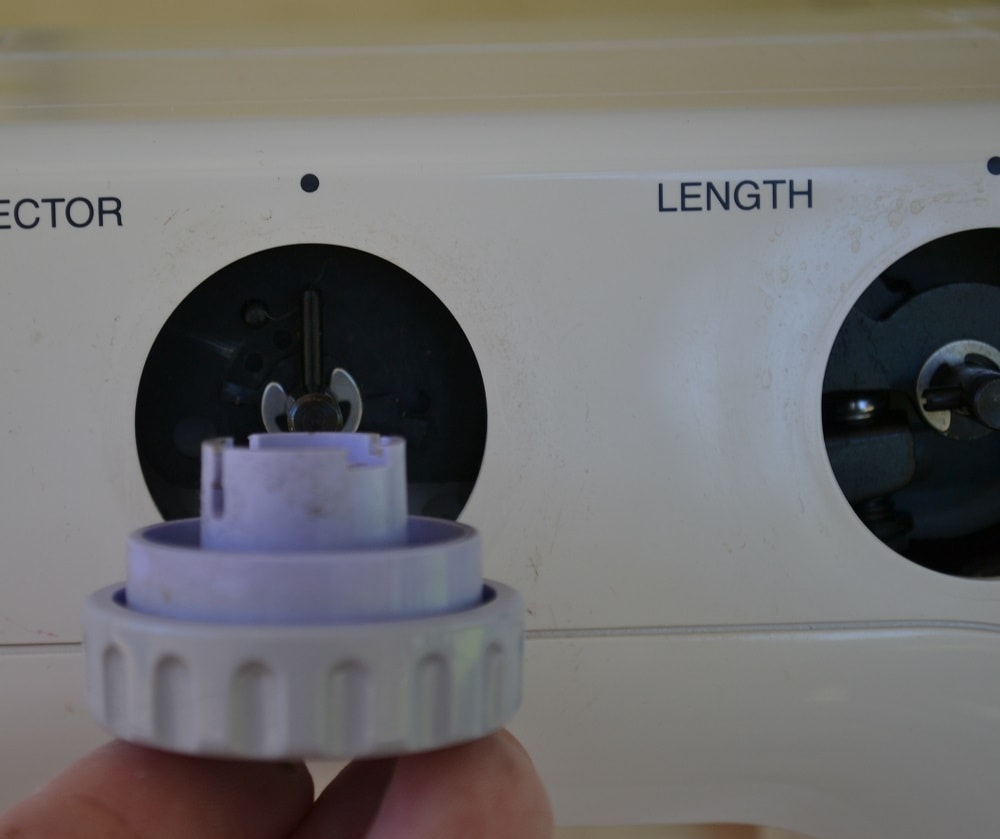
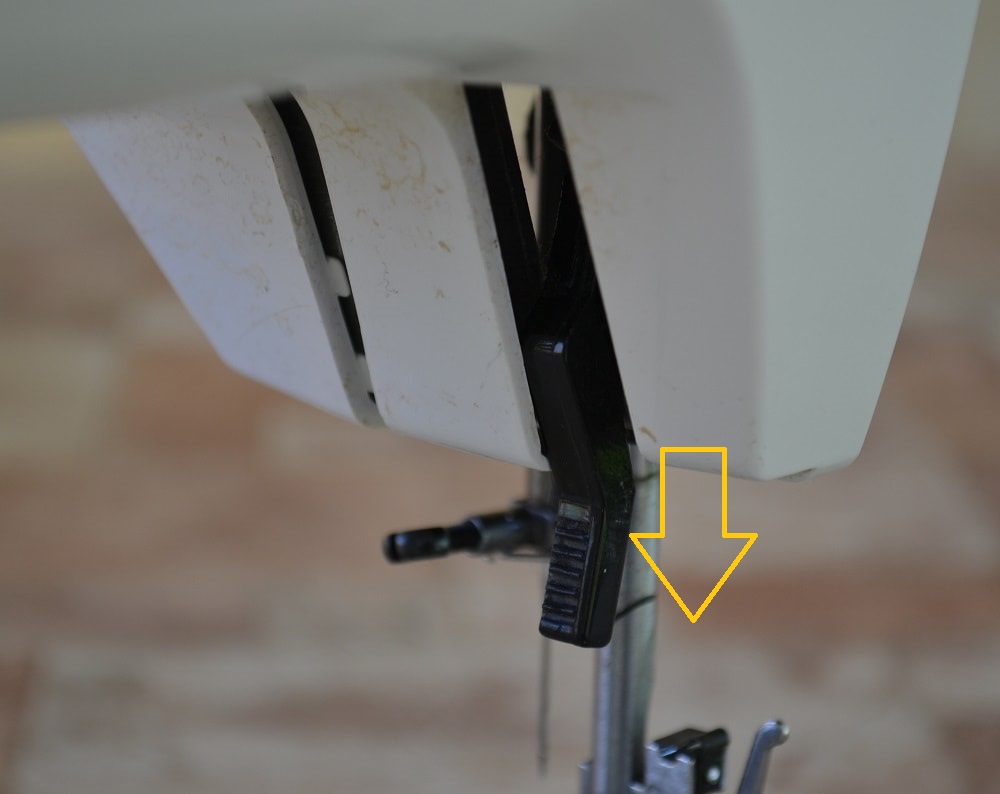
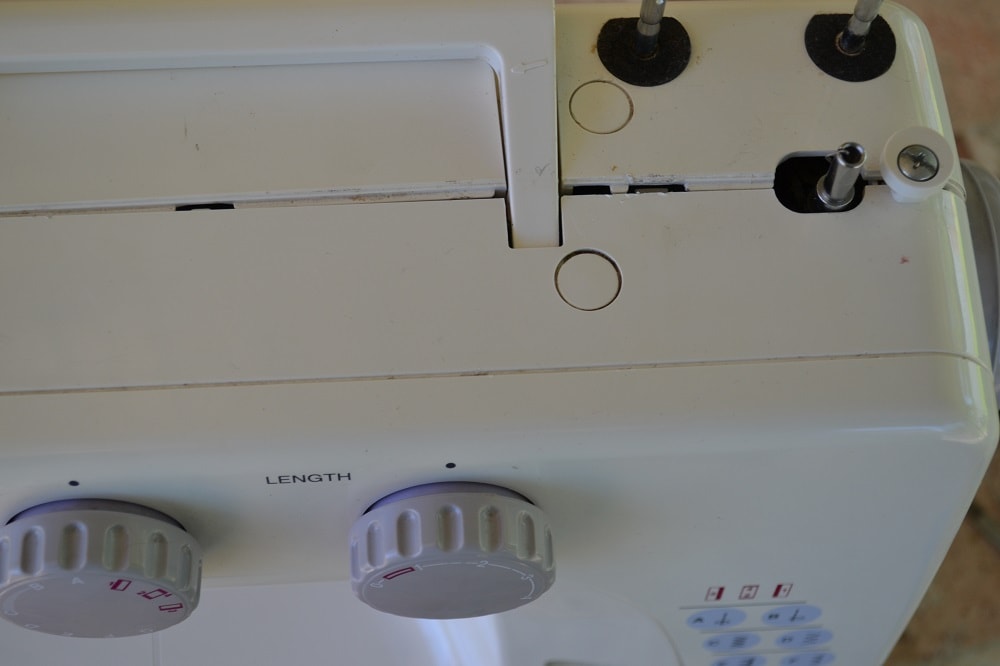
Start disassemble the plastic body of a sewing machine with removing the plastic knobs (stitch selectors). Just pull them with a little effort towards yourself.
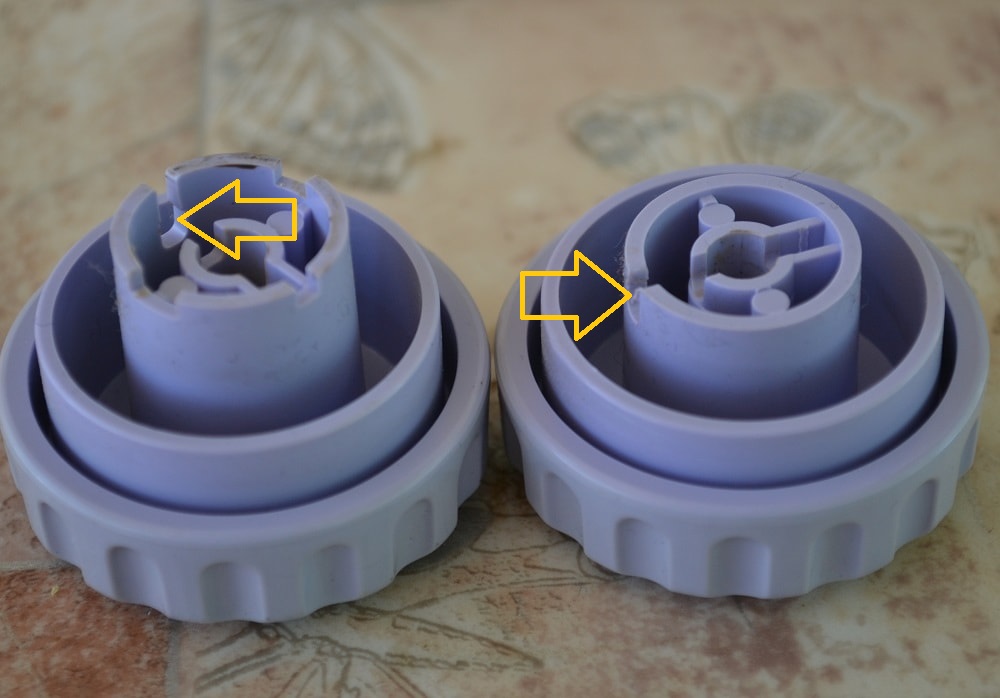
Installation these handles back possible only in one position, so it will be easy to put them back.
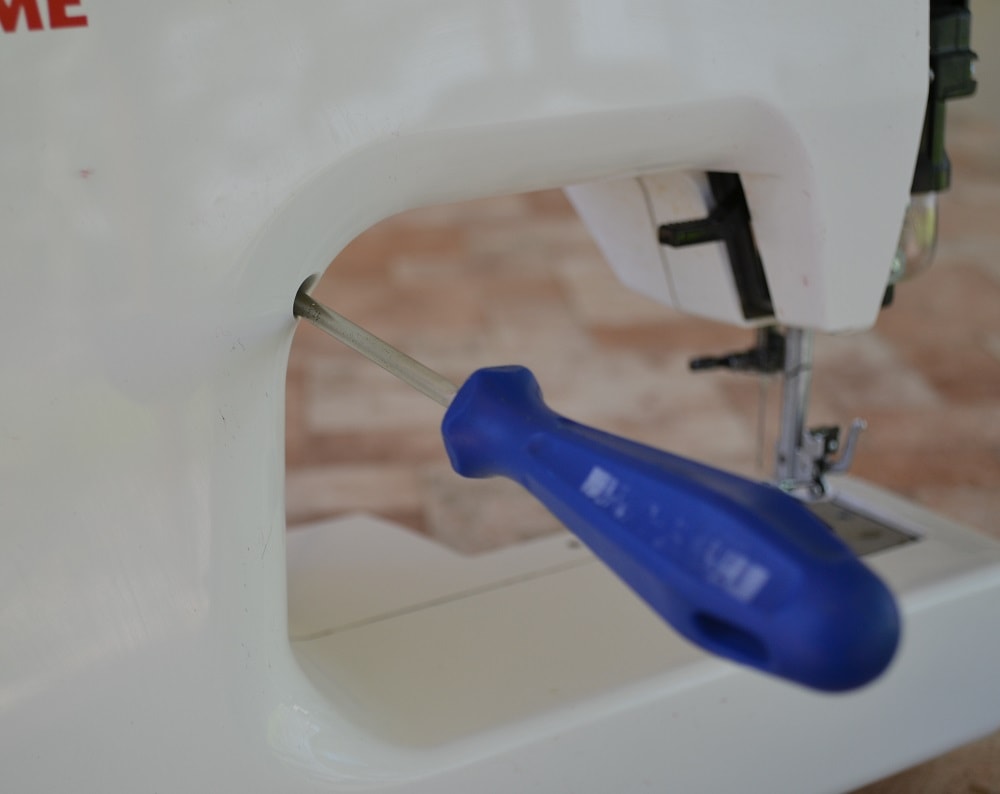
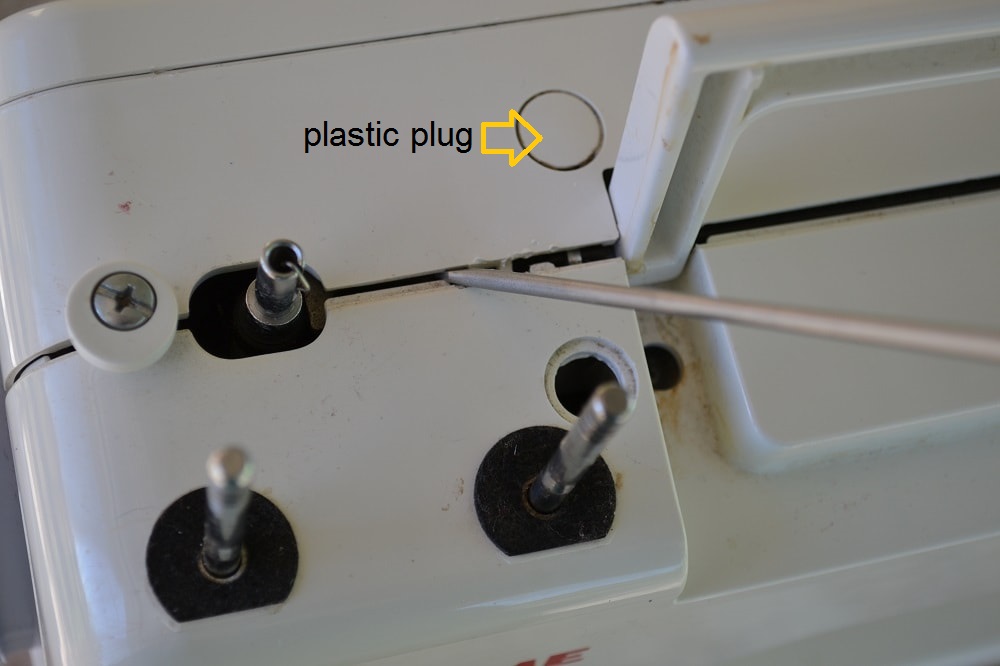
Many screws are hidden inside holes of case. In addition they can be detected if you remove the plastic plugs firstly.
Internal latches of covers
When all screws are removed you need to separate two halves of plastic case.
Note: In addition to the screws, they are held by means with latches also.
Look inside the shuttle area! Here you can find also a screw holding the back half of the body of the sewing machine.
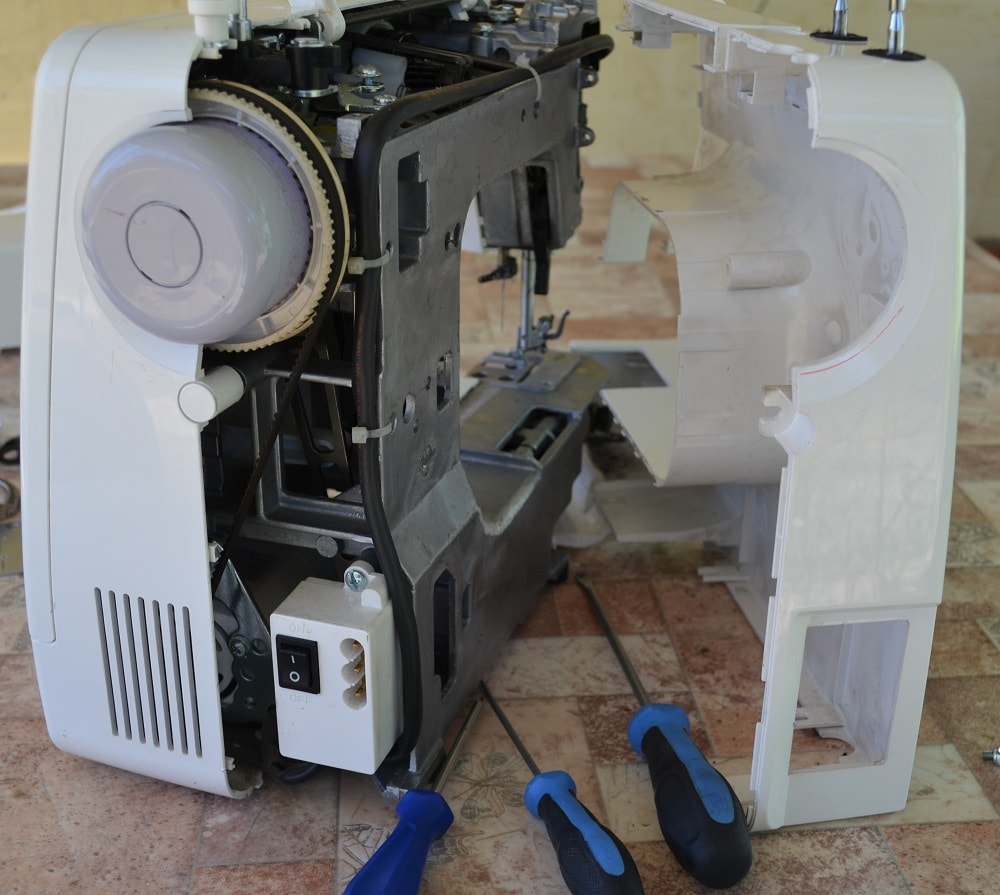
How to remove the covers of sewing machine
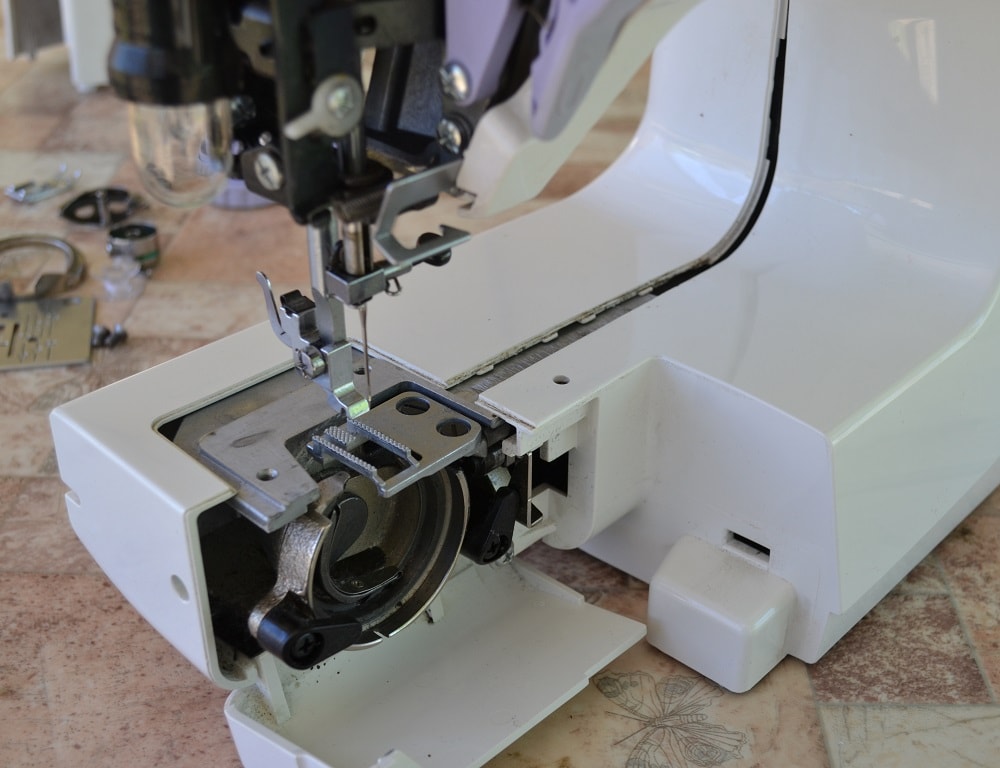
Delete this screw and carefully using the knife or flat thin screwdriver continue open the shell halves.
When disconnecting the halves of case is needed to lower the presser foot lifting lever.
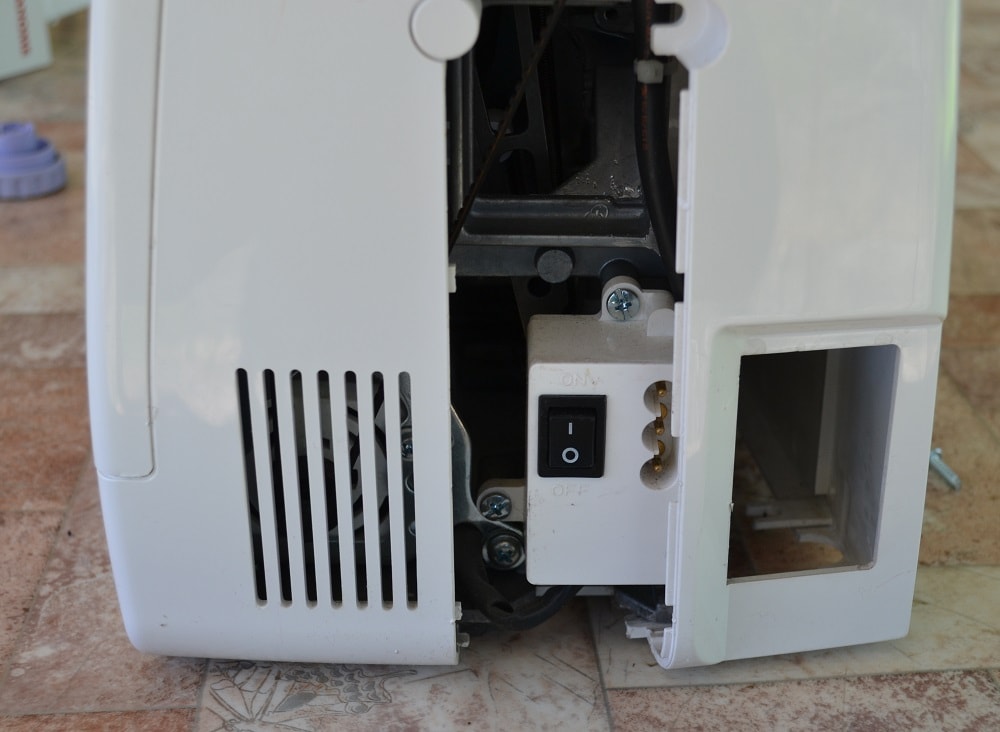
It is especially difficult to remove the back cover in area of the electrical cord connection unit.
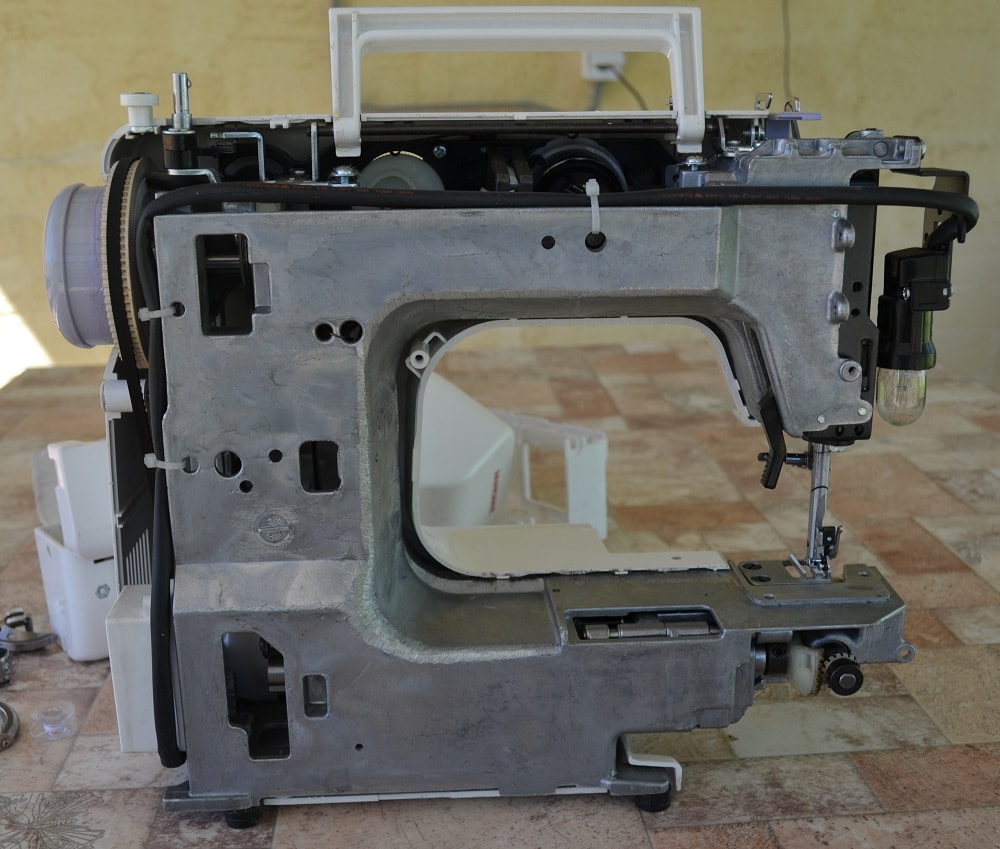
I took off only the back part of case. To remove the front half does not make sense, because this sewing machine works properly. My task is to show you what can break down the sewing machine mechanism and how to repair it.
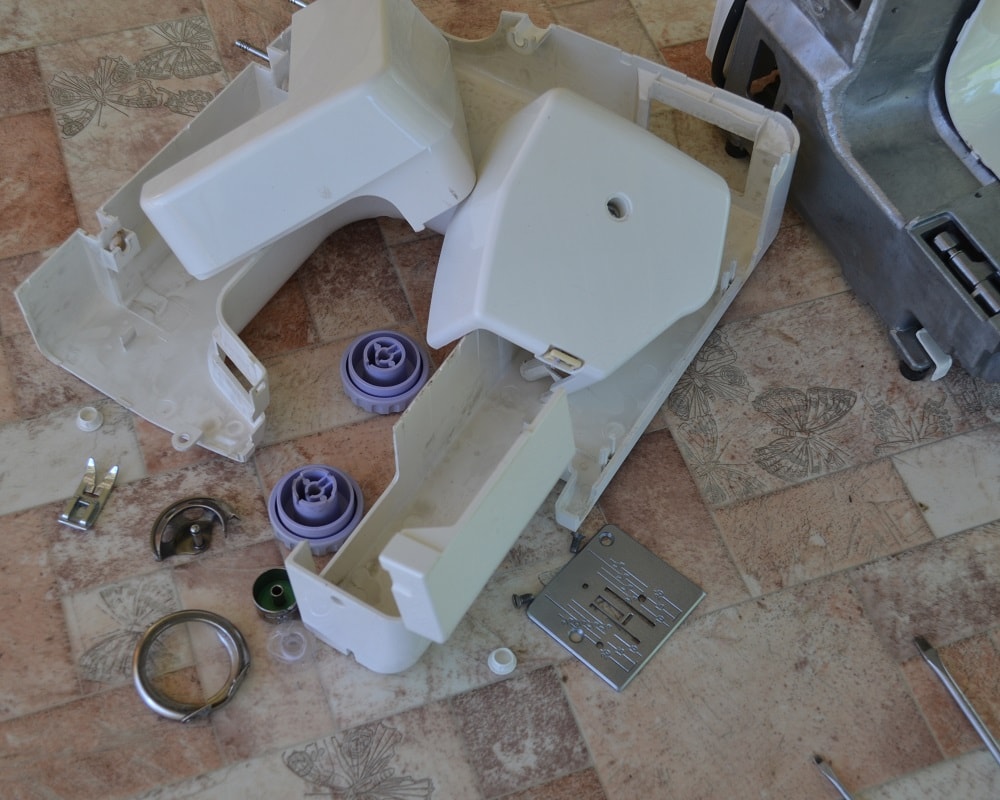
Removed parts.
The most difficult breakages of a sewing machine
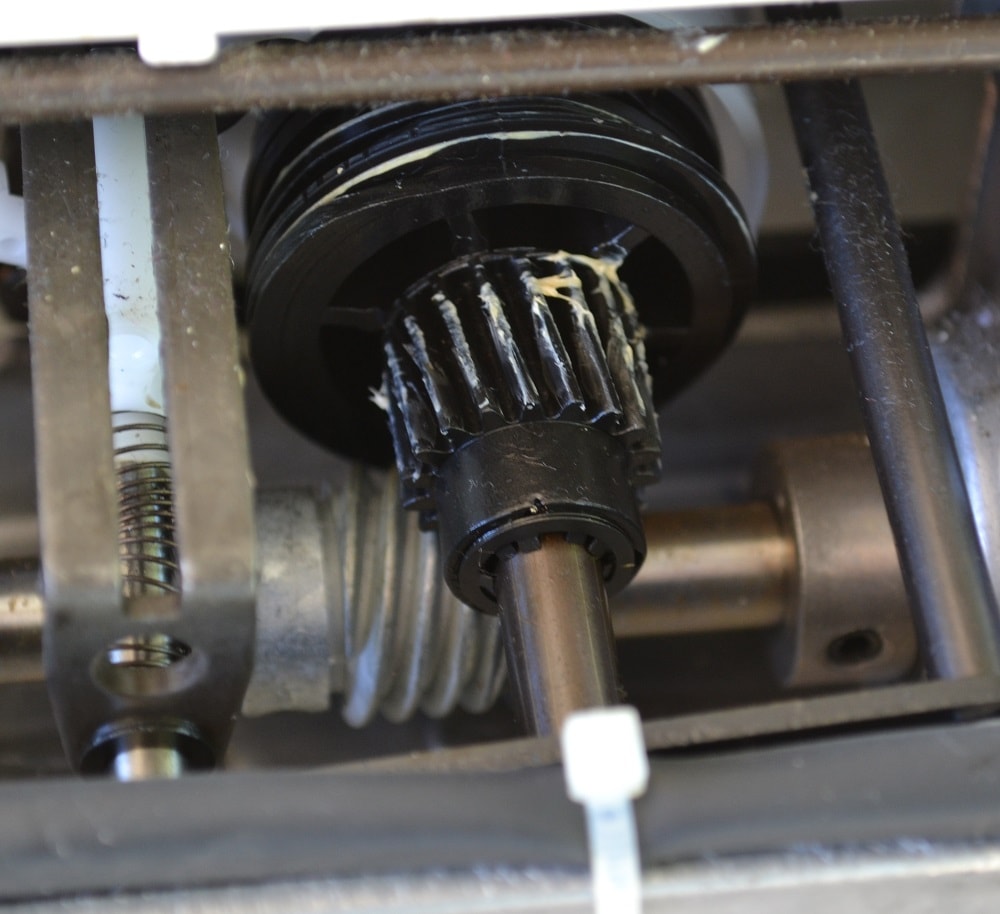
Note, that top gear is made from plastic. If you will to sew thick fabrics on household sewing machine or decided to try hem the bottom of jeans and sew leather, then these teeth can be damaged.
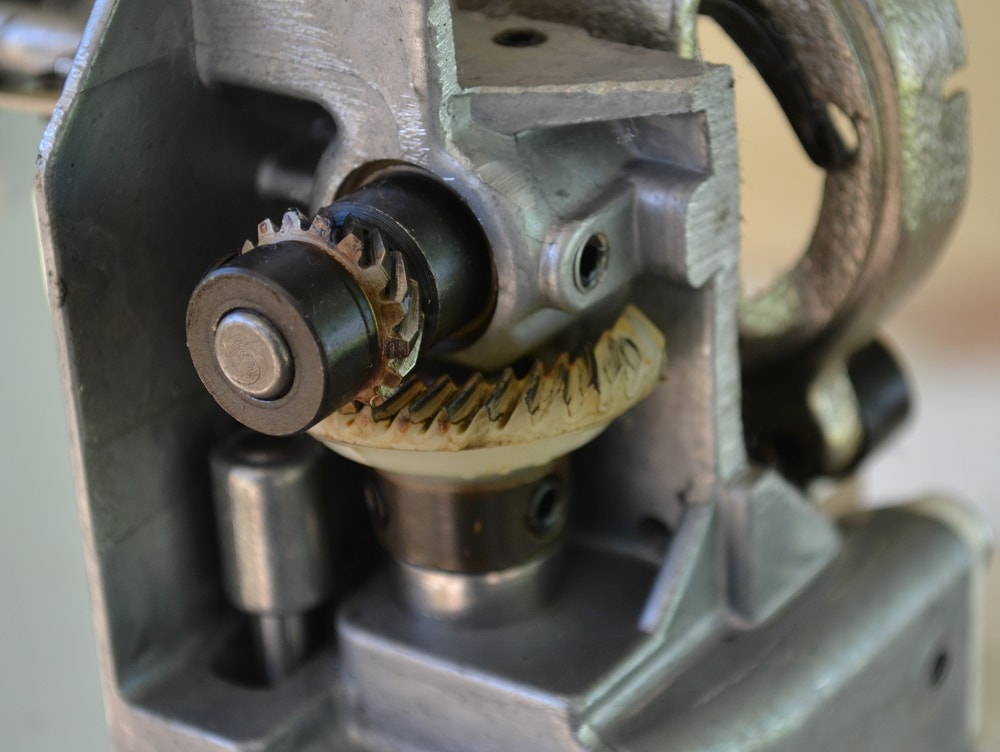
A plastic detail is also in the shuttle device.
Be careful, observe the recommendations that are in the instruction for your sewing machine!
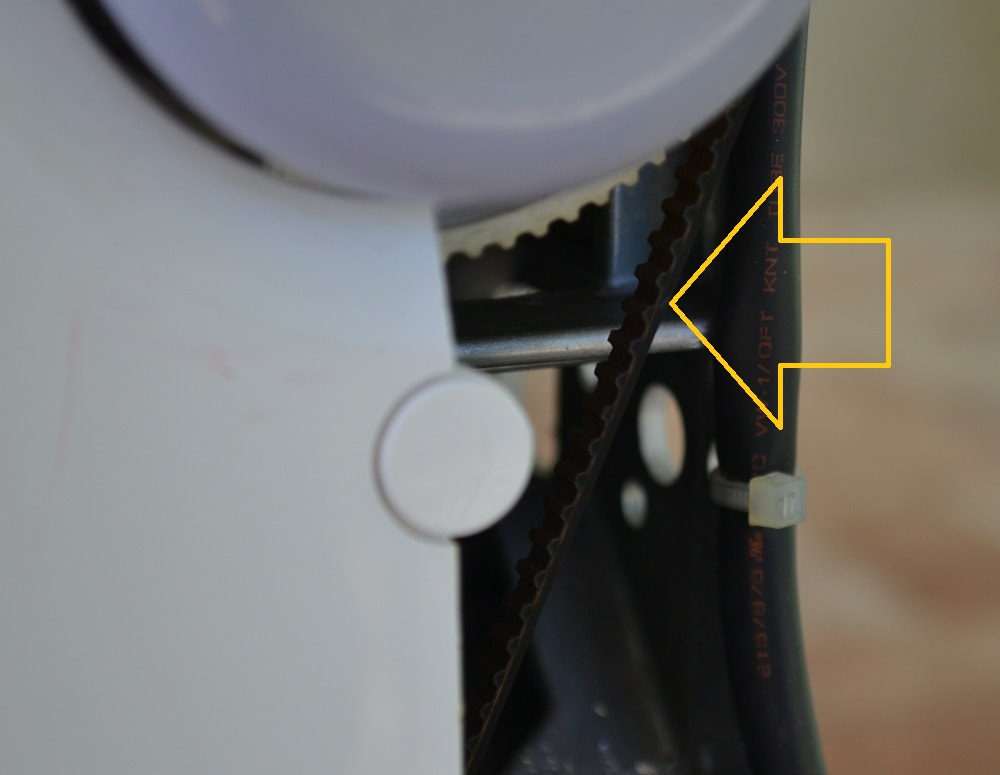
The drive belt is an important part of the sewing machine. Years later of hard work and it can be breaking.
Note: If the sewing machine motor is running (noisy) but the machine not move the fabric, then most likely it will be necessary to change the drive belt.
Note: This can only be done at a service center.
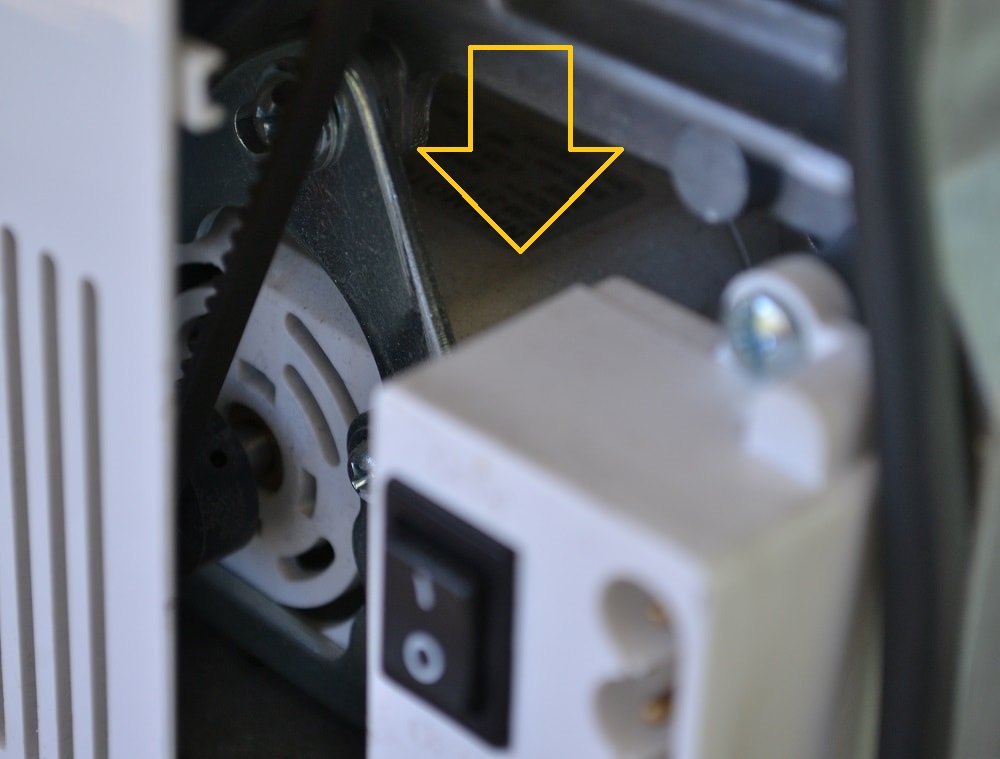
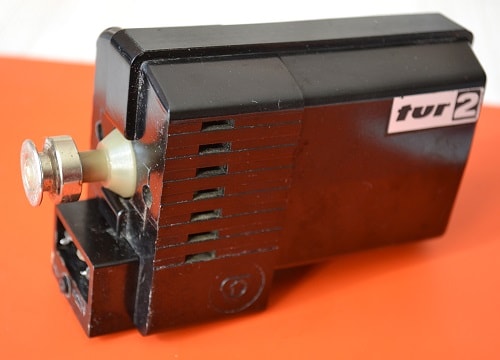
Good electric motor rarely fails. But if the sewing machine does not respond when the pedal is pressed needs check sewing machine electric motor.
But notice that not only the electric motor may have broken down. Another reason of it may be the foot control pedal and the cords that are connected sewing machine with an electrical outlet.
Now another (main) tip. Never disassemble the case of your sewing machine yourself. In addition to the fact that it is difficult to do this, it can also lead to a breakdown your sewing machine.
In any case, you will not be able to assemble the halves together without a trace.
How to Adjust Sewing Machine Hook Timing
Hook timing is the relationship of the hook tip and the needle eye. Here you will find the tips on how to adjust sewing machine hook timing.
Tips for Choosing a Sewing Machine
Here are tips how to choose your first sewing machine. A few key features of sewing machines you need to know necessarily.
Bobbin and Top Thread Problems
If your sewing machine keeps breaking top or bobbins thread this tutorial help you troubleshoot these problems.
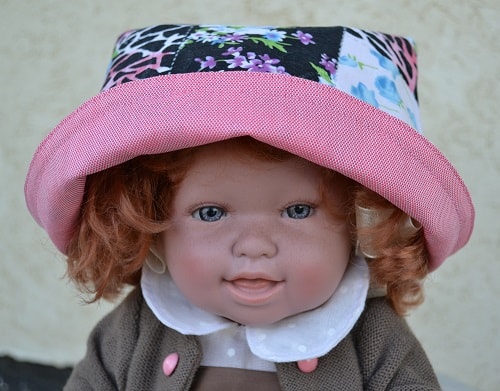
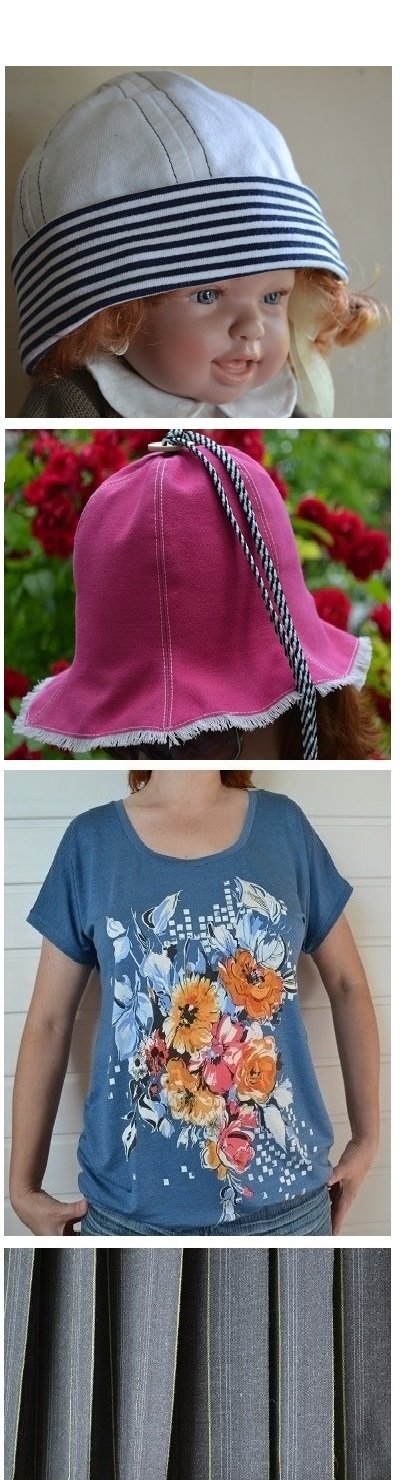
Girls Summer Hat Tutorial
This summer kid's hat looks fine and will be good to protect your baby head from the sun. Try sewing this girl's sun hat using these photos and comments.
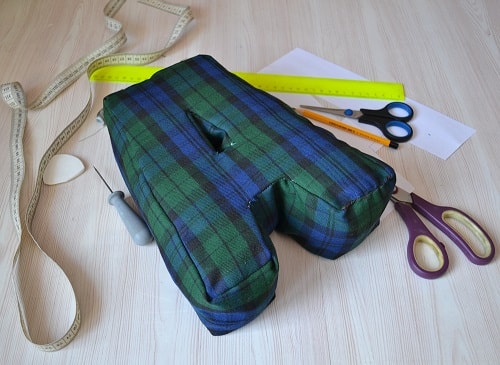
How to Make Alphabet Letter Pillows
These are steps of sewing an alphabet letter pillow. You will learn how to make the most difficult form of pillows - alphabet letter A.
How Does the Home Sewing Machine Inside
Do you want look into the sewing machine? In this post you can see how to works this mechanism and to see all its parts.
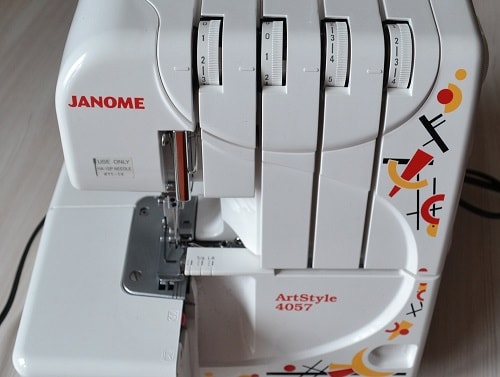
How to Use an Overlock Sewing Machine
What a kind of stitch does an overlock Janome 4057 do? Learn how to use a serger and tips for choosing overlock sewing machine.
20 Sewing Tips and Tricks for Beginners
Want to learn the secrets of professional tailor? In this case you need to read this post containing 20 sewing tips and tricks for beginners.
What's inside Sewing Electric Motor and Repair Tips
Look what is inside the sewing electric motor. These photos help you understand how to clean and fix an electric motor of home sewing machine.